WordPress is a famous CMS (Content Management System) and the mastermind behind millions of websites worldwide. Its advantages are numerous, as newbies can benefit from the leading platform when learning web development from scratch.
Therefore, installing WordPress locally is a no-brainer for users who do not want to initially subscribe to a website hosting package. This blog post will discuss the six steps for installing WordPress on localhost and explain localhost and the benefits of using XAMPP as a local server for WordPress development.
What Do You Mean By Localhost?
Localhost is a term related to your computer. The computer you currently use is called localhost. When the term localhost is applied to the WordPress installation, it denotes a site that runs on the device you view it from. If users visit a website utilizing their browsers, their computers receive data from the host server over the internet.
On the contrary, seeing a localhost site installation indicates that a user’s computer is the backbone of every file, helping display the site. Moreover, only a specific user can access the website as it is not meant for everyone. The role of localhost comes in handy when developing and testing an unfinished site without incurring WordPress hosting charges.
Can We Manage Multiple WordPress Websites Locally?
You can smartly manage various WordPress sites locally. To do this, you must create dedicated folders for each site and save them using different names accordingly. In addition, you will need to use separate databases for each site.
How Can We Use WordPress on Localhost?
You require MySQL (a database management system), PHP (a programming language), and an Apache web server for WordPress configuration. Furthermore, your web browser becomes crucial as it helps you view your locally developed site. Once you install a WordPress localhost environment, you can easily create and test your site.
Which localhost environment is best for WordPress?
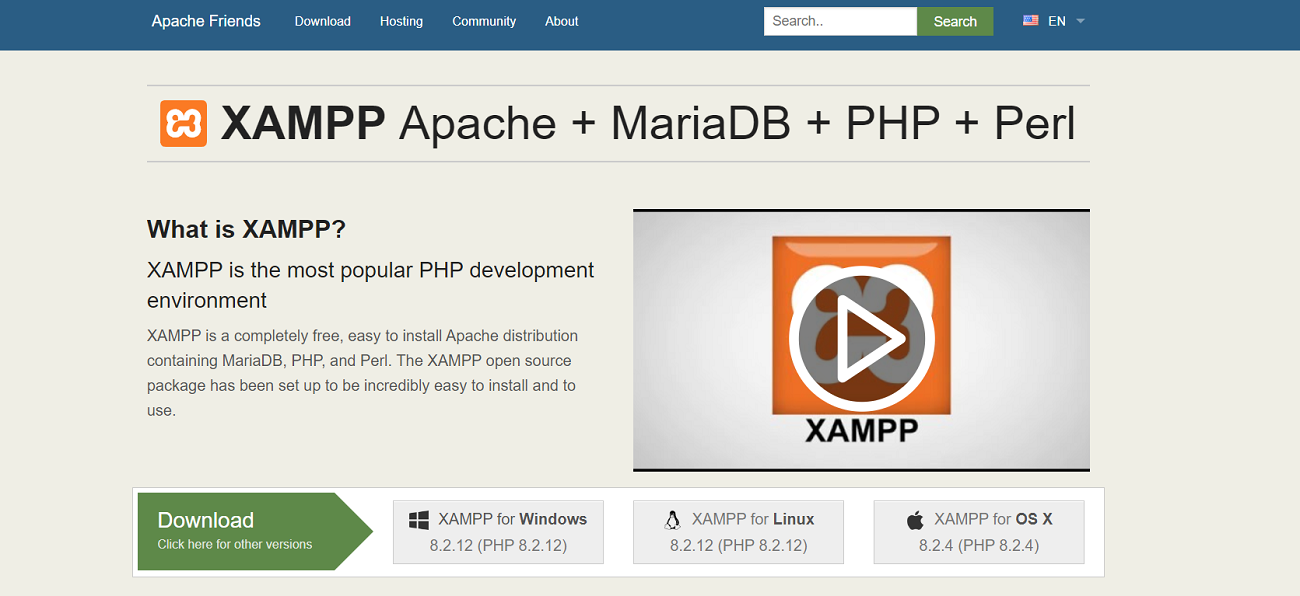
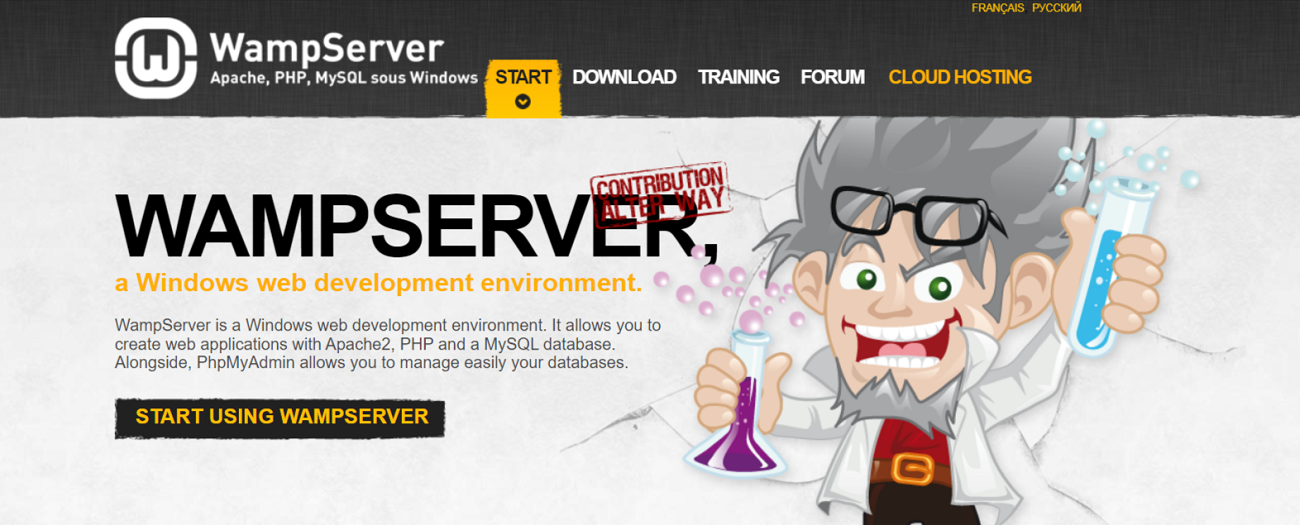
You have multiple localhost environments, such as XAMPP, WAMP, MAMP, and LAMP. These localhost environments are dependent on the operating systems configured on your devices. They suit various operating systems; however, each localhost environment is ideal for a particular operating system.
How Do You Install WordPress on Localhost?
The process of installing WordPress on localhost is straightforward. In this section, we will explain what it takes to do so. Therefore, follow the below steps thoroughly.
Step # 1: Download XAMPP
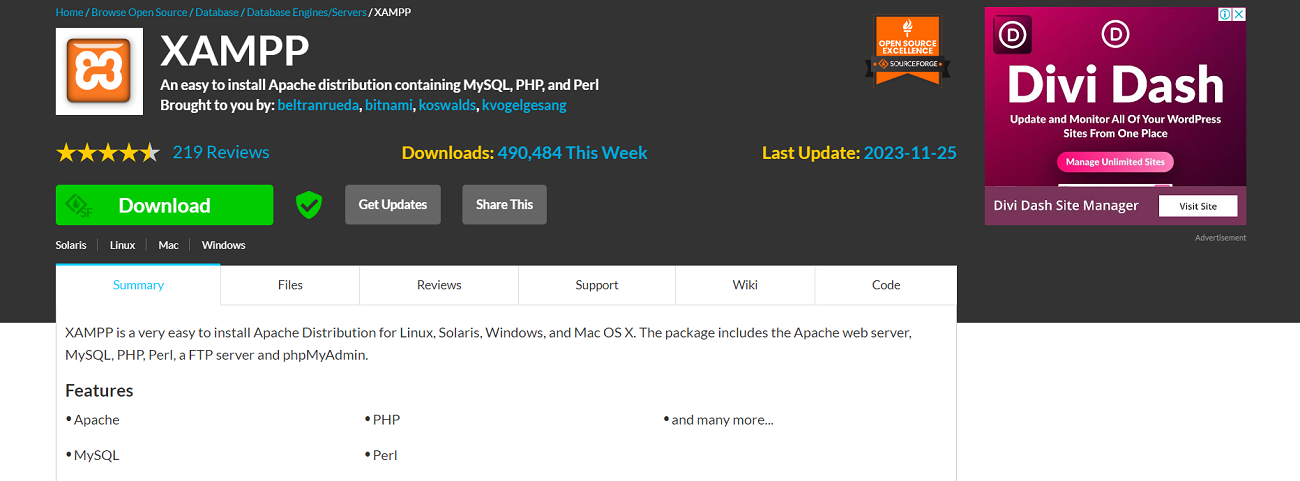
In this step, you need to download the latest version of XAMPP, depending on your operating system. For instance, you can download XAMPP for Windows from the official Apache Friends site if you use Windows.
Step # 2: Install and Run XAMPP on Your Device
You should run the XAMPP installer and follow the installation instructions utilizing the default settings. Press Yes to continue if a pop-up suggests your antivirus software might affect the installation. Once you install XAMPP, immediately run the application. Use the XAMPP control panel to start Apache and MySQL modules and initiate the WordPress localhost installation process.
If you use the Windows operating system, you will likely experience the localhost refused to connect error. In this scenario, you must deactivate the firewall for the time being. Moreover, you should consider deactivating the firewall that utilizes port 80. Doing so allows you to bypass the localhost refused to connect error proactively.
Step # 3: Download WordPress
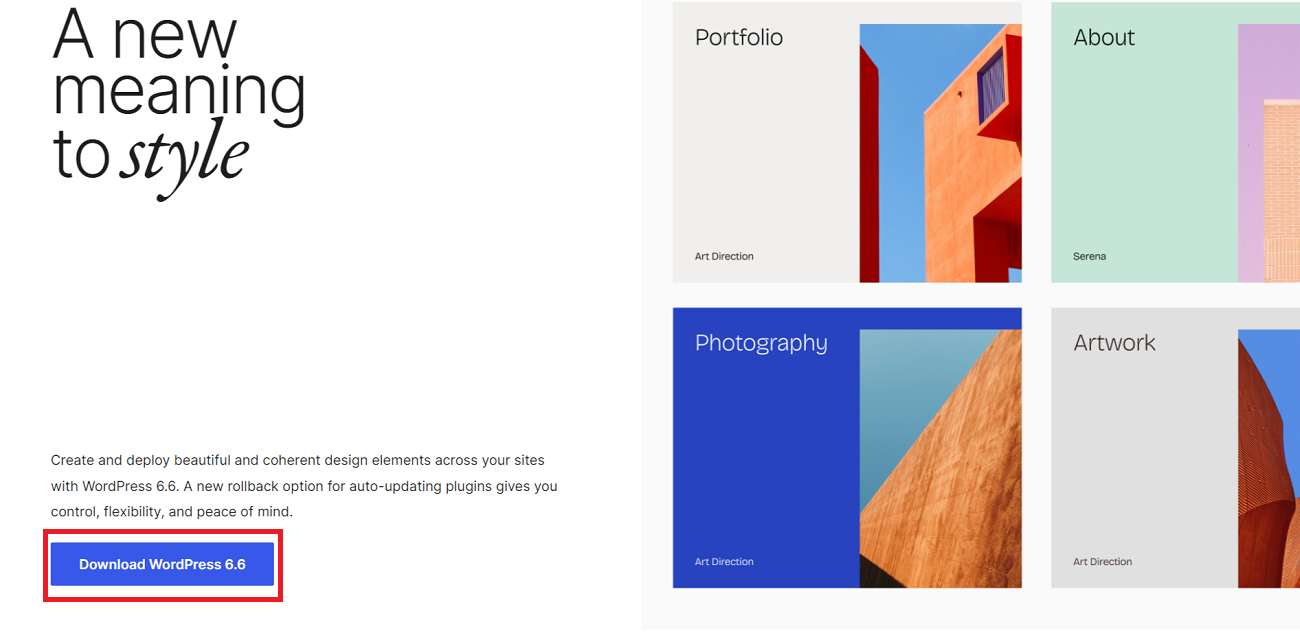
Once the XAMPP server starts running smoothly, you should install WordPress. If you go by our logic, downloading the latest version of WordPress should be your preferred choice. After downloading WordPress, you should extract the ZIP file.
Go to your XAMPP folder in the C drive (C:\xampp) and find the htdocs folder. Once you have located the htdocs folder, use it to upload the extracted WordPress files. It is highly recommended that the new folder be renamed based on your website’s name. This way, you can make the web development on the XAMPP server easily rememberable.
Step # 4: Create a Local Database
To create a local database, use your XAMPP control panel and launch phpMyAdmin by selecting the Admin button of MySQL. phpMyAdmin, as the name indicates, is an admin tool that helps manage MySQL and MariaDB databases. You can use this tool to develop a local MySQL database for your potential website. Moreover, you can install phpMyAdmin on Windows and MacOS without fuss.
You must open the Databases tab to write the database name into the Create database section. In addition, you should select the dropdown menu’s value to Collation and press the Create option. By doing so, a newly created MySQL database would appear on the left sidebar of your web page.
Step # 5: Install WordPress on Localhost
In this step, you will use your browser to complete the local WordPress installation process. Write http://localhost/foldername in the address bar. Remember to replace the ‘folder name’ with your chosen folder name in the 3rd step. Moreover, you should provide WordPress with a list of information when developing the localhost website. Give the following database information:
- Database name (the name you created in phpMyAdmin).
- Username (write ‘root’ as the default username).
- Password (do not fill in the MySQL database password field and leave it blank).
- Database host (remember to keep it to the default ‘localhost’).
- Table prefix (remember to keep it to the default ‘wp’).
Once you have provided all the required information, press Submit > run the installation. You should provide additional information, including the website name, username, and password. Lastly, click the Install WordPress button to complete the WordPress installation on the localhost process.
NOTE: WordPress will automatically save this information in the wp-config.php file regardless of whether you use Windows or Linux. As for macOS, WordPress will offer a code snippet to users to change the current wp-config PHP file content.
Step # 6: Check Your Newly Created Website
Your newly developed website is ready. To check it in detail, write this address: http://localhost/foldername/wp-admin in the address bar. Provide your login credentials to access the WordPress dashboard. Remember, you will use the login credentials you created in the earlier step.
Why is It Crucial to Run WordPress on Localhost?
When developers and designers install WordPress on localhost, they can develop an exclusive yet secure environment, enabling them to examine new functionalities and features. The great thing is that users can still visit the live website from anywhere, and all the amendments you make in the local environment will not affect your live site.
However, you can face issues after configuring WordPress on a localhost server like XAMPP. For example, you may have to deal with XAMPP localhost/index.php error. Therefore, you should follow this guide to eliminate this error.
XAMPP for WordPress Development Reddit
Reddit is a popular social interaction site that helps users learn about various products and services. The platform also enables users to share their experiences with others, helping them make informed decisions. Regarding XAMPP for WordPress development, multiple users have recommended the former for the latter.
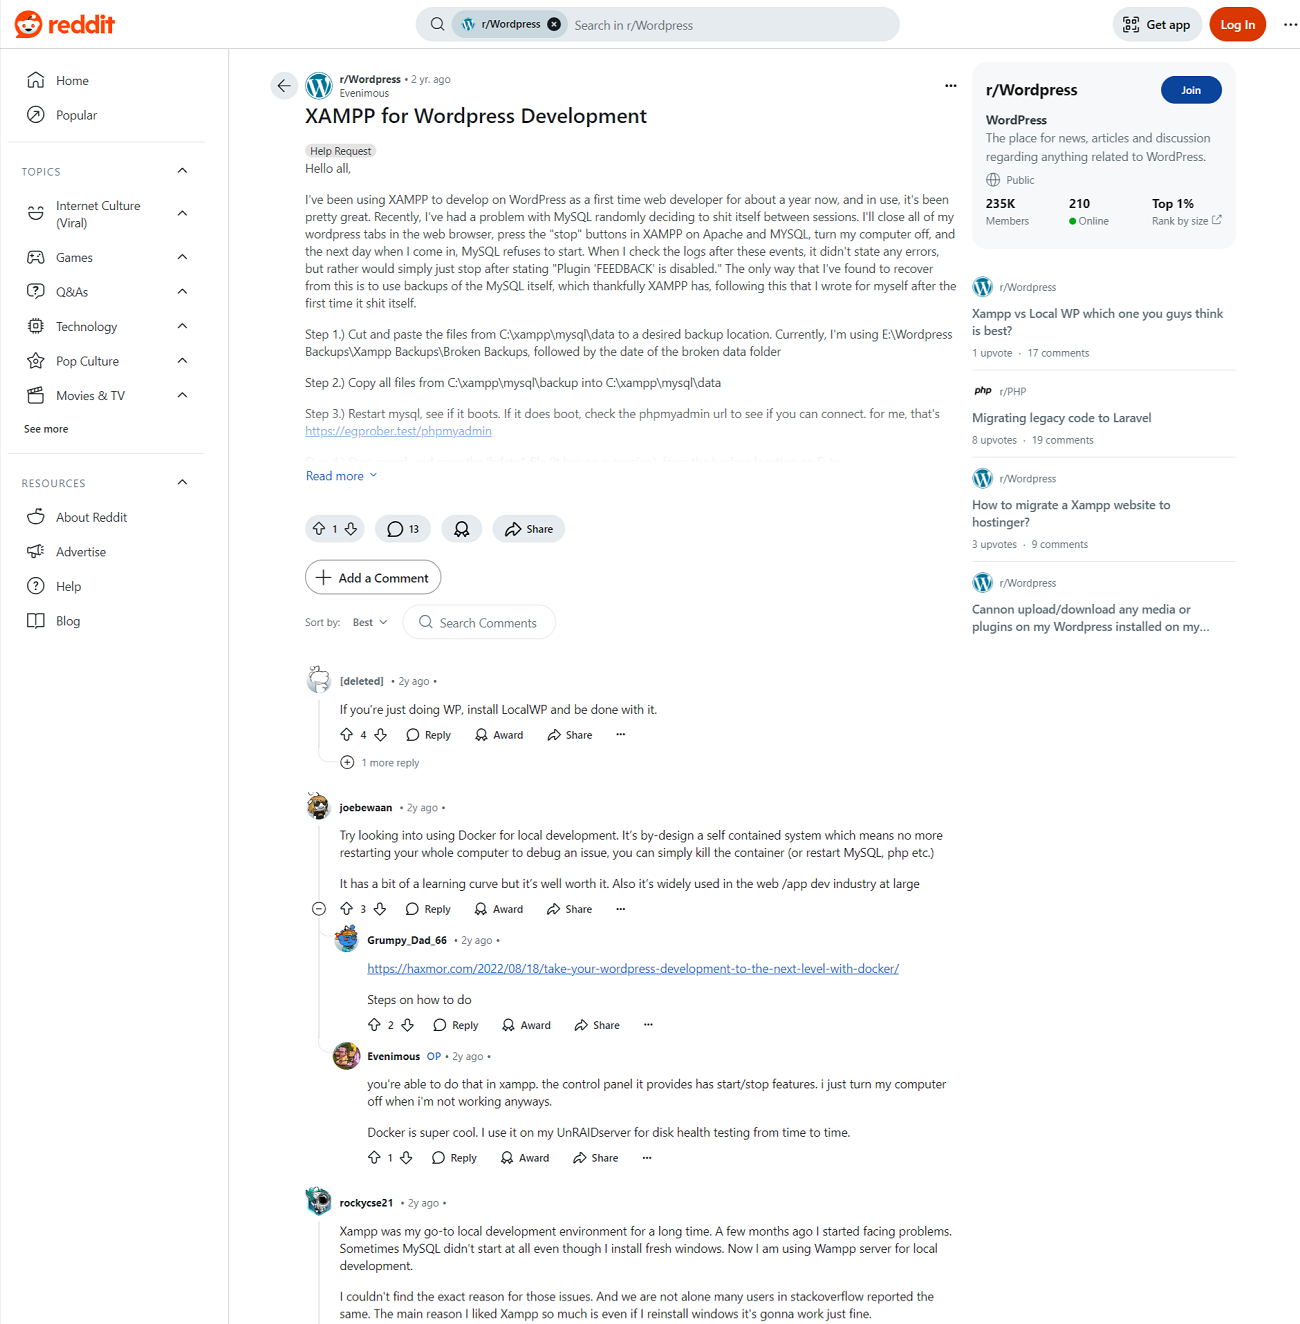
If you want to learn the nitty-gritty of WordPress locally, XAMPP is a decent option, as it will help you get many perks in the long run.
Benefits of Using a Local Server for WordPress Development
You can get various benefits by opting for XAMPP as a local server for WordPress development. For instance, it offers a secure and private environment for examining WordPress plugins, themes, and customizations. XAMPP helps you troubleshoot issues before you make changes to your live site. You can create your new site quickly if you go with XAMPP.
Do You Need Professional Help?
As a seasoned web development company, WPExperts provides valuable WordPress expert services to businesses worldwide, depending on their requirements. This allows them to manage multiple sites smartly by getting various services like page building, custom plugin development, payment gateway solutions, etc., within their budget, increasing sales and revenues.
Wrapping Up
We hope you appreciate our blog post, which explains how to install WordPress on localhost. Installing WordPress locally through XAMPP is not as difficult as you think. To correctly configure the popular content management system on localhost, follow the above steps.
Stack-based solutions like XAMPP are a great way to create WordPress websites on your device. The whole installation process is simple and can be completed within minutes. Once you have everything configured, creating posts, pages, and a WordPress site seems exciting and eventful.


