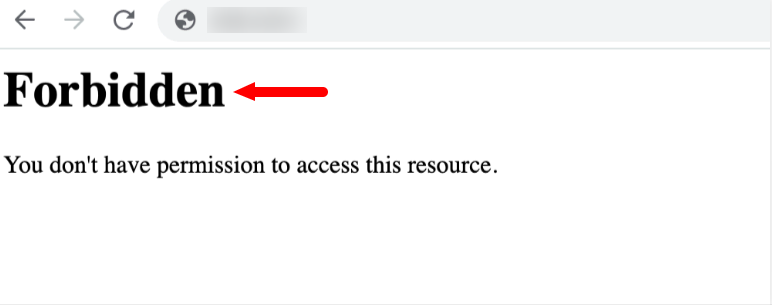
403 forbidden error is an HTTP status code in WordPress highlighting that the web server understands the request but cannot authorize it because of permission issues.
Additionally, client-side misconfigurations can become one of the major causes behind this HTTP error code.
Unfortunately, the 403 forbidden error can negatively impact your WordPress site by hampering crucial indicators like bounce rates and user experience.
This blog post will describe the 403 forbidden error and what you can do to avoid this annoying HTTP error in the future.
What is 403 Forbidden Error?
403 Forbidden error is a permission error that occurs for various reasons, including indexing issues, ownership issues, poorly coded plugins, etc. This HTTP status code appears on users’ screens when they try to access forbidden resources. Hopefully, you now know what is 403 error and why it happens frequently.
What Causes the 403 Forbidden Error in WordPress?
The 403 error occurs on WordPress websites due to issues such as incorrect file permissions, corrupt .htaccess files, and poorly coded plugins.
Examples of 403 Forbidden Error
Users can experience 403 forbidden errors in different ways, including:
- Forbidden
- 403 Forbidden
- HTTP Error 403 – Forbidden
- Error 403
- A 403 forbidden error occurred while using an ErrorDocument to handle the request.
- Forbidden: You don’t have permission to access [directory] on this server.
How to Fix the 403 Forbidden Error in WordPress?
You can bypass 403 errors on your WordPress site by following various methods. These helpful methods are:
- Clear Your Cache and Cookies.
- Check the .htaccess File
- Correct Your File Permissions.
- Disable CDN (Content Delivery Network).
- Deactivate Plugins.
- Contact Your Hosting Service Provider.
- Scan for Malware.
- Regularly Update the Browser.
- Recheck the Index Manager Values.
- Inspect Server Error Logs.
- Deactivate Your VPN.
- Take Advantage of the Sitechecker Website Crawler Tool.
- Try Again Later.
- Refresh the Page.
- Recheck the Website Address.
- Contact the Website Owner.
- Update Nameservers.
NOTE: Always back up your entire WordPress site before executing any troubleshooting method. If something goes wrong or you face HTTP error 403, you can quickly recover your WordPress site if you try any of the troubleshooting methods.
1. Clear Your Cache and Cookies
Clearing your browser’s cache enables you to tackle 403 Forbidden errors in WordPress smartly. If you use the Google Chrome web browser, clear browser data, including cache in WordPress, by clicking the three dots in your browser’s top-right corner. This way, you can access the settings panel.
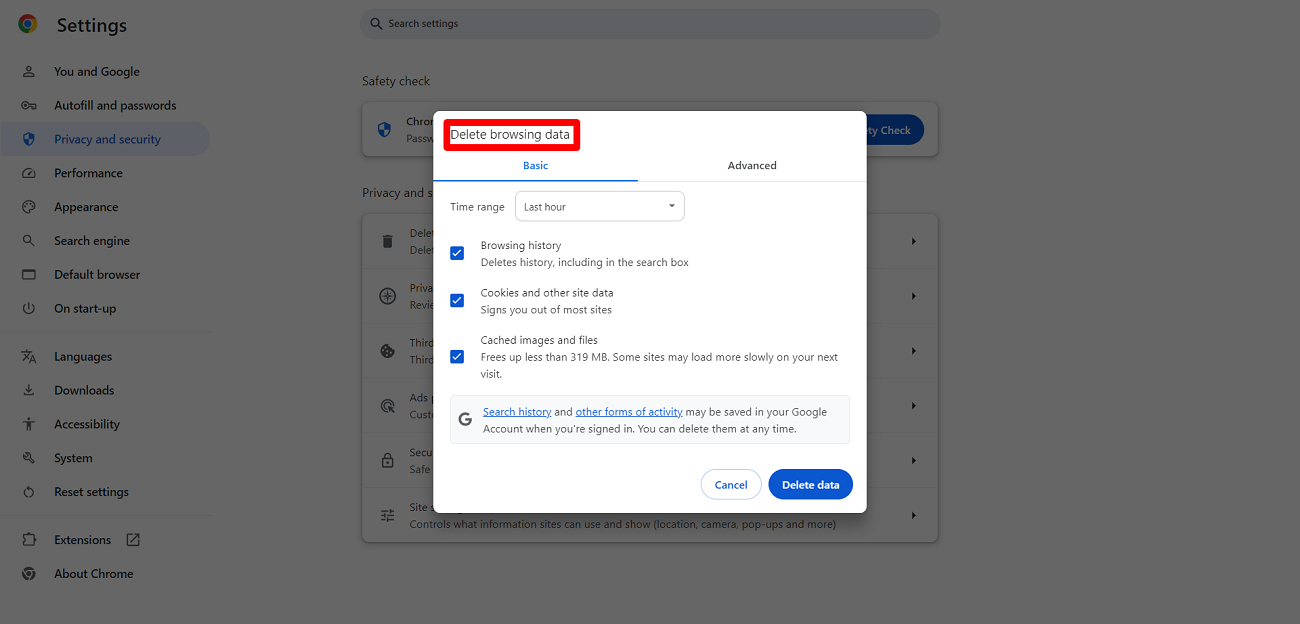
After clicking the three dots, click the option, Delete browsing data. Furthermore, you must choose options like Browsing history, Cookies and other site data, Cached images, and files. Doing so can resolve the 403 Forbidden error in WordPress once you click the Delete data option.
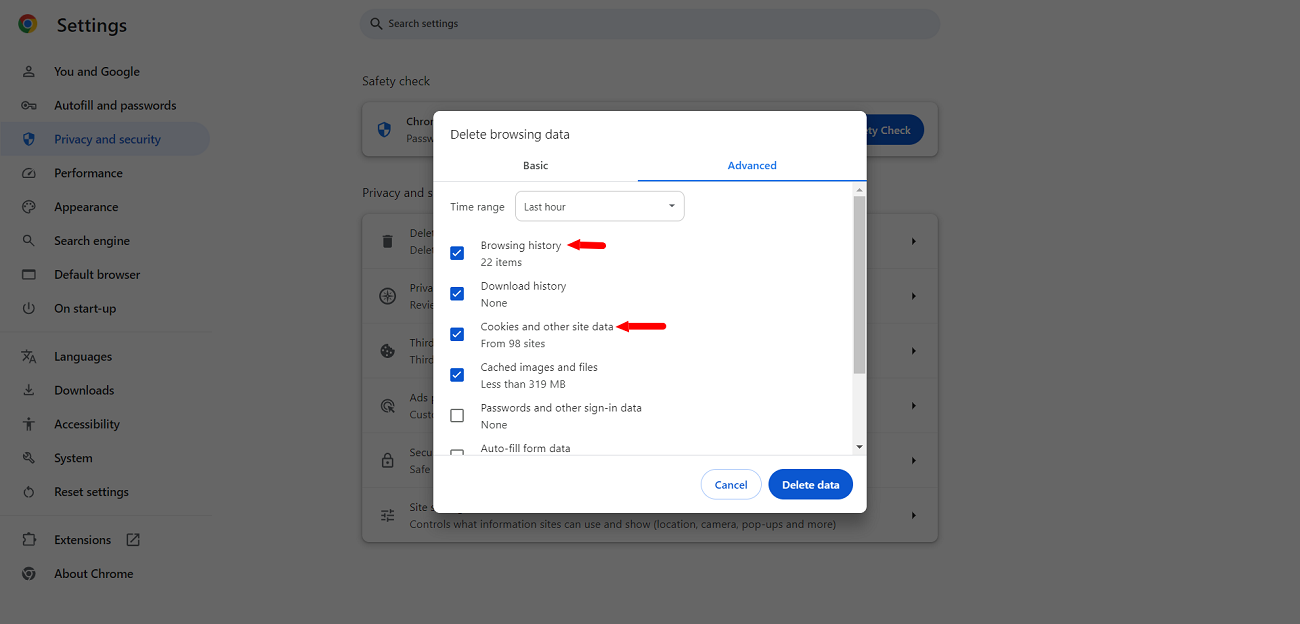
Similarly, you can remove advanced data by clicking the ‘Advanced’ data tab. You can select options like Download history, Cookies and other site data, Cached images and files, Browsing history, and more. You can fix 403 forbidden errors by clicking the Delete Data option.
Likewise, clearing cache and browsing data helps users remove the Err_Cache_Miss error in Google Chrome.
2. Check the .htaccess File
You can remove the 403 forbidden error by fixing the .htaccess file. For that reason, follow the below-mentioned steps:
- Log in to your server via an FTP client and go to the .htaccess file in the public_html.
- Right-click the .htaccess file and download it.
- Delete the .htaccess file once you download it to have a new backup of the file.
- Go to your browser and refresh your site to see if the 403 error code is removed.
If your issue or HTTP error 403 is resolved, it validates that your .htaccess file was corrupt.
If you want to create a new .htaccess file, log in to your WordPress area and go to the Settings > Permalinks page. Click the ‘Save Changes’ button so that WordPress can generate a new .htaccess file.
3. Correct Your File Permissions
You can bypass the 403 forbidden error or HTTP error 403 by correcting your file permissions. To correct your file permissions, follow the steps described below:
- Connect to your WordPress site through the FTP client and go to the root folder, which contains all your WordPress files.
- Right-click public_html and then click the file permissions option.
- The numeric value in the Permission box must be 744 or 775.
- Check the box available next to ‘Recurse into subdirectories’. Check the option, ‘Apply to directories only,’ and click OK.
- Follow the same process for all files.
- The file permission must be 644 or 640.
- Choose Recurse into subdirectories > Apply to files only, and click OK.
Access your WordPress site to check if the 403 forbidden error is resolved.
4. Disable CDN (Content Delivery Network)
Content Delivery Network can cause the 403 forbidden error at times. Therefore, you should temporarily deactivate your CDN to avoid facing 403 errors.
A CDN (Content Delivery Network) typically functions like a middleman between sites’ servers and visitors. It helps visitors access cached content from geographically distributed locations worldwide.
5. Deactivate Plugins
Deactivating WordPress plugins allows website owners and developers to bypass the 403 forbidden error successfully. Therefore, you should temporarily deactivate your WordPress plugins to see if your issue is resolved.
If this is the case, one of the plugins has caused the 403 forbidden error on your site.

6. Contact Your Hosting Service Provider
If you have tried all the above-described methods but still experience the 403 forbidden errors, contacting a hosting service provider can help.
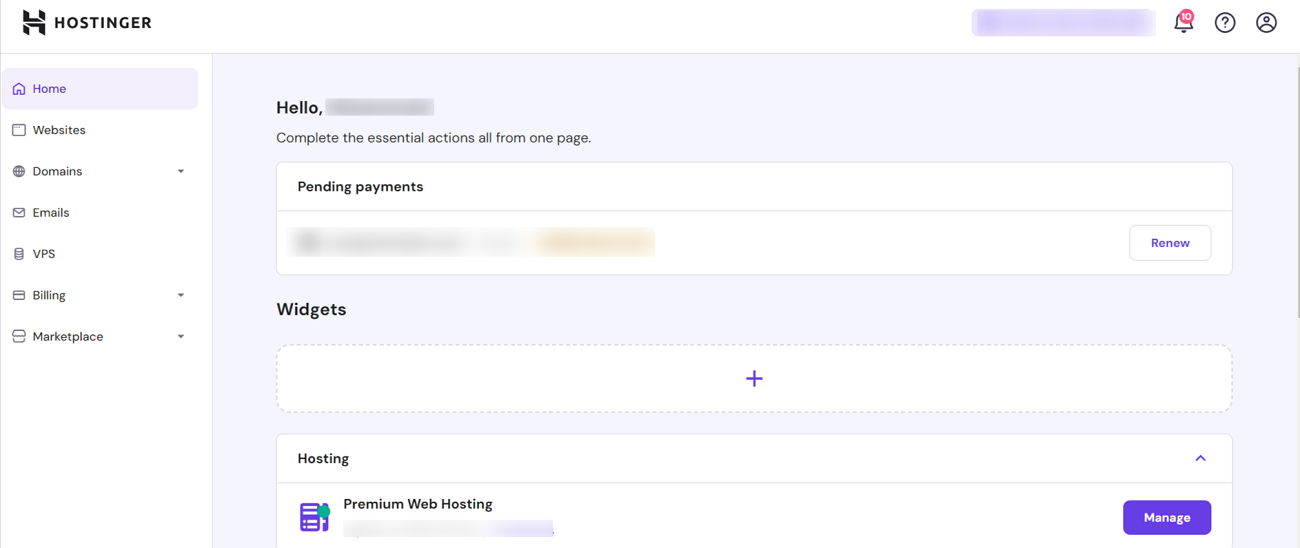
Fortunately, various hosting service providers help WordPress site owners solve the 403 error.
7. Scan for Malware
As you know, .htaccess is a web server configuration file that functions by changing the Apache web server settings. To change the Apache web server settings, check your site’s root directory, public_html. This file comprises a set of rules explaining how your site should respond in specific scenarios. Furthermore, these rules determine who is allowed to access what pages or resources.
If malware infects your website, undesirable code can be inserted into the .htaccess file. This means the rules can likely be changed, resulting in the HTTP status code 403. You can use security plugins, such as Sucuri, Wordfence, etc., to scan your website for malware.
8. Regularly Update the Browser
One effective tactic or way to reduce the likelihood of 403 Chrome errors is updating your browser regularly. In short, you must always use the latest version of your chosen browser. Frequent updates guarantee that your browser benefits from bug fixes, compatibility enhancements, improvements, and other contemporary security patches, which can considerably decrease the chances of 403 errors.
To update your browser, go to the settings menu, explore the “About Chrome” section, and check for available updates. This simple activity can help you improve your browsing experience and ensure optimal performance.
9. Recheck the Index Manager Values
The Index Manager feature is available in the cPanel. With this feature, users can easily manage how their web server displays or showcases directory content. If they set the Index Manager to “Default System Setting” or “No Indexing,” it can trigger the 403 error. This issue usually arises when users access a directory that does not have an index file.
To overcome this hassle, log into your cPanel account and then go to the Advanced section, and choose the option, “Indexes.” Now, you must adjust the Index Manager settings to “Fancy Indexing” or “Standard Indexing. Doing so will guarantee the proper directory display.
10. Inspect Server Error Logs
If you still see the error code 403 on your screen despite applying the above solutions, you should check your server error logs to detect the problem that triggers it. As you might know, these logs contain all the warnings and errors your web server generates.
You must log in to your cPanel and go to Metrics > Errors to access the error logs. Otherwise, you can use an FTP client to connect to your site’s files and detect the error_log file. Investigating such logs can offer helpful insights into the 403 error at hand.
11. Deactivate Your VPN
This is another easy yet results-driven solution or fix that can solve this 403 Forbidden error. In reality, websites sometimes prevent VPN users from accessing them. As a result, they can experience the 403 Forbidden error message on their screens.
Therefore, you must disable your VPN and try to connect to the site again. This way, you can likely overcome the 403 Forbidden error. In addition, you will not see the error code 403 on your screen.
12. Take Advantage of the Sitechecker Website Crawler Tool
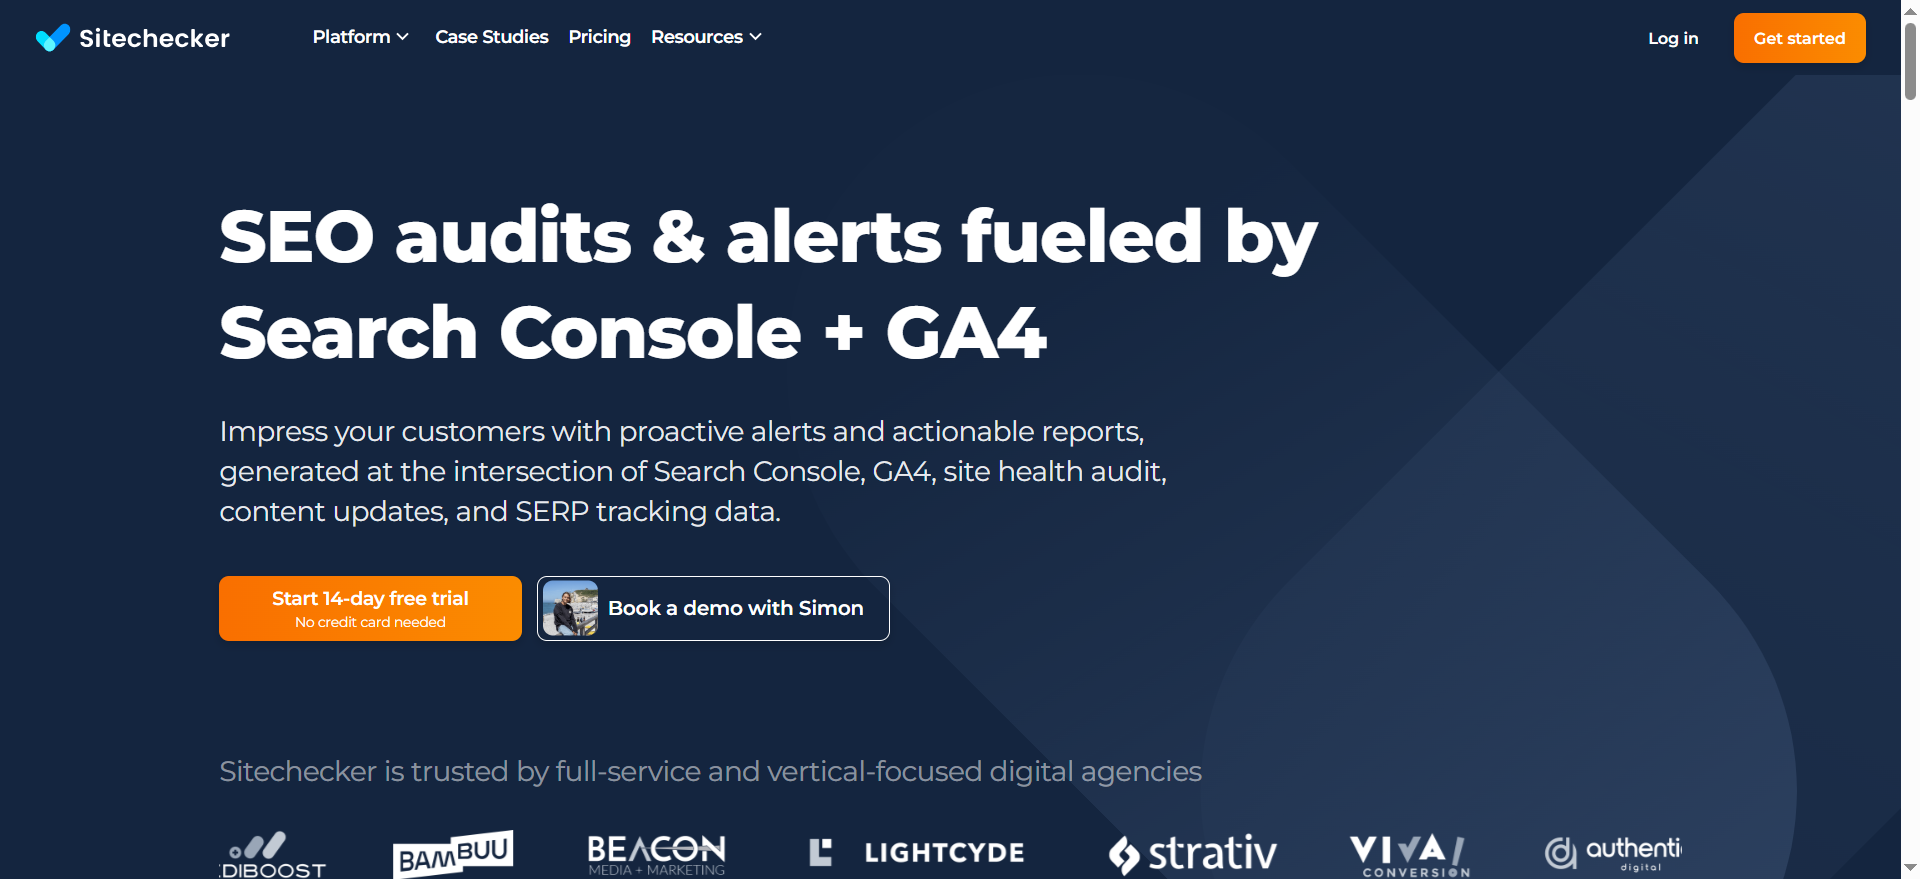
The Sitechecker Website SEO Checker can offer users a thorough SEO audit report by providing solutions and checkers for their websites. Amongst other built-in tools, it includes a website crawler, a site monitoring tool, and a rank tracker.
It’s essential to constantly monitor your pages for 403 errors; you can do this with Sitechecker. You can examine your site for all errors, not limited to 403.
13. Try Again Later
If none of the simplest yet easiest solutions we have explained removes the error code 403, you can always wait a while and return later. Since issues with the website in question usually cause 403 Errors, someone has likely started working on the problem.
14. Refresh the Page
There is no denying that refreshing the page is always worth trying. The 403 error is often temporary, and a simple refresh might resolve it. Typically, web browsers take advantage of a command: Ctrl+R on Windows. Similarly, they take advantage of the command: Cmd+R on Mac to help users refresh the desired page. Web browsers offer a refresh button by default to facilitate refreshing pages.
It doesn’t often fix the error code 403 problem, but it can likely solve the problem sometimes within seconds.
15. Recheck the Website Address
The incorrect URL is one of the common reasons behind the 403 error. Therefore, you must ensure that you type the correct web address. For instance, a regular URL ends with .php, .com, .org, .html, or has an extension. As for the directory, it typically ends with a “/”.
Most servers are configured to disallow or prevent directory browsing for security reasons. When these servers are correctly installed, users will be redirected to another page. When they’re not properly configured, they will likely witness a 403 error.
16. Contact the Website Owner
After understaning what is 403 error, another way of resolving this issue is to approach the website owner or other stakeholders, including the website developer and administrator.
For this reason, you can check their contact information on the website, contact them regarding the page, and ask them about the issue directly. You can contact the website through social media if there is no contact form. This will likely help you avoid facing the error code 403 in the future.
17. Update Nameservers
Updating nameservers can help you get rid of the 403 Forbidden error. Unsurprisingly, website owners don’t update their nameservers. As a result, their domains refer to the previous host, resulting in the 403 error status code.
This means that you must update your domain’s nameservers. To do this, follow the steps below:
- Find the nameservers by exploring your hosting provider’s welcome email.
- Access the domain’s registrar’s control panel by logging in.
- Go to your domain’s DNS settings and detect the nameservers settings. Replace the old settings with the new settings your hosting service has provided.
- Save all the changes to update the new nameservers settings successfully.
The above steps will help you avoid HTTP error 403 in WordPress. However, it is better for you to understand what is 403 error first.
Do You Need Professional Help?
WPExperts is a WordPress development firm offering several results-driven services to businesses of various sizes globally. If you regularly face 403 forbidden errors on your WordPress site and want to fix them using the expertise of seasoned WordPress web developers, WPExperts is an excellent choice.
Through WordPress website maintenance services, you can bypass the 403 forbidden error and considerably enhance your site’s performance.
Wrapping Up
We expect you to like our blog post explaining the 403 forbidden error in WordPress. The 403 error code can hamper your website’s performance, disrupt its functionality, and lead to a poor user experience.
This HTTP error can have various causes, such as faulty WordPress plugins, corrupt .htaccess files, and incorrect file permissions. Therefore, you must regularly perform the above-explained methods to prevent 403 errors from hampering your WordPress sites.
Consequently, you can smartly tackle annoying issues, such as poor user experience, higher bounce rates, and more.


