Table of Contents
Purpose #
Add an invoice payment method to your WooCommerce website – Give customers the alternative to making immediate payments.
The B2B invoice payment method for WooCommerce allows you to add an alternative payment process for B2B customers, enabling your WooCommerce store to accept invoice payments instead of immediate payments.
Features #
- Rule-based management.
- Create Multiple rules.
- Rules criteria (Shipping, user roles, product, categories, tags, cart, location, and other options).
- Add thank you page instructions.
- Add Rule based instructions.
- Invoice Payment Toggle.
- P.O number field.
- Custom Text Message Field.
- Compatible with Wholesale for WooCommerce.
Installation Guide #
- Login to your WordPress Admin panel
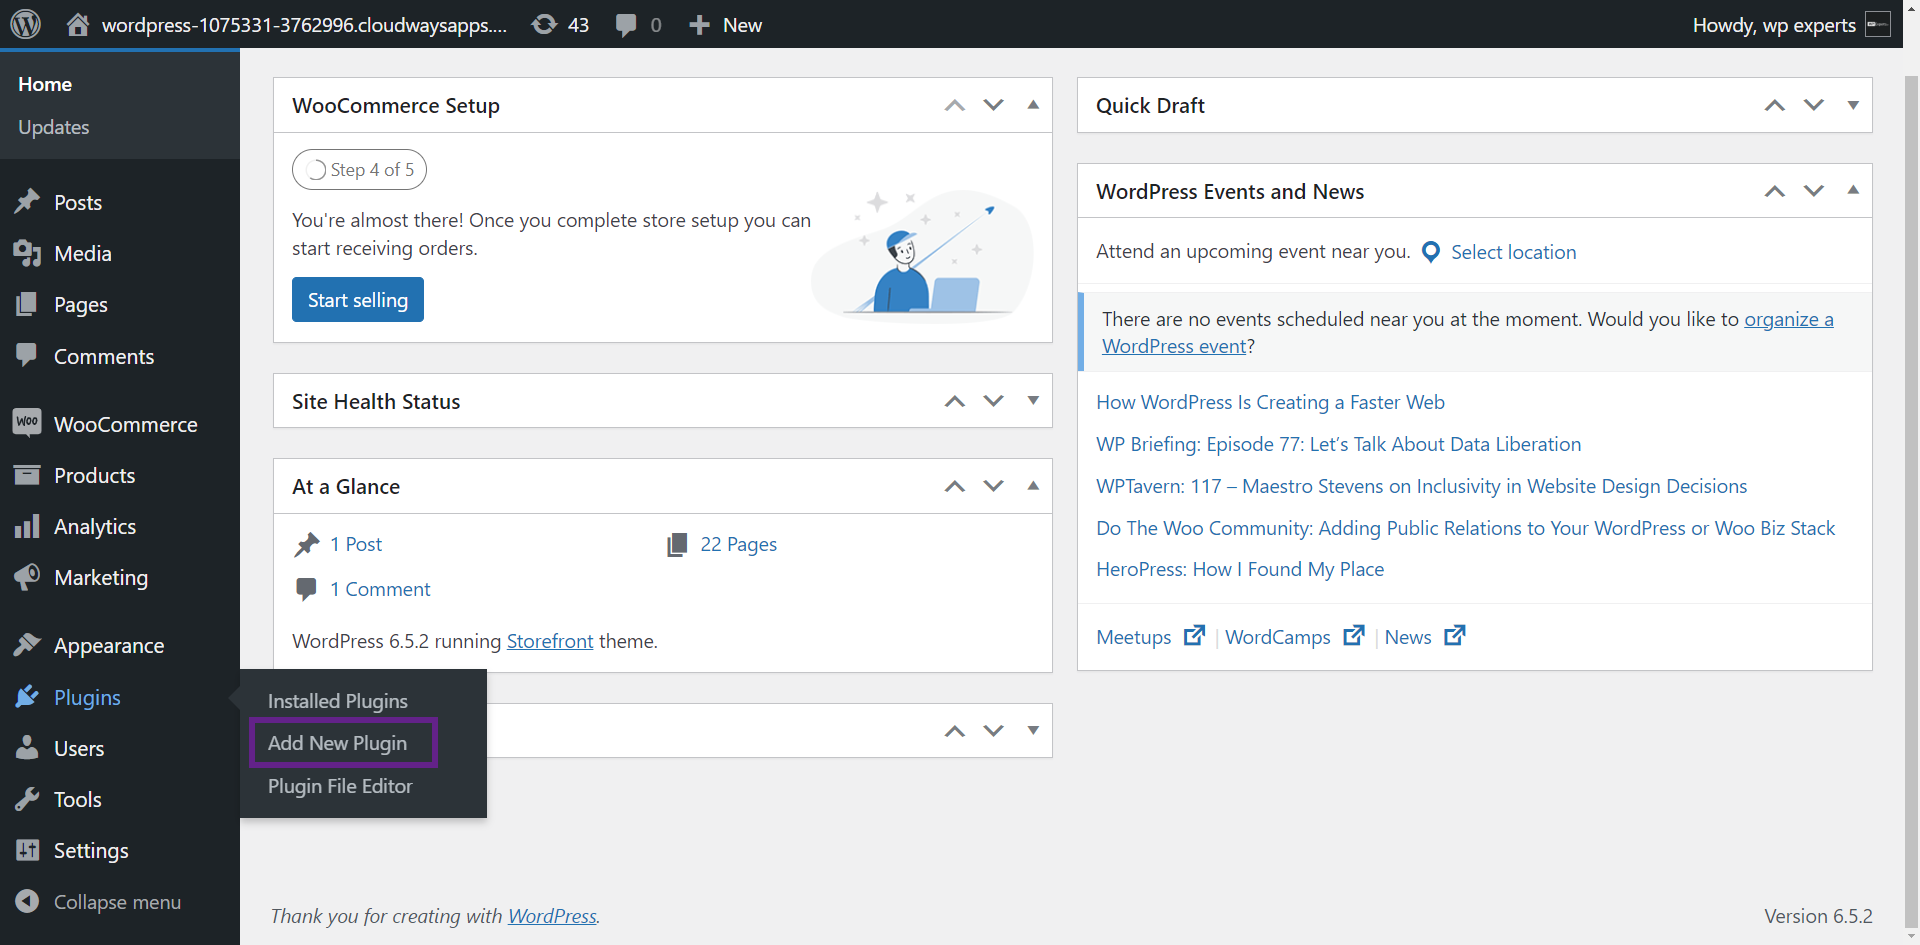
- Navigate to the WordPress Admin Dashboard → Plugins → Add New.
- Click on the Upload Plugin button on the top left corner of your screen.
- Next, click the Choose file button in the box that appears below.
- Select the zip file that you have downloaded and upload it.
- Click on the Activate Plugin button.
Getting Started #
Invoice Payment Method Toggle #
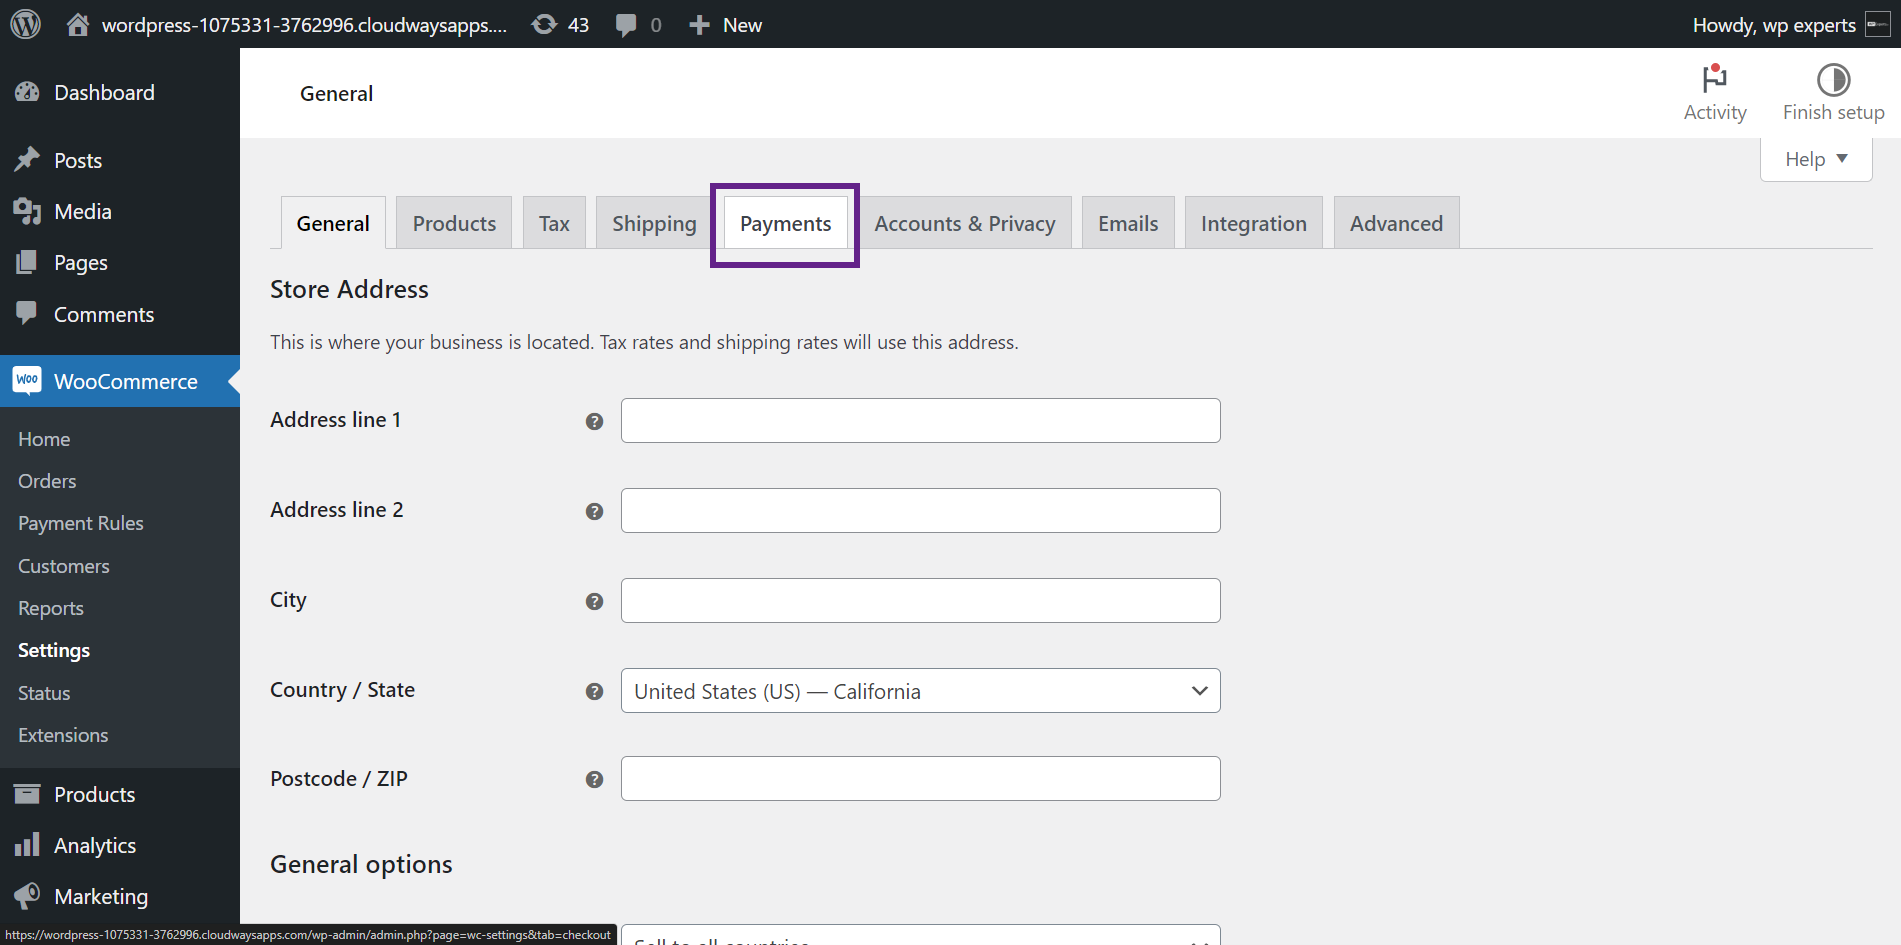
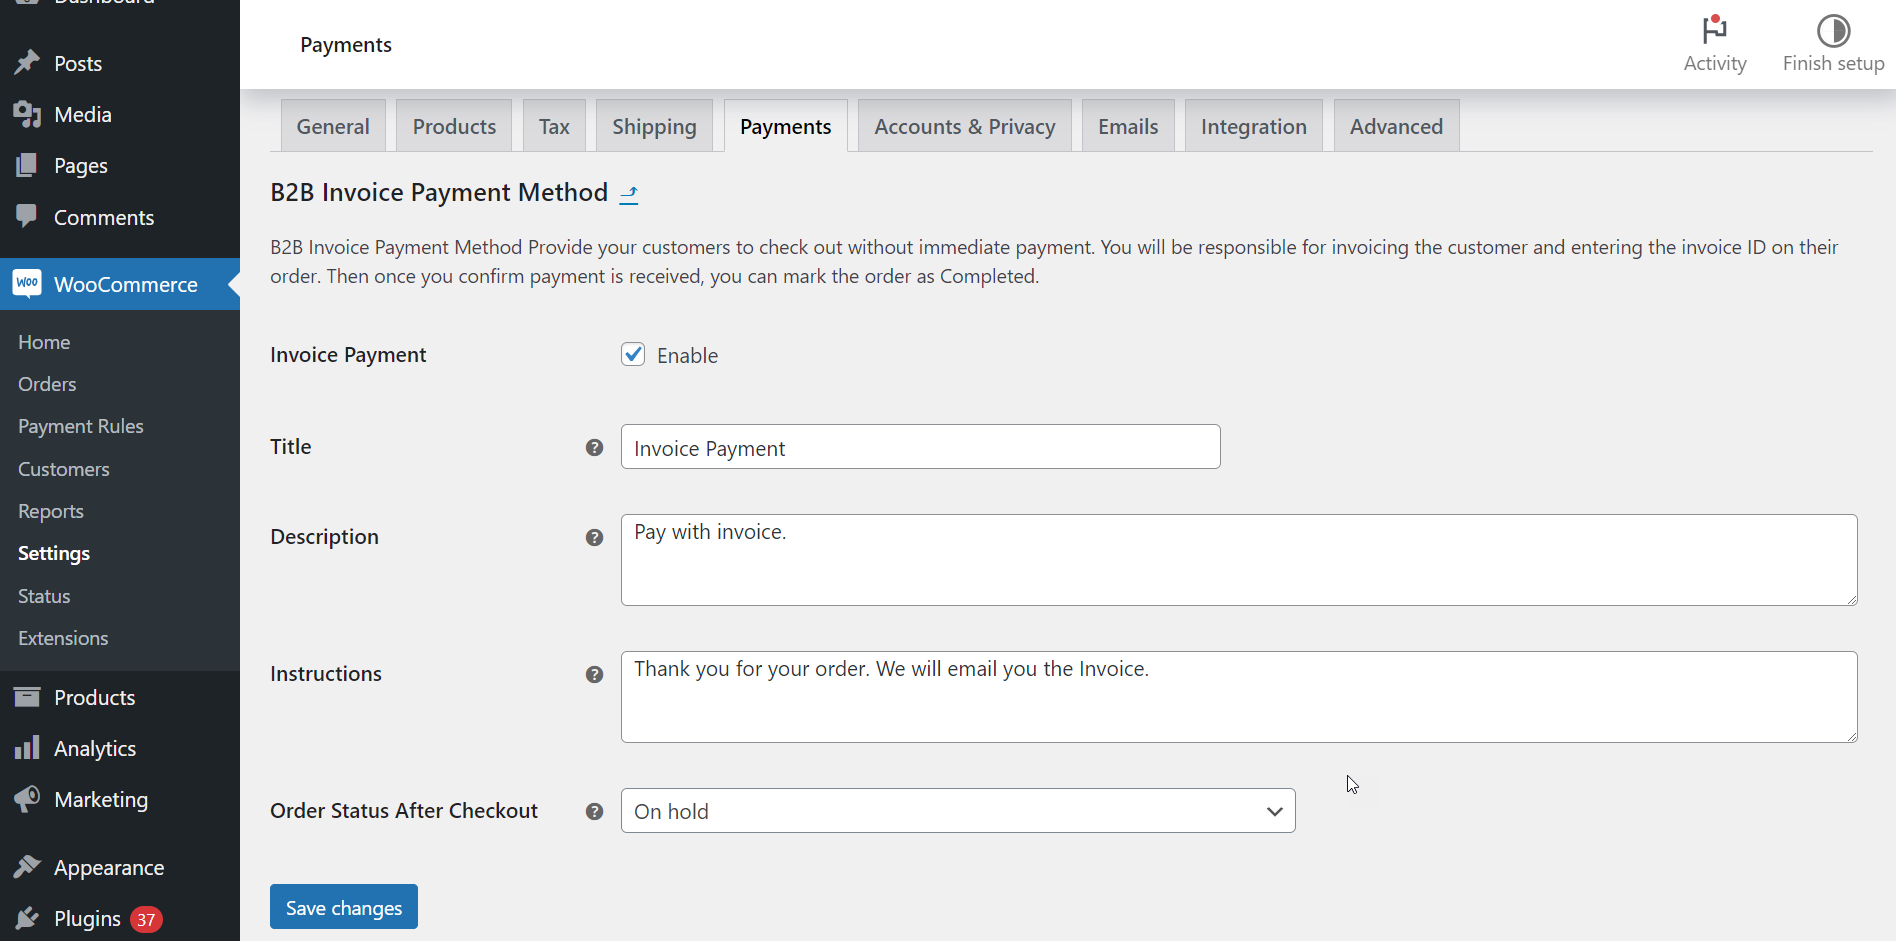
- Once installed, the admin must enable the payment gateway to do that, navigate to WordPress Admin Dashboard → wooCommerce → Settings → payment.

- A new window will appear on the next page select Payment.
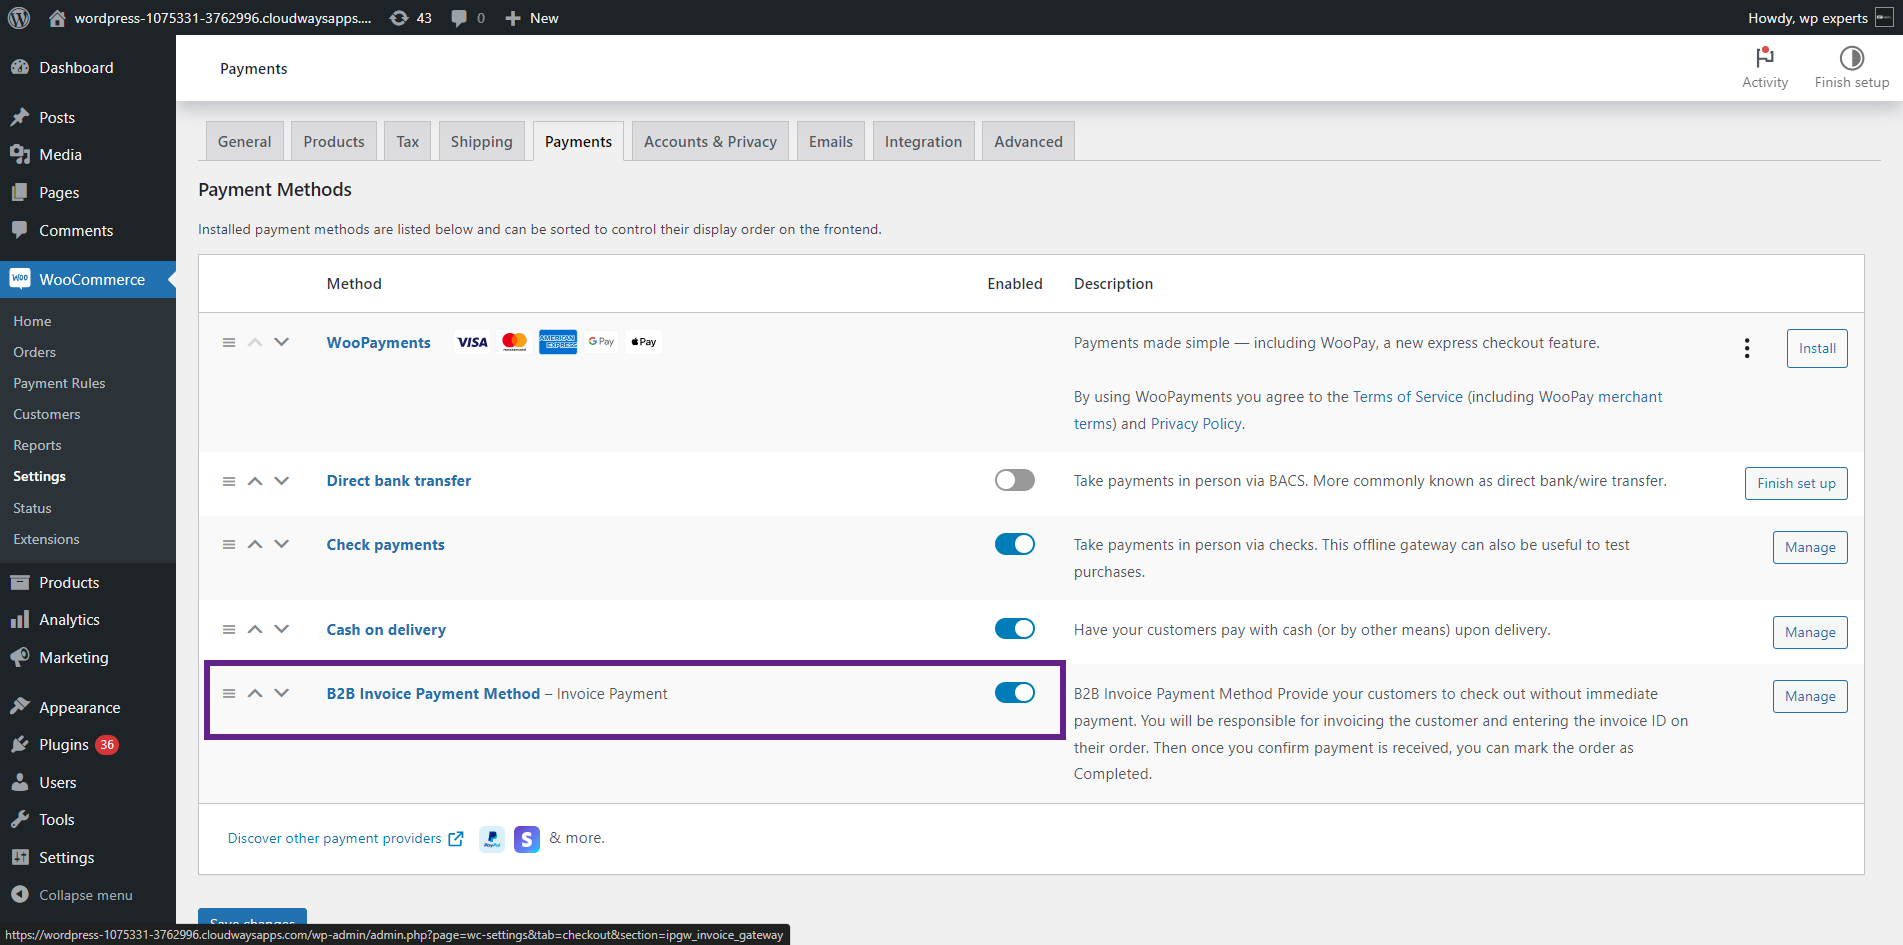
- Toggle and turn on the B2B Invoice Payment Method for WooCommerce.
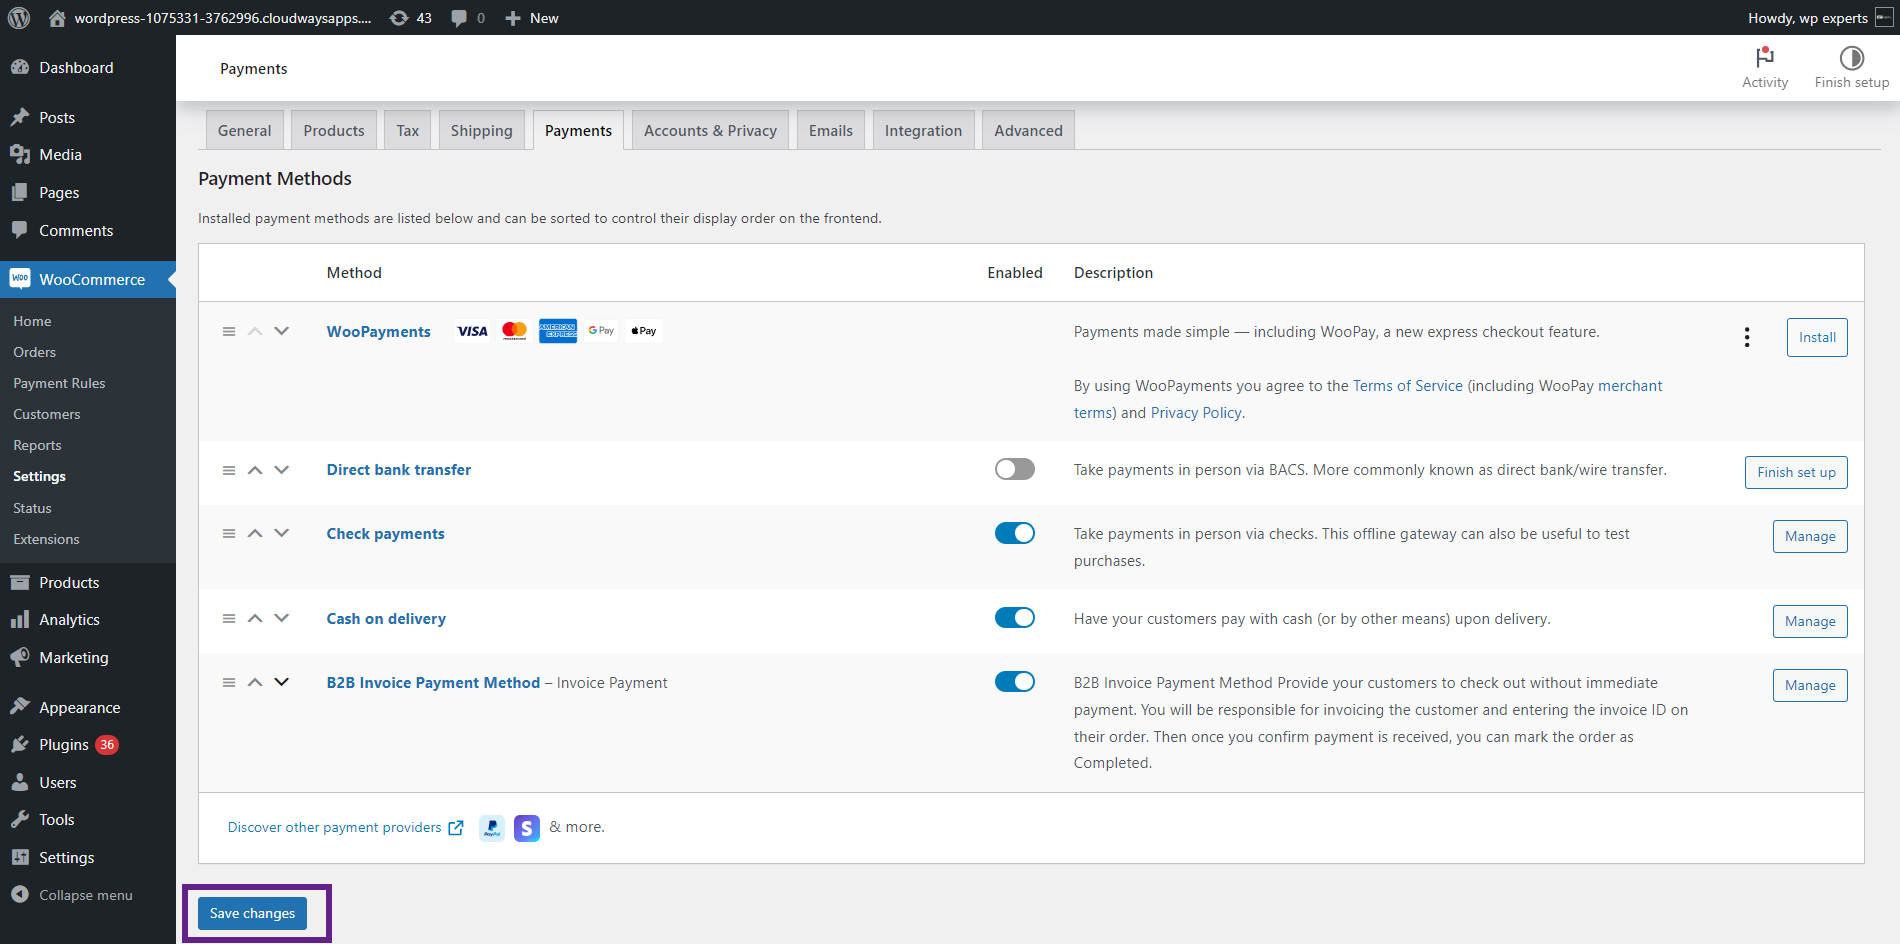
- Now click the Save changes Button.
- Click on the Manage Button.
- Admin can enable / disable the gateway from the manage settings.
- Add payment method description. This is a general description displayed on the front-end when the invoice payment method is selected. By default, this description will be displayed if the rule does not have any description.
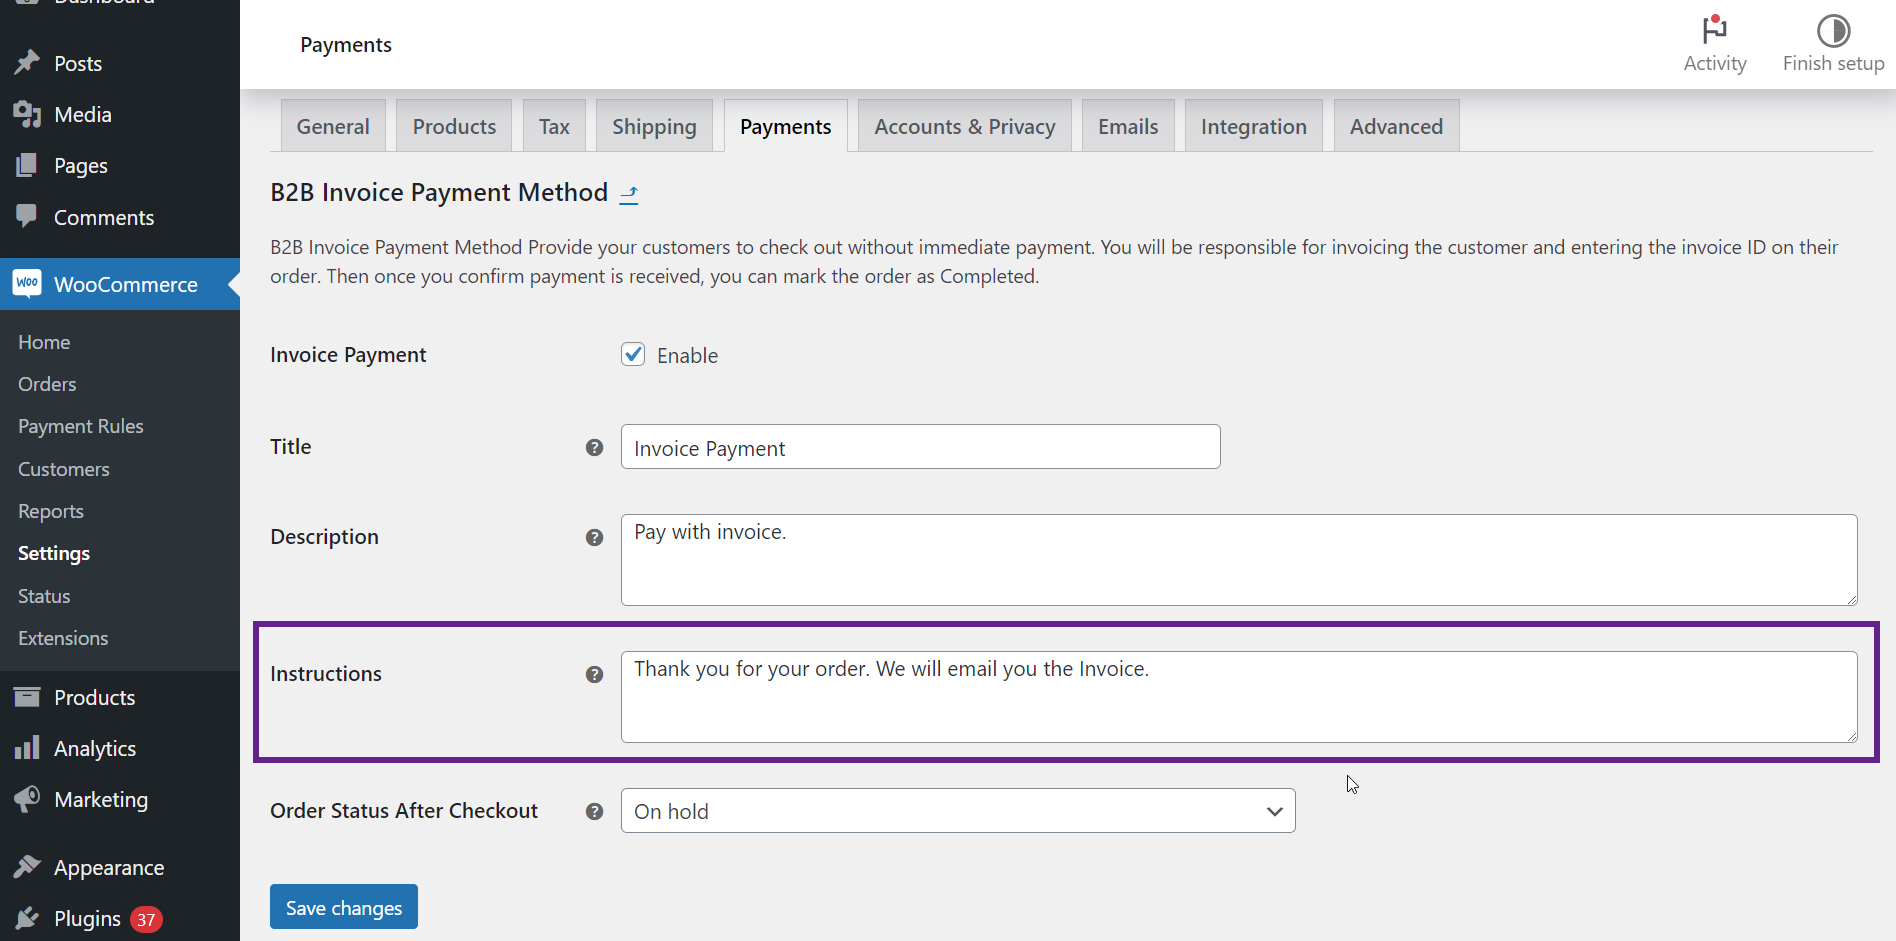
- The admin can add thank you page instructions, which will be displayed on the order confirmation page.
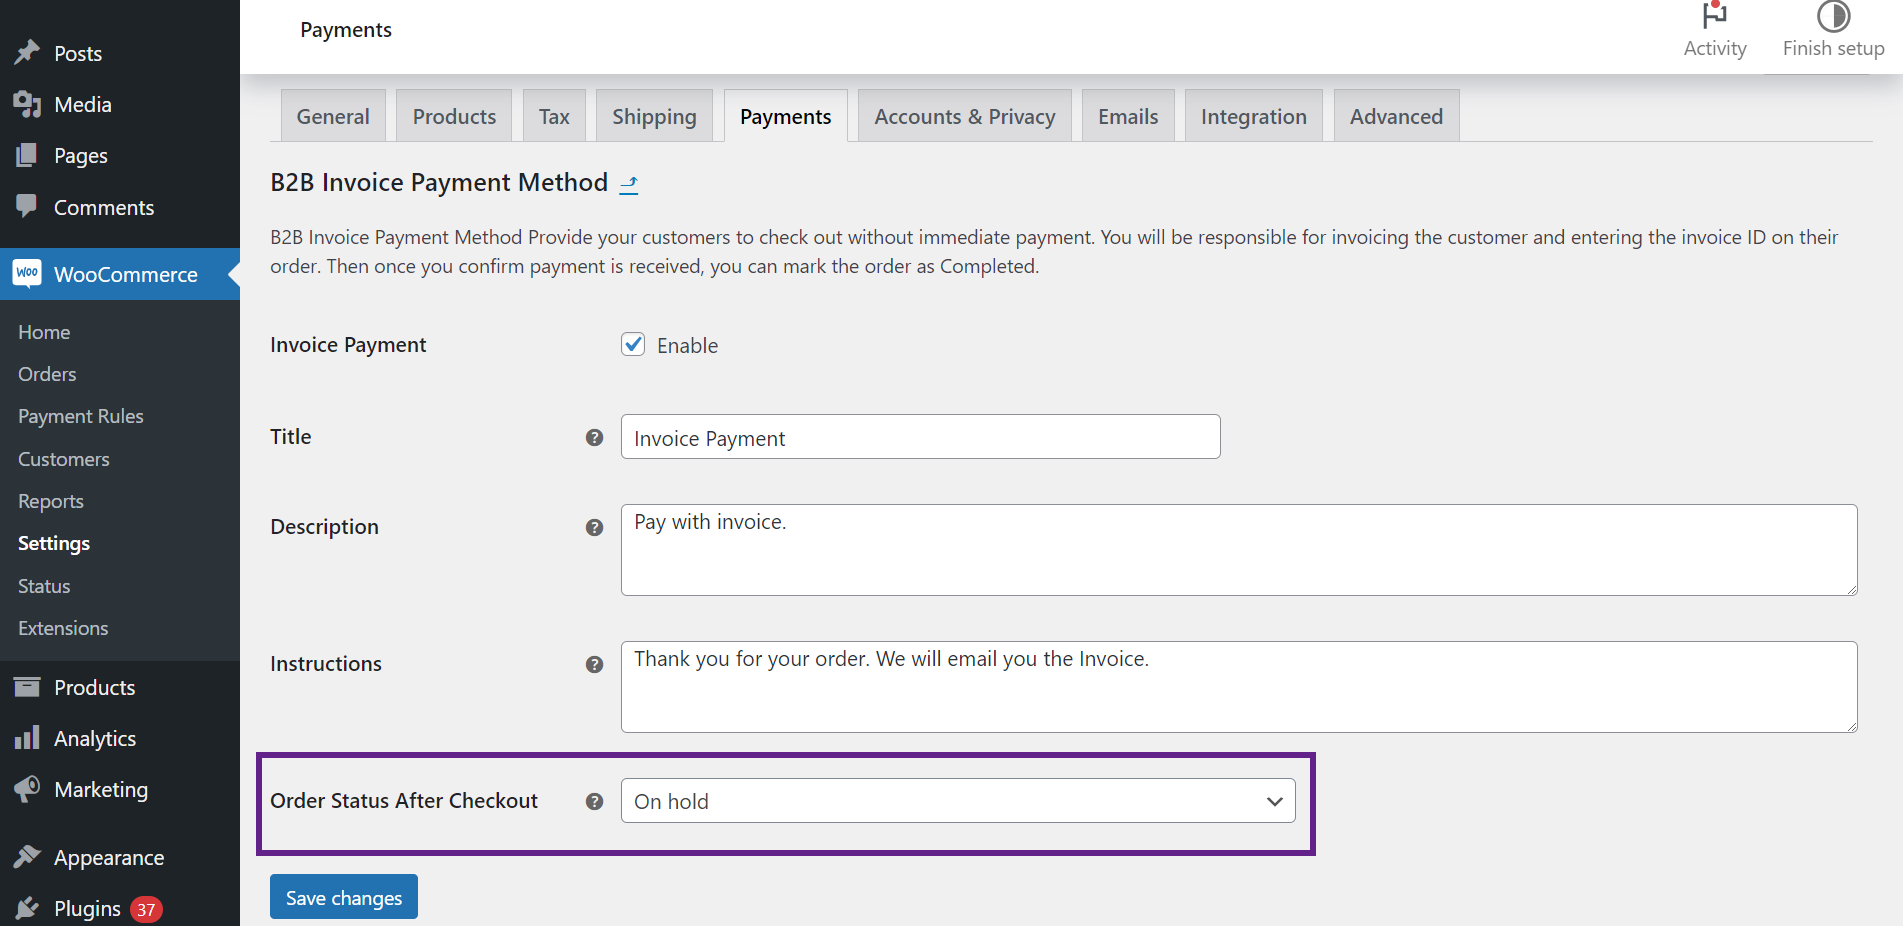
- Order Status After Checkout: The admin can select the order status from the dropdown menu. When an order is placed using the invoice method, it will be assigned to the selected status.
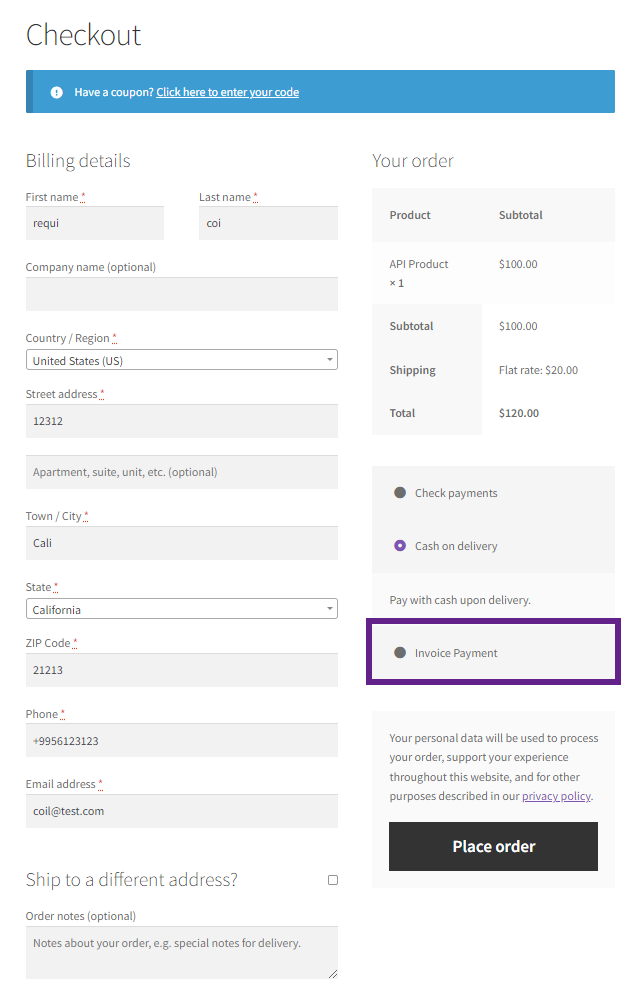
- Front End Impact
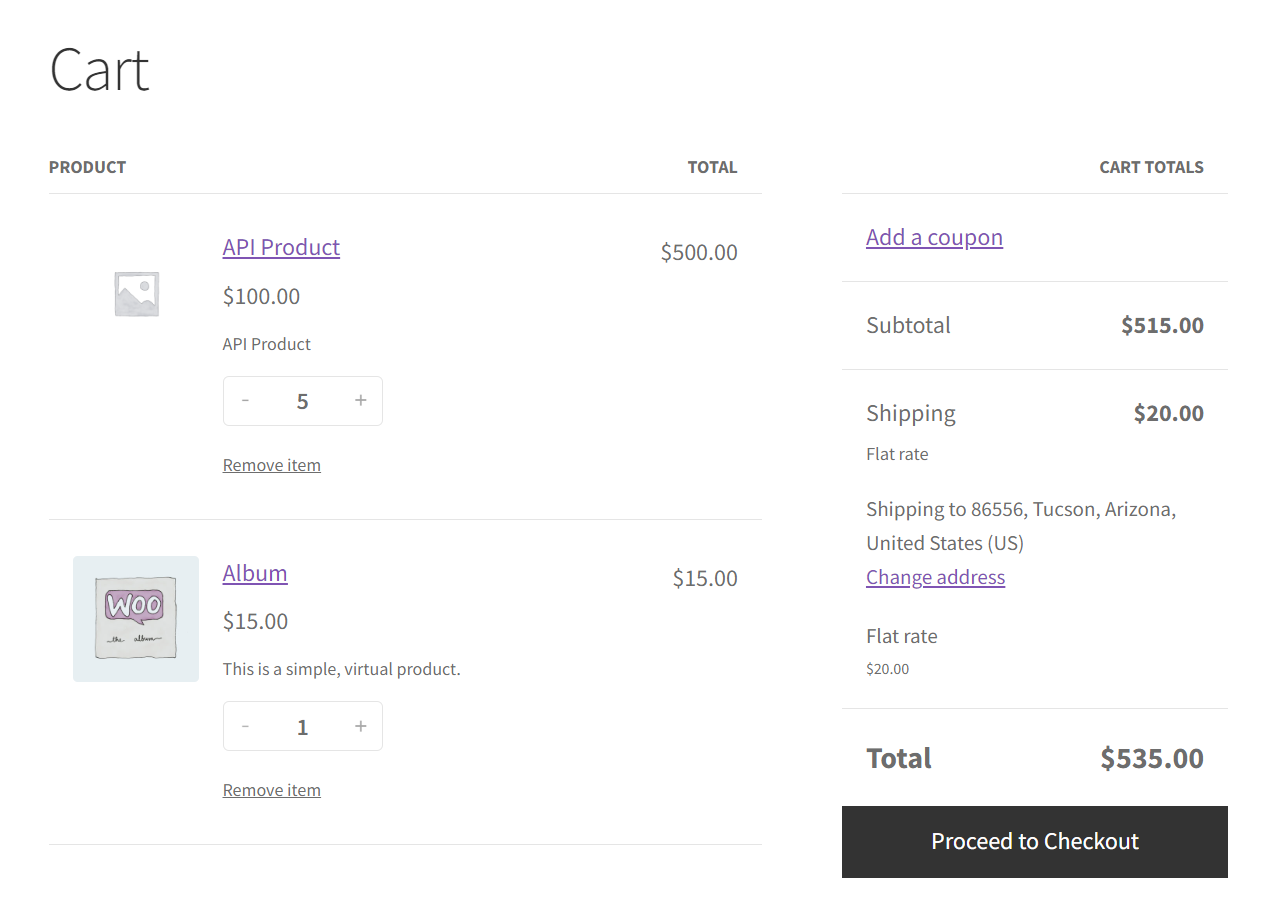
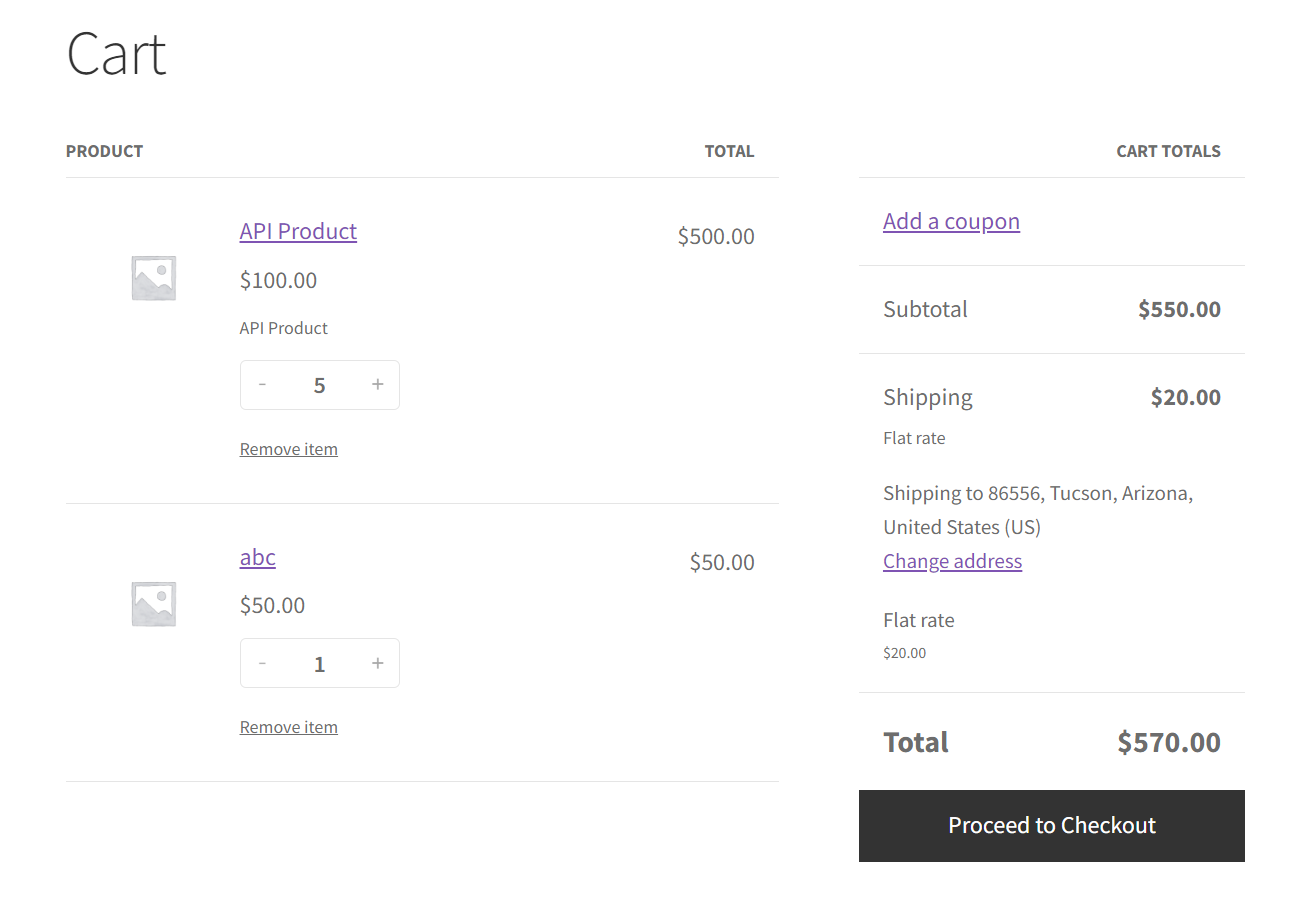
- Once the user has added the product to the cart,
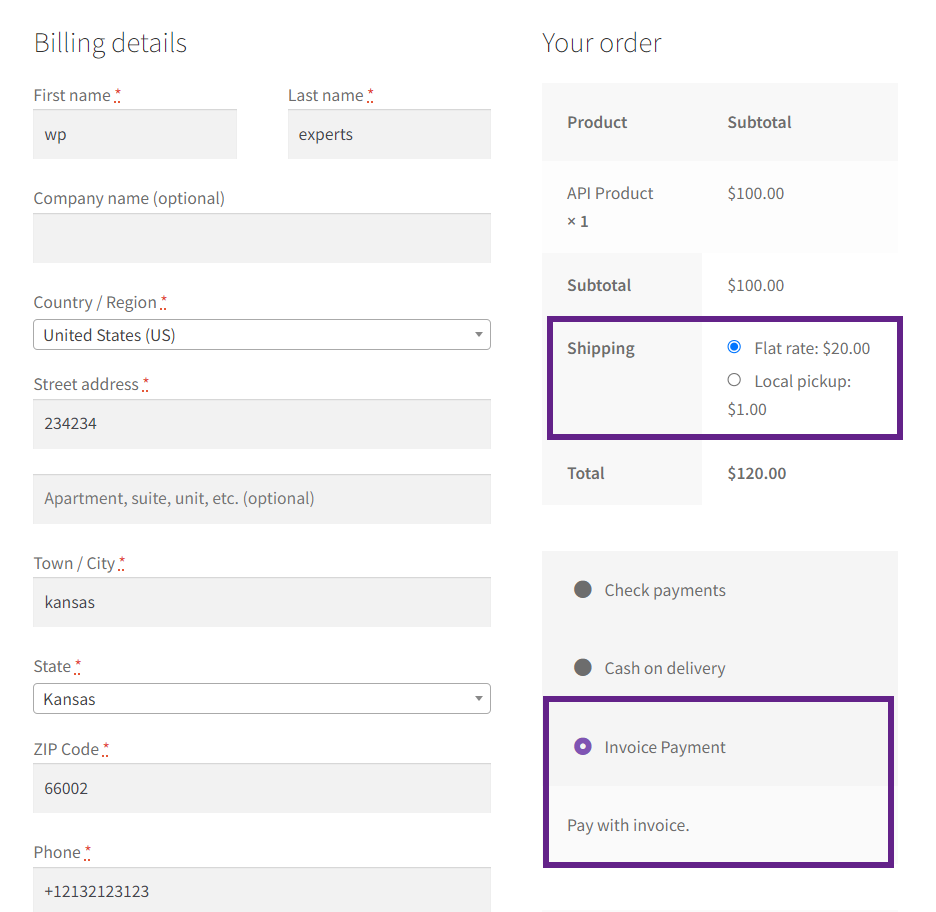
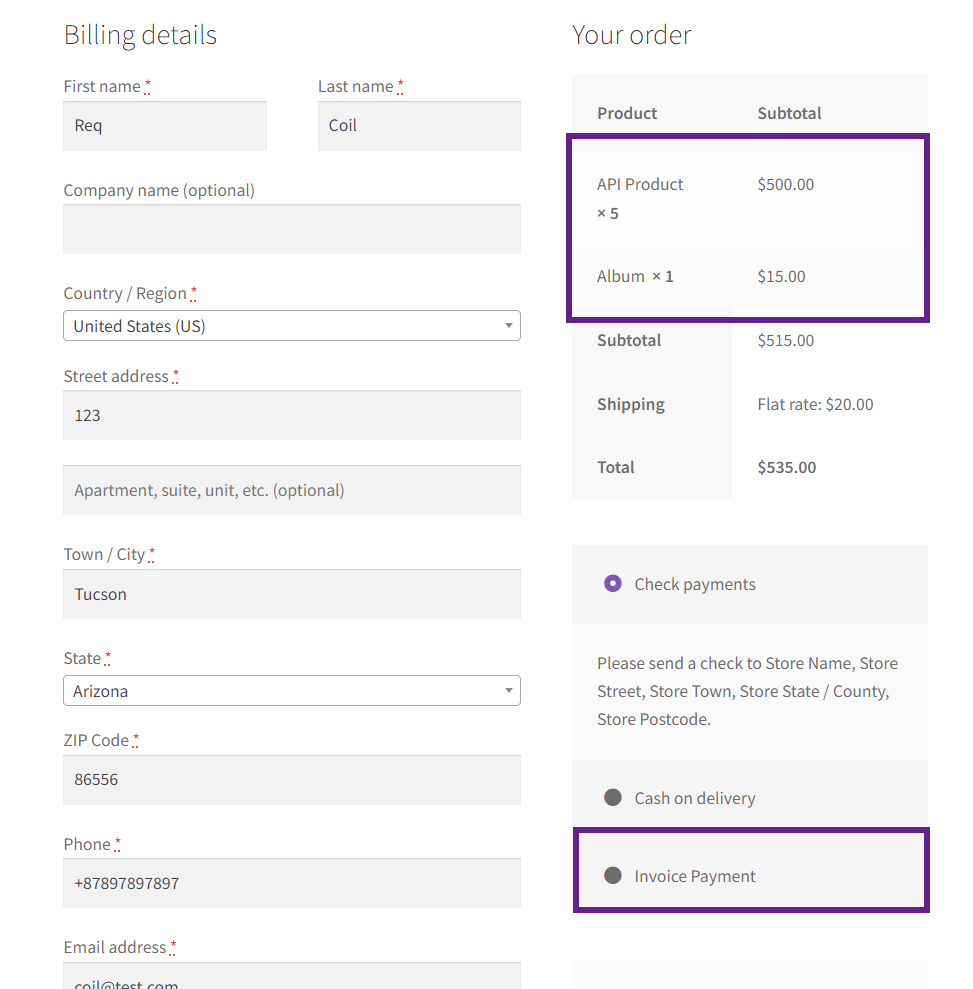
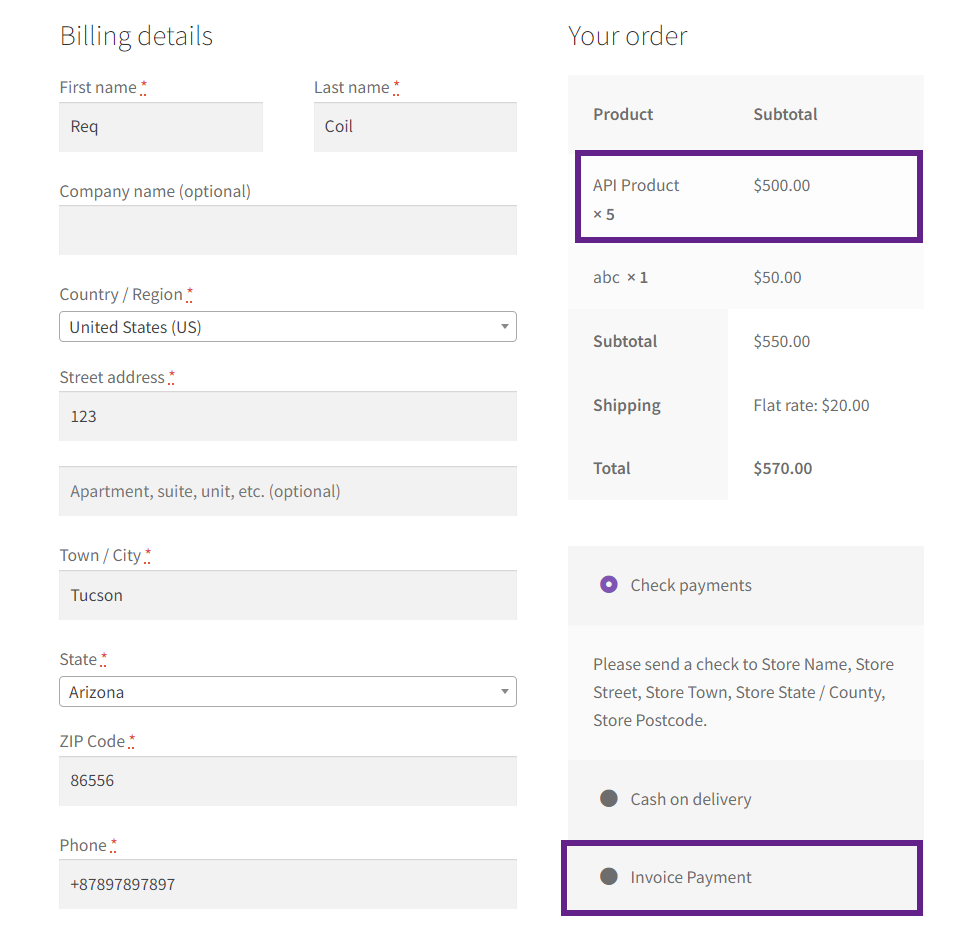
- Now, the User can access Invoice Payment on the checkout page, click the Invoice Payment, and place the order.
- Thank you page instructions will be displayed when the order is placed.

- Order Status in WooCommerce Orders.

Invoice Payment Rules #
- The admin can add Rules that can be classified for each user; the rules that are applied will determine who has access to the Invoice Payment options.
- To add the rules, navigate to WooCommerce 🡪 Payment Rules.
- If the rule conflicts with another rule, the latest created rule will be in working condition, avoiding all the conflicting rule sets.
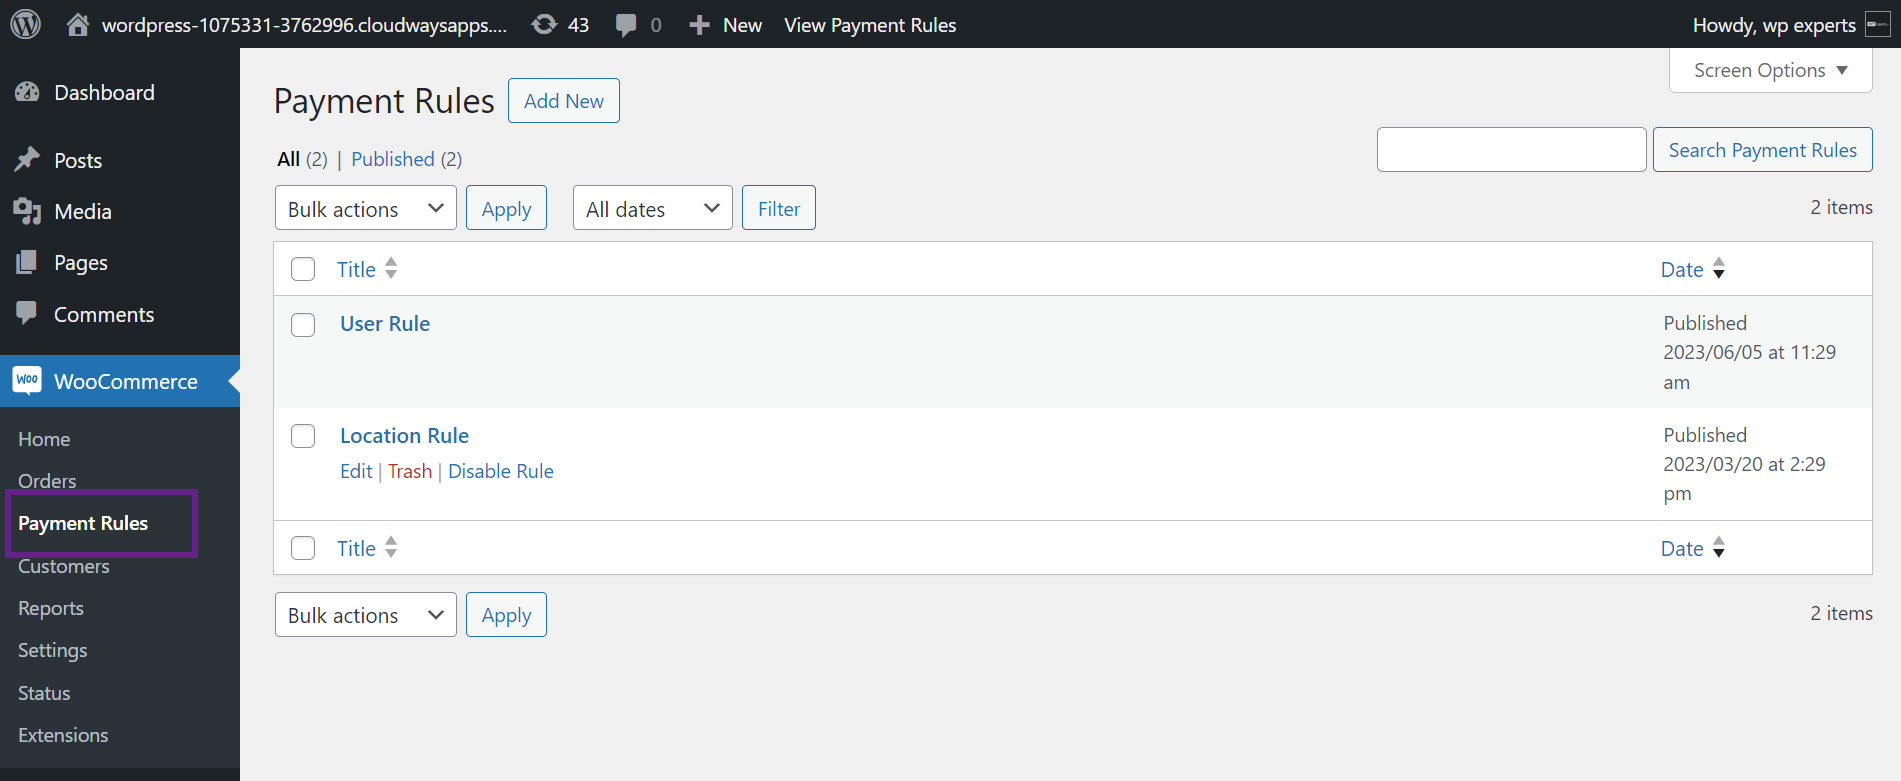
- Now click the Add New Button.

Rule Title #
- Add the desired title for the rule.

Rule Enable / Disable #
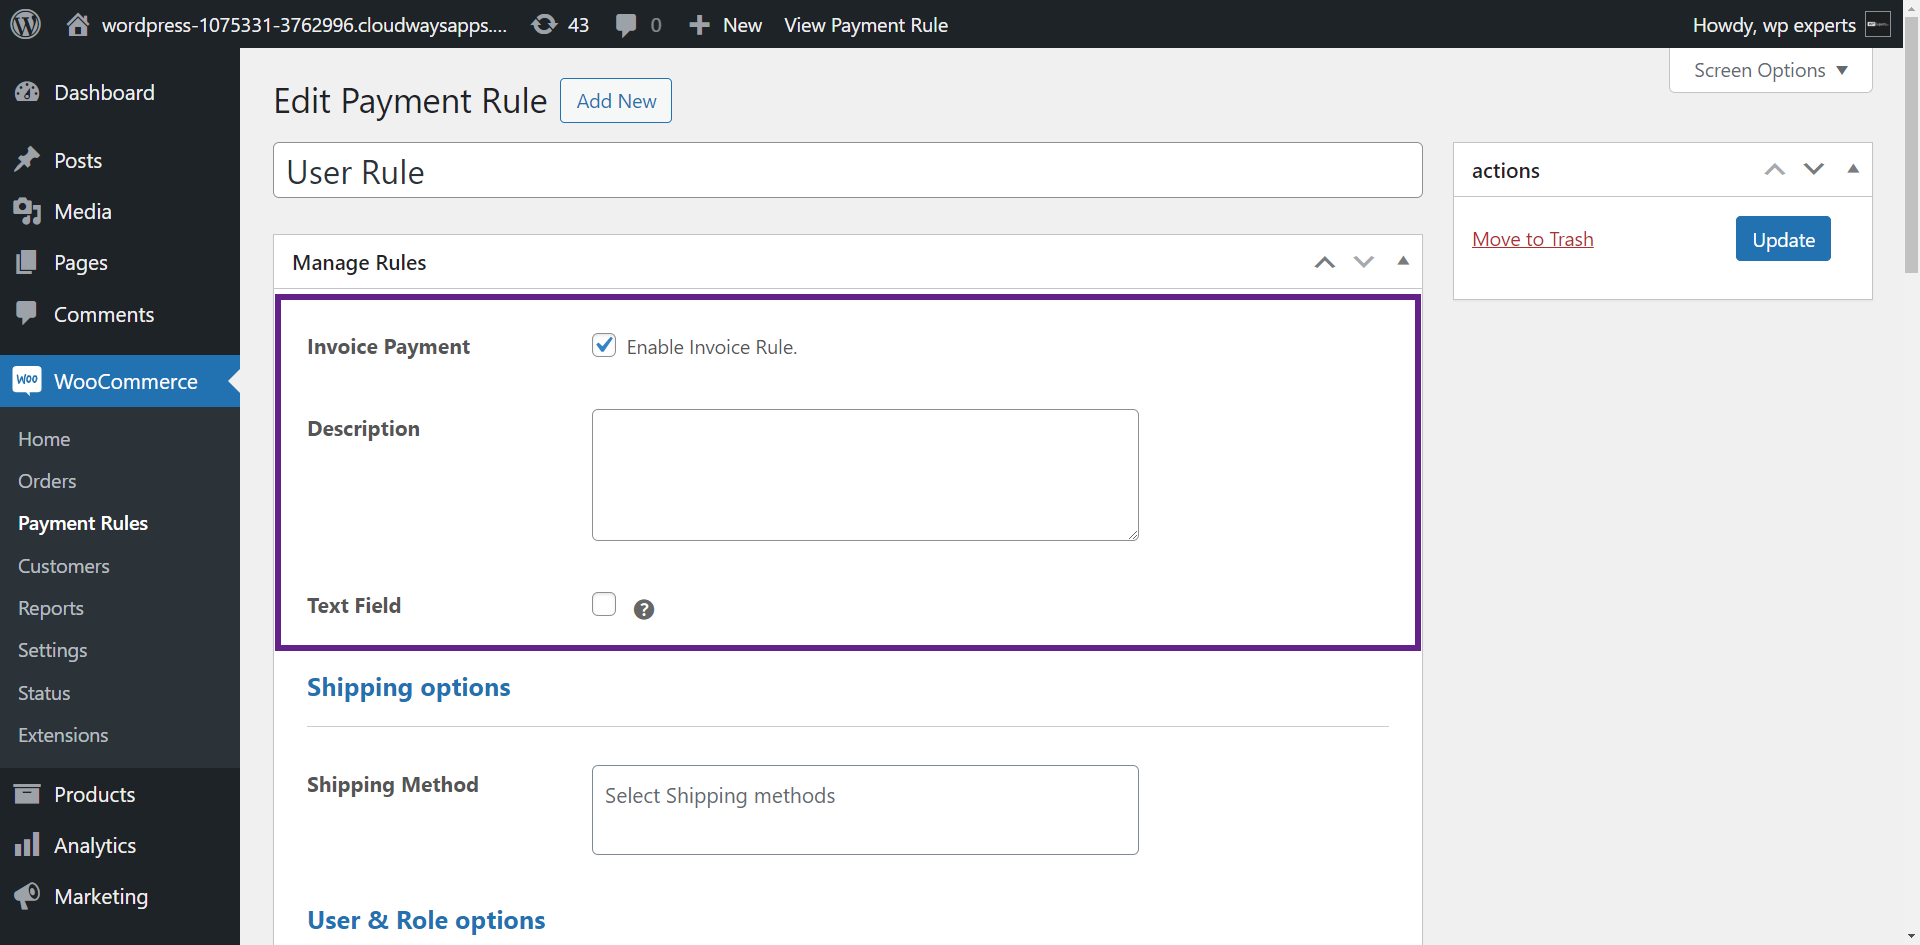
- The admin has the ability to enable or disable the rule through the Invoice Payment checkbox.
Invoice Description Field #
- The Description field will be a text field. Whatever the text admin inputs it will be displayed on the front end when the invoice gateway is selected. If not added will show the general description from settings → Payments → B2B Invoice Payment Method.
Text Field #
- A checkbox for the admin to allow users to inform the admin about suitable payment methods or to convey any message. It will be a text box on the front end. When the invoice gateway is selected, the text box will be displayed below the description. The text box will allow the users to enter their messages.
Shipping Options #
- Admin can select the desired Shipping Method. On which the invoice gateway will display.
- Frontend Impact
- Before

- After
User & Role Options #
- Select the desired User Roles and Users under the header User & Role options. Invoice gateway will display to users with the selected user roles or selected users.
User Role Options #
Users Options #

Product, Categories & Tags Options #
- The admin can select the desired Types under the header Products Categories & Tag options. i.e. Product, Category or Tag.
Product option #
- If the Admin selects the Product, the admin should choose the Product filter type and Products
Category option #
- If the admin selects Category, the admin should select the Category filter type and Category
Tags option #
- If the Admin selects Tags, the admin should select the Tag filter type and Tags
- By selecting the Include or Exclude checkbox next to the Product Filter type, admin can specify whether the rules are applied on the selected products or not.
Note:
- This is applied on all Types i.e., Product, Categories & Tags.
- If neither include nor exclude is chosen, include will be used by default.
- Select the desired Product.
Category filter type #

Tag filter type #
Cart Conditions #
- Select the Cart Conditions by selecting All Products or At least one Product.
Note: This rule specifies that
- If All Products is selected, then all the products specified in the backend should be available in the cart to enable invoice gateway else.
- If At Least one Product is selected, then at least one specified product in the backend should be available in the cart to enable the invoice gateway option.
Cart Conditions (All Products) #

- Frontend Impact
When the cart condition All Products are met Invoice Payment method will be displayed.
Cart Condition (At Least One Product) #

- Frontend Impact
When the cart condition At Least One Product is met Invoice Payment method will be displayed.
Cart Data #
- Select the desired Cart Amount Range and Cart Quantity Range under the header Cart Data.
- Admin can set cart range according to the cart subtotal. For example, Admin can set the amount range from $1 to $200. So, if the user purchases the items worth the value assigned by the admin then displays the invoice Payment will be available.
- The admin can set the cart quantity according to the overall product quantity added to the cart. For example, the admin can set the cart quantity limit from 1 to 2. So, if the user purchases the items and their item quantity falls into the specified quantity range, then the invoice gateway will appear on the checkout page.

- Frontend Impact
- However, the Cart Quantity Range is within the defined range, but the Subtotal or Cart Amount Range is greater than, according to the applied rule, the invoice gateway is disabled.
- Before

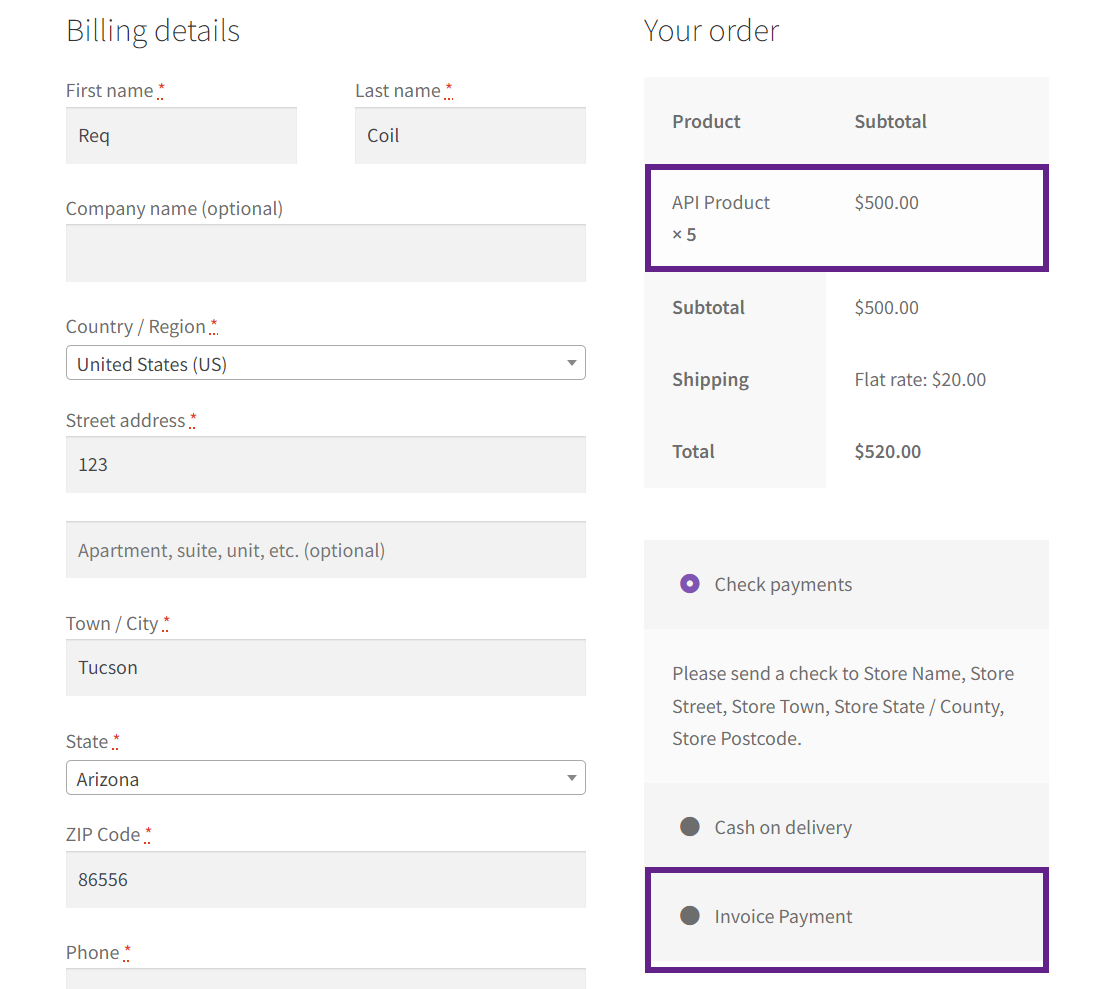
- After
- To enable the Invoice Payment, the user must fall within both the defined ranges.
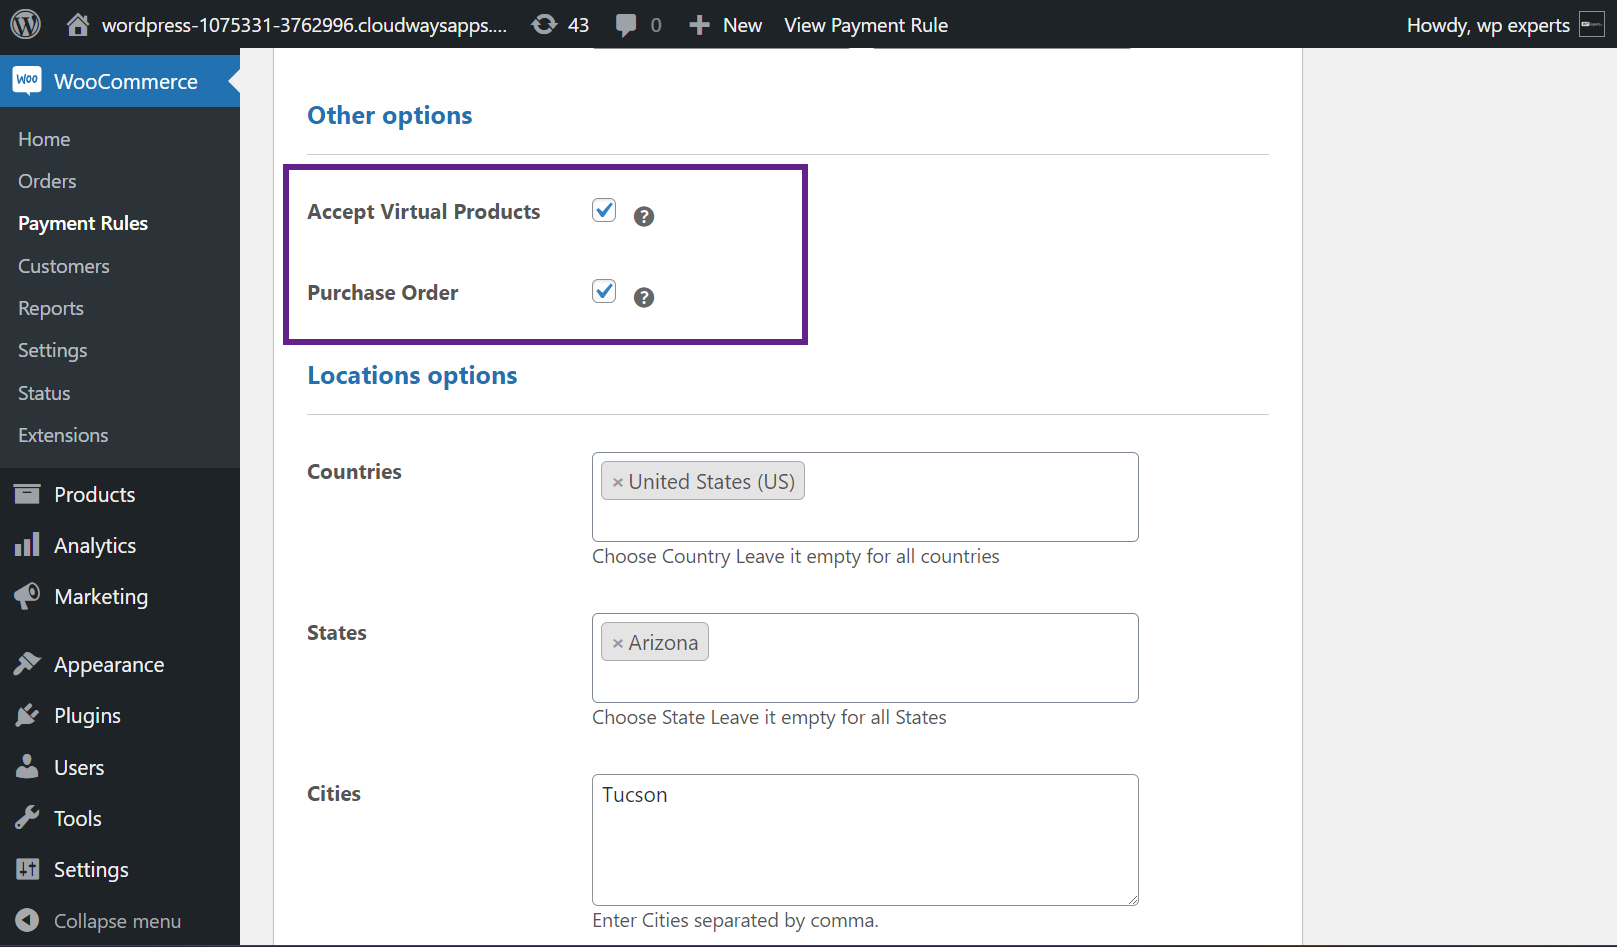
Other Options #
- The admin can select the checkbox Accept Virtual Products, which allows the invoice gateway to be available on virtual products under the header Other options.
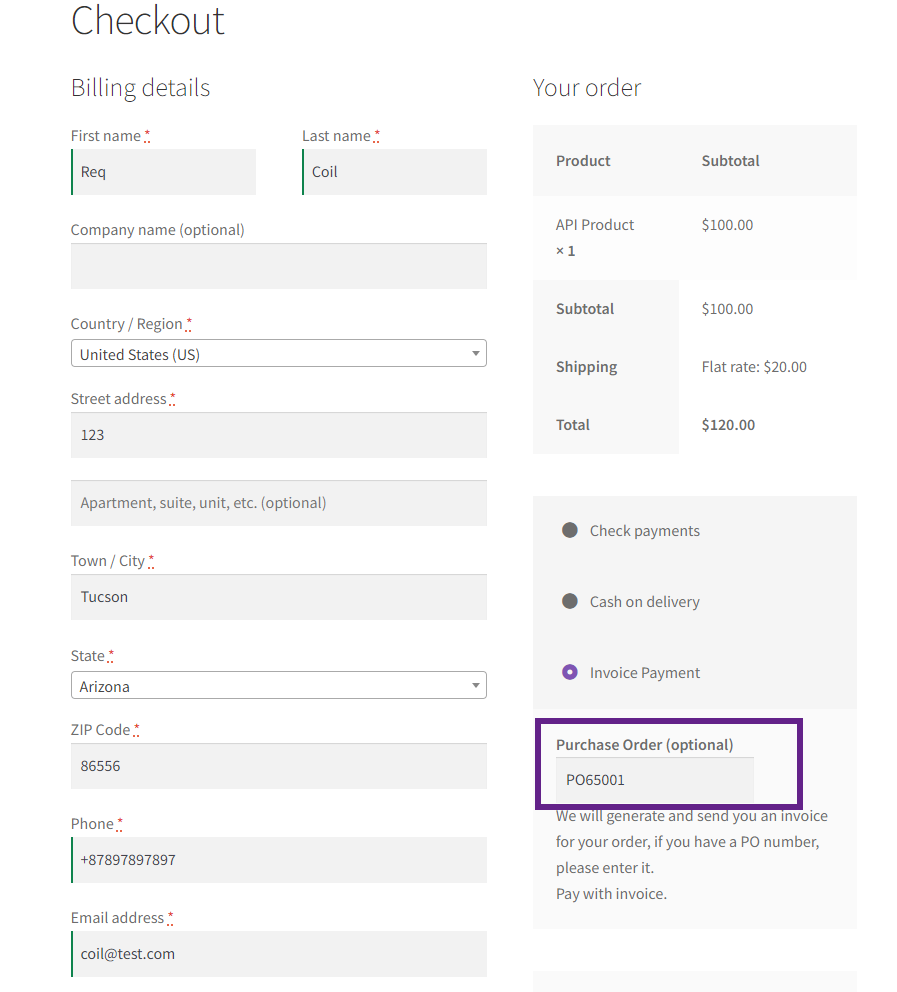
- After enabling the Purchase Order, the User can enter the purchase order no. on the front end of the checkout page with the invoice gateway.
- Frontend Impact
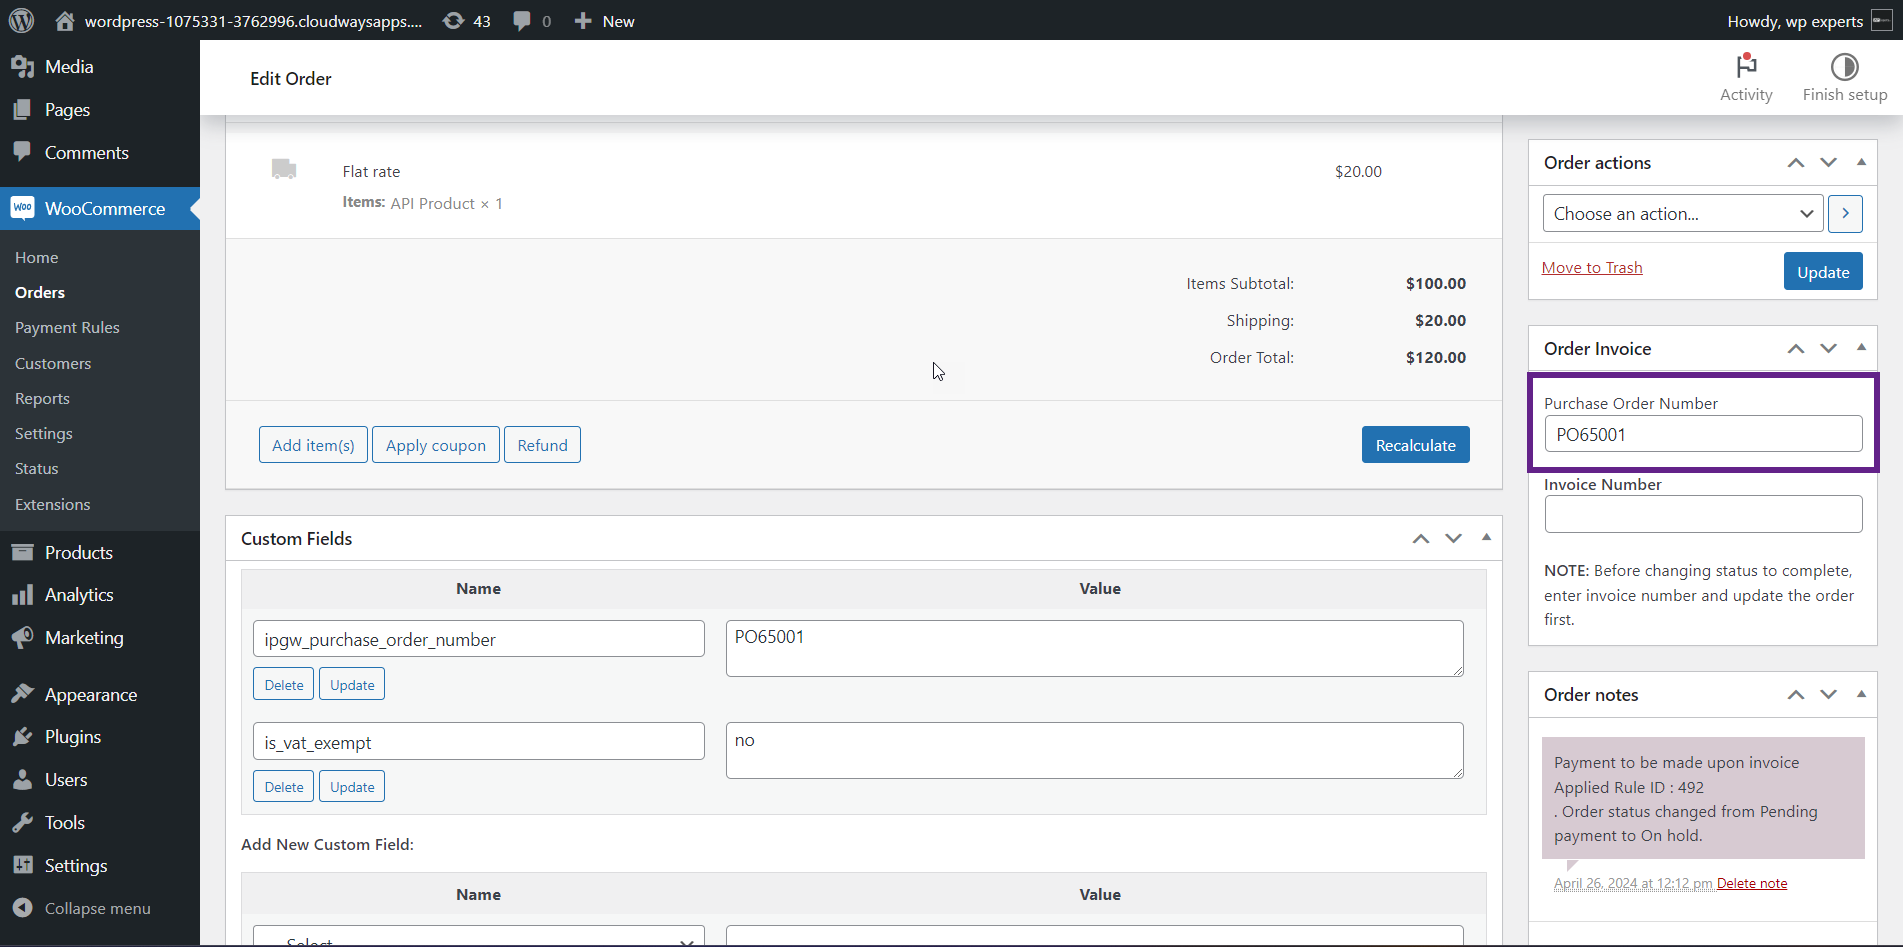
- Edit Order
Location Options #
- Admin can also specify which Countries, States, Cities, and ZIP Codes are eligible for the Invoice payment method.
- This can be set under the header Location options.

Note: The cities specified are case-sensitive. Users must write the exact spelling to enable the invoice payment gateway on the front end.
- Frontend Impact


