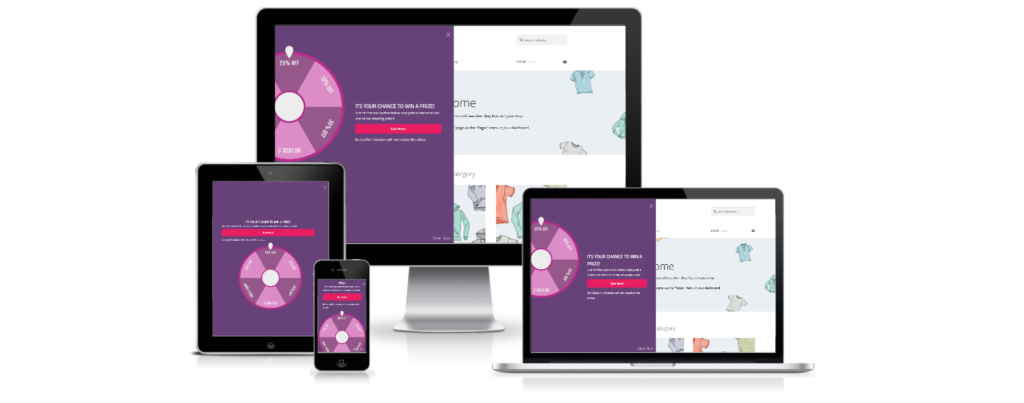
Spin Wheel for WooCommerce is a WooCommerce extension that helps you convert your visitors into customers by adding a “wheel of fortune” to your site. Use this marketing tool to retain customers and increase sales by offering discounts in a fun, engaging way.
Getting Started #
Spin Wheel for WooCommerce is an extension of WooCommerce built on the concept of fortune wheel which is dedicated for WooCommerce shop.
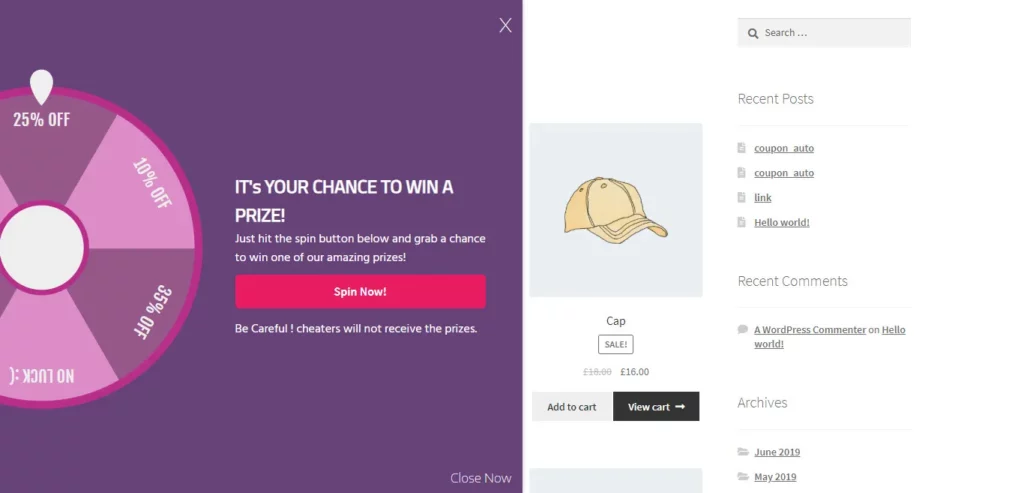
Store owners will be able to use this product to retain their customers and increase their sales by giving away discounts in an engaging way.
It’s like a fortune wheel which is going to slide in on defined triggers. All customer must be logged in to play the wheel and win a discount.
Installation Instructions #
Once you downloaded and unzipped your purchase from WooCommerce then you need to install it on your WordPress system.
→ Log in to your WordPress admin panel.
→ Click on the Plugins menu item on the left side menu.
→ Click Add New.
→ At the top of the page, you will see an Upload Plugin button, click that.
→ Next click Choose file button in the box that appears below.
→ Select the WooWheel-plugin.zip file you downloaded from WooCommerce.
→ When the zip file has finished uploading click the Activate Plugin button.
→ That’s all. You will now see two new menus in your admin panel.
Setup and Configuration #
General tab: #
This setting allows admin to set behavior and functionalities of the Spin Wheel for WooCommerce according to their requirements or preferences, also admin has a variety of options to gamify the spin wheel as defined and explained below.
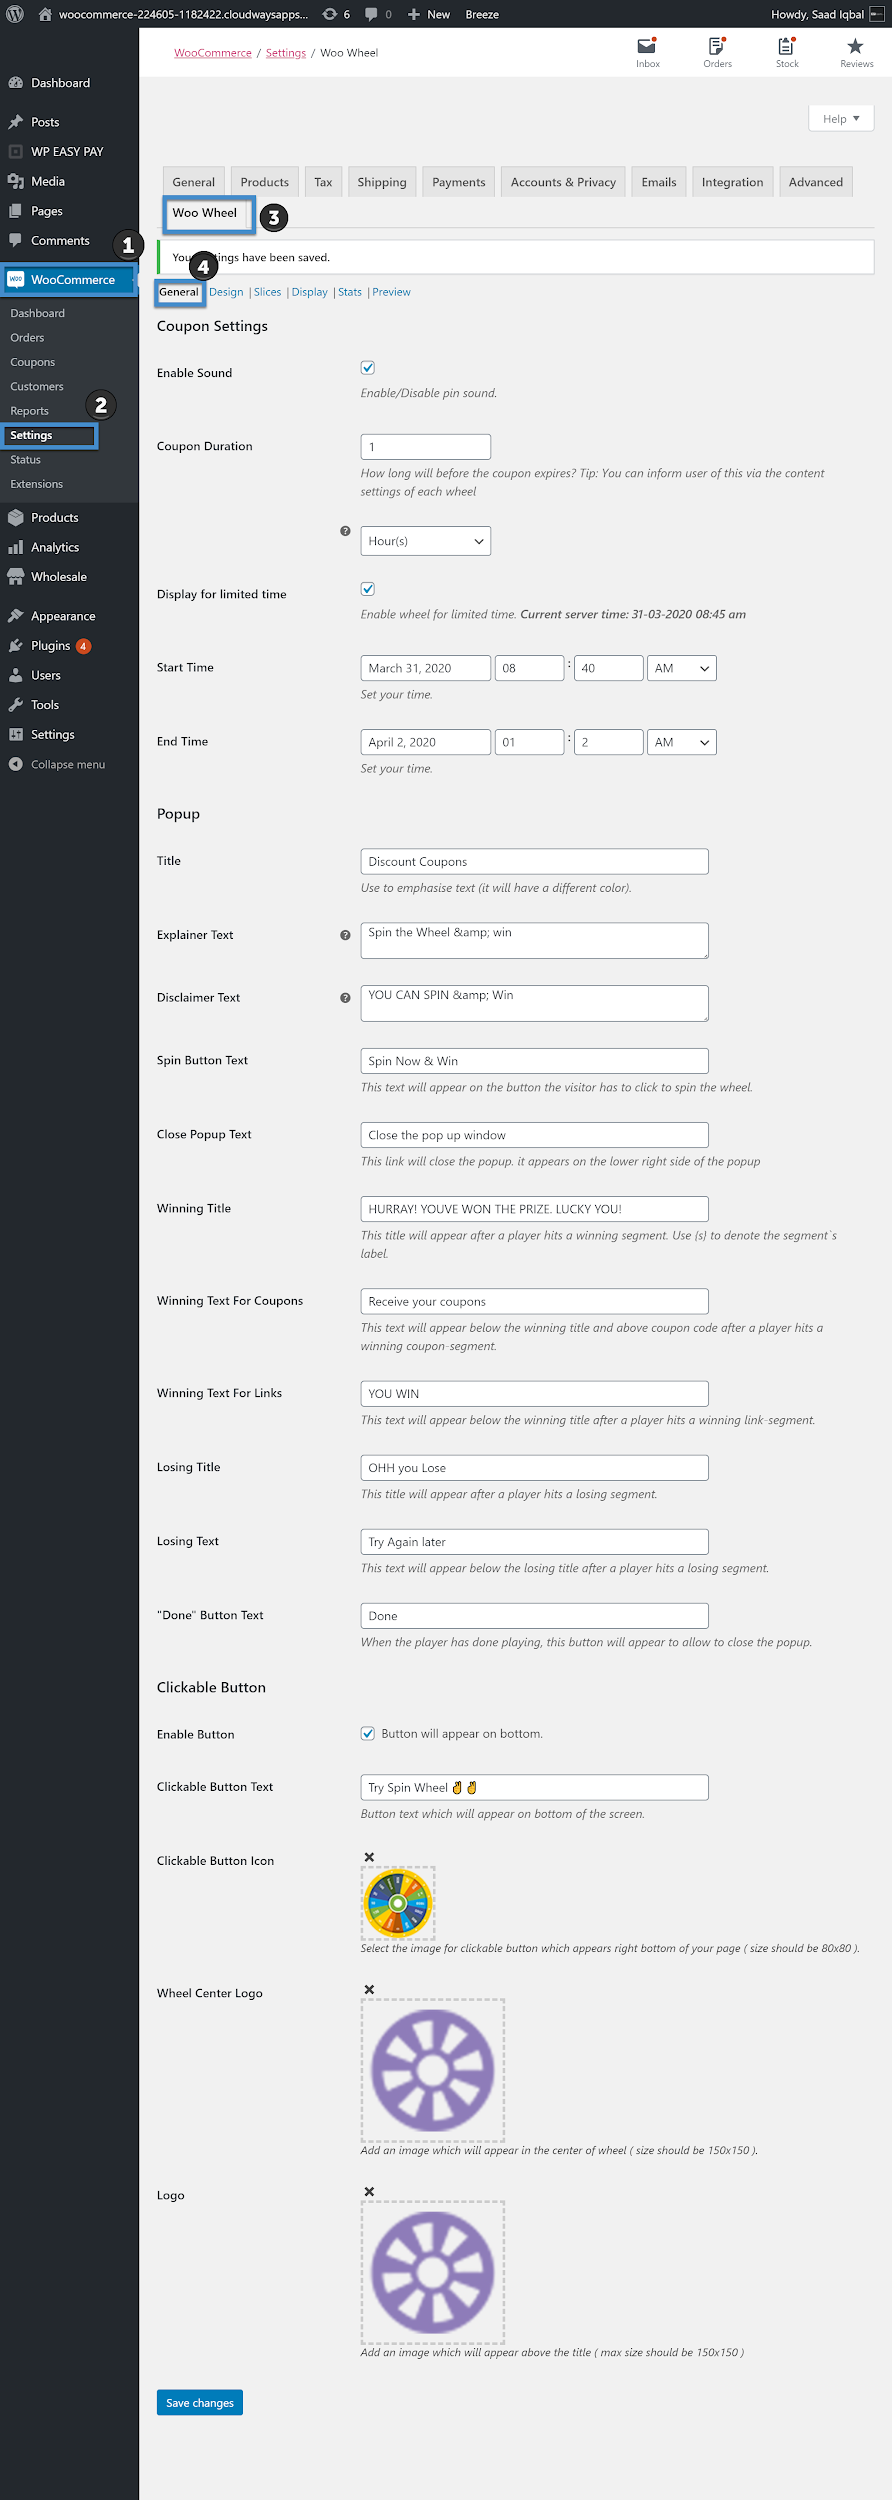
Enable sound: Admin can enable sound from the general tab, Customers can listen to the sound of Spinning Wheel when the wheel is spinning by just clicking on the checkbox.
Popup #
Title: This field allows you to enter Title of the Spin Wheel
Explainer text: Set the introductory text visible to the visitor as the spin wheel opens in the browser or mobile view.
Disclaimer text: Disclaimer text you allow to display the customer, what you are going to win today
Spin button text: It’s a spin button text whatever you want to enter, appear on the spin button from this button slices will spin
Close Pop-pup text: You can edit the pop-up text for closing the spin wheel.
Winning title: You can edit this text field to display the winning title when the user achieves to win any coupon or link.
Winning text for links: This field will appear when customers receive any coupons discounts, you can edit this text.
Losing title: The Title when customer lose the game, this will appear after lose the game
Losing text: This text will appear on the losing instance of the spin wheel.
Done text Button: This text will show on the done button after the spin wheel finished spinning.
Winning text for coupons:This text will appear below the winning title and above Coupon code after a customer win coupon-segment
Winning text for links: Set the text visible in a link for the winner
Losing title: Give the title for the looser
Losingtext: This text will appear on the losing instance of the spin wheel.
Done text Button: This text will show on the done button after the spin wheel finished spinning.
Clickable button
Enable button: On Enable button, this will appear on the bottom of the page with Spin wheel icon.
Clickable button Text: you can set Enable button text, button text will appear on the bottom of the screen
Clickable button logo: you can upload button logo, clickable image button display on your right bottom of site so the visitors can play the wheel by clicking it.
Upload image size should be 80×80.
Wheel centre logo: Place a logo on the center of the wheel to make the wheel more attractive.Upload image size should be 150×150.
Logo: Set the logo image above the title to represent your company or you can use any other image. Upload image size should be 150×150
Clickable Button Icon #
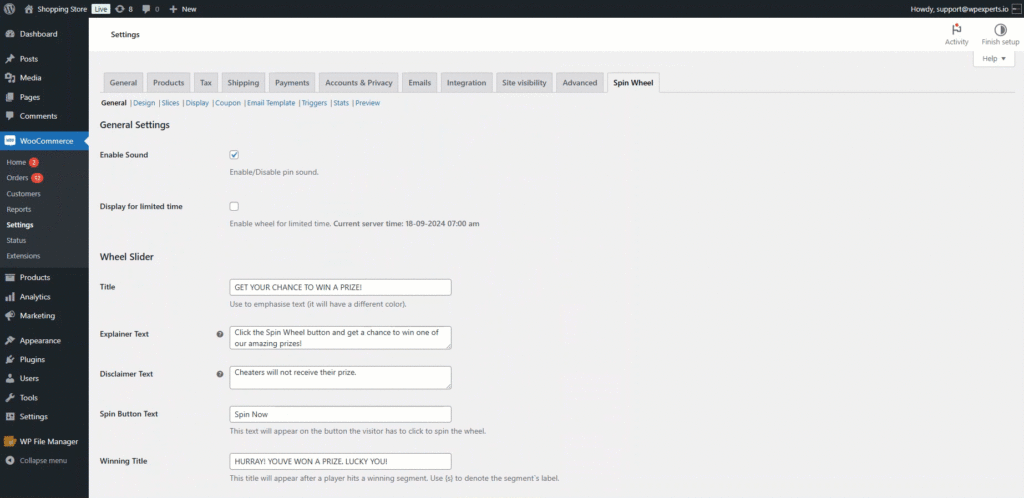
- The Clickable Button Icon feature enables the admin to add an image to the spin wheel icon.
Back-End Settings #
- Go to Admin Dashboard > WooCommerce > Settings.
- Navigate to the Spin Wheel tab.
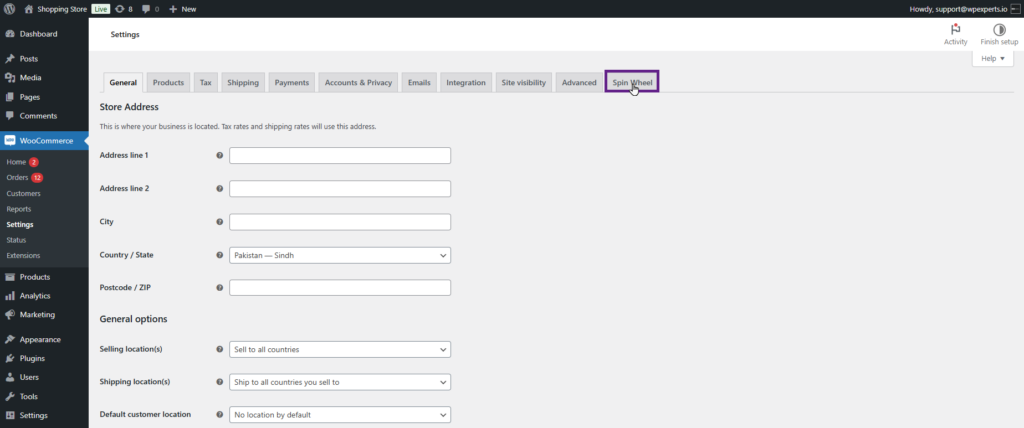
- Scroll down the General tab to the Clickable Button Icon and upload an image from the WordPress Media Gallery.
Front-End Impact #
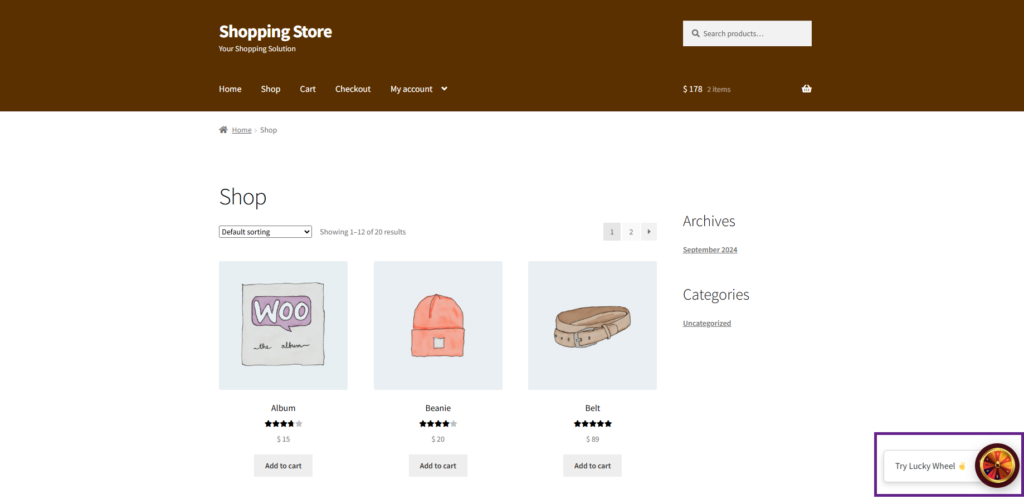
- Go to the website.
- Navigate to the Shop page.
- As you can see, the image we uploaded is now the icon of the spin wheel.
Privacy Policy #
- The Privacy Policy option allows the admin to display the privacy policy link on the spin wheel.
Back-End Settings #
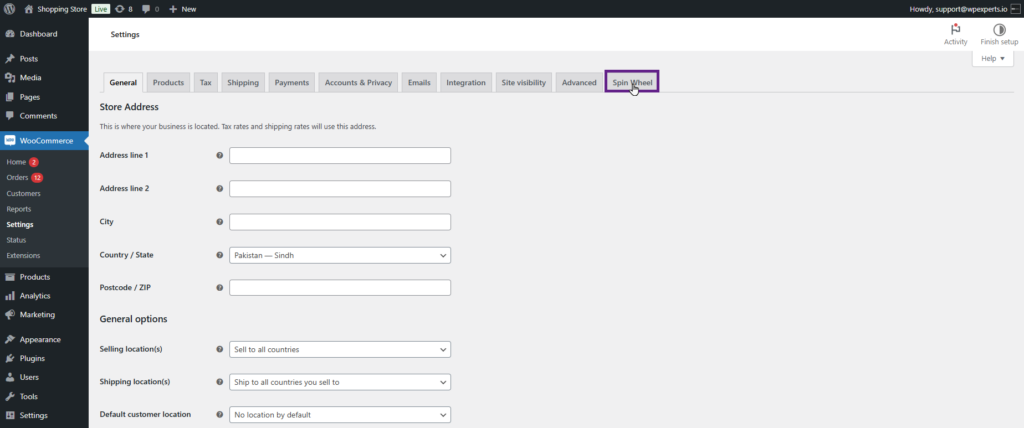
- Go to Admin Dashboard > WooCommerce > Settings.
- Navigate to the Spin Wheel tab.
- Scroll down to the Privacy Policy section in the General tab and check the Enable checkbox.
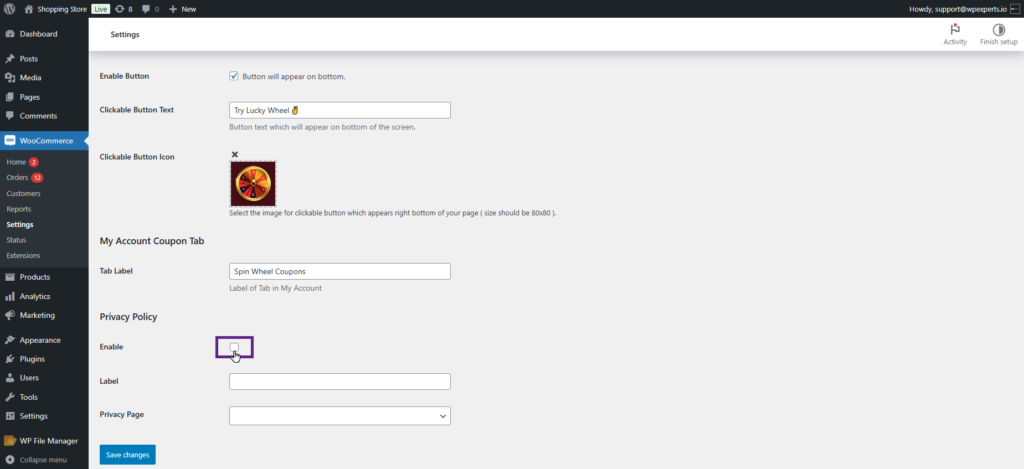
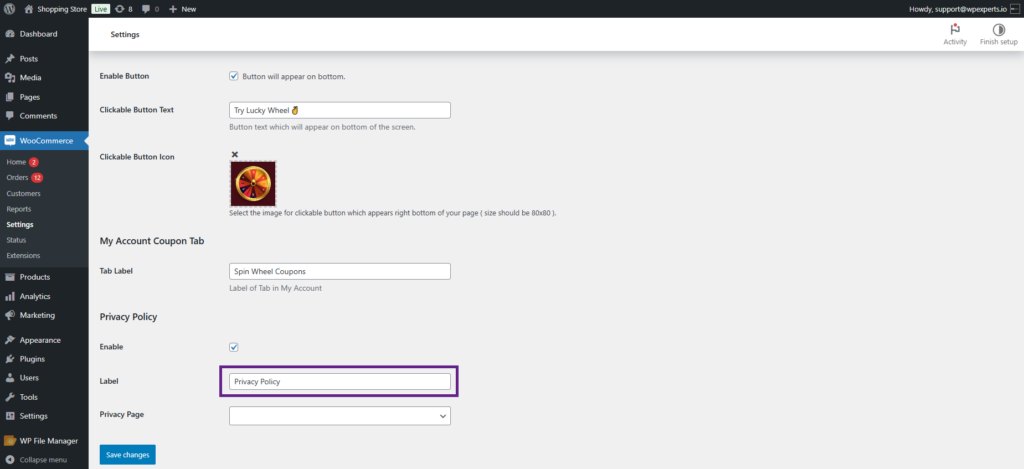
- Enter the privacy policy link label in the Label field.
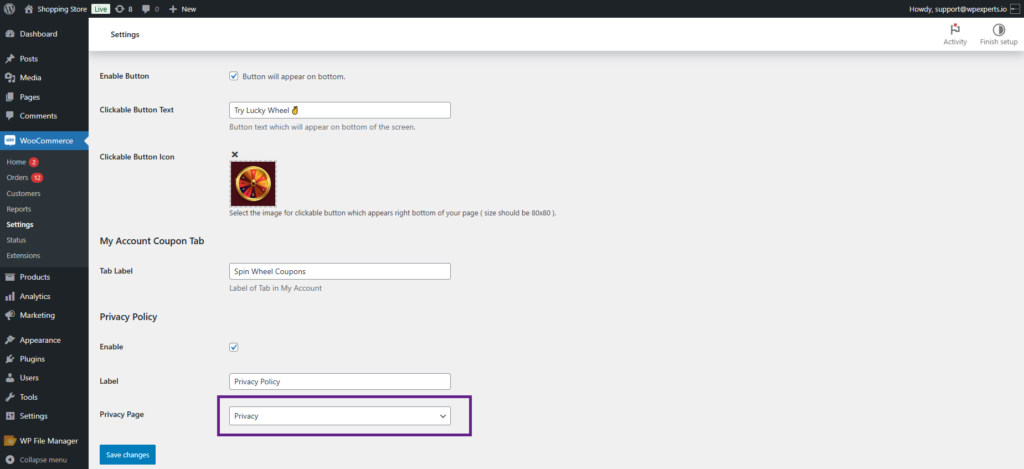
- Select the privacy page from the dropdown menu of the Privacy Page option.
Front-End Impact #
- Go to the website.
- Navigate to the Shop page.
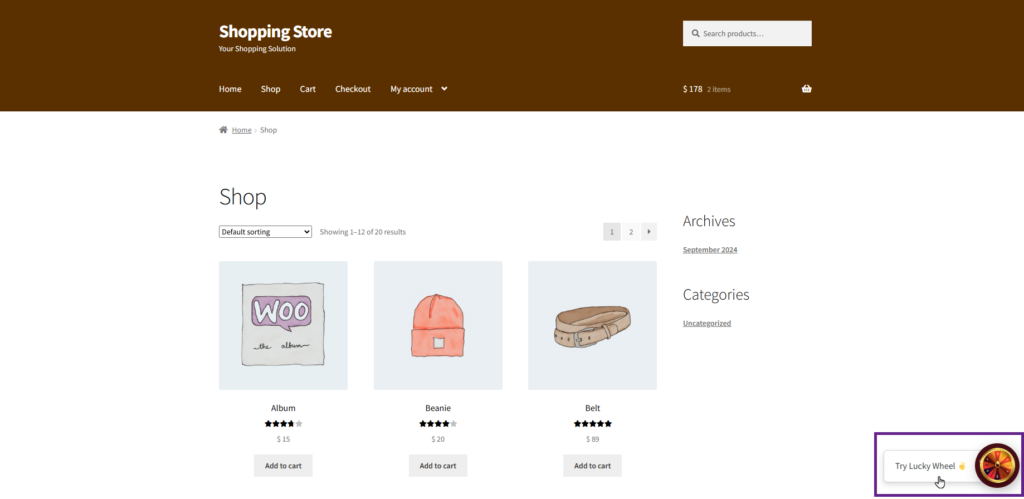
- Click the spin wheel icon.
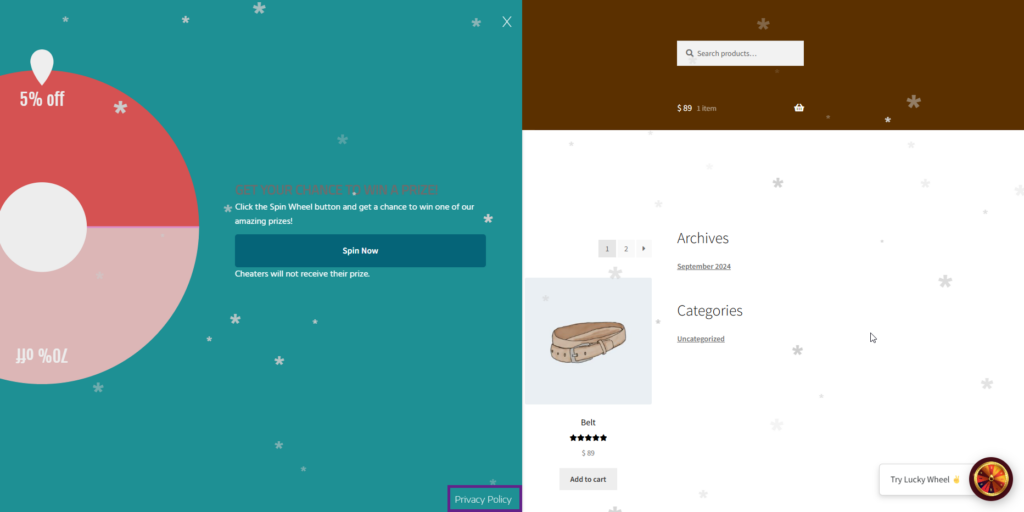
- Once clicked, the spin wheel will pop up, and you can see the privacy policy link.
Design tab: #
Admin can fully customize the Wheel Design with different colors options, able to add background colors, text layout, heading colors e.t.c
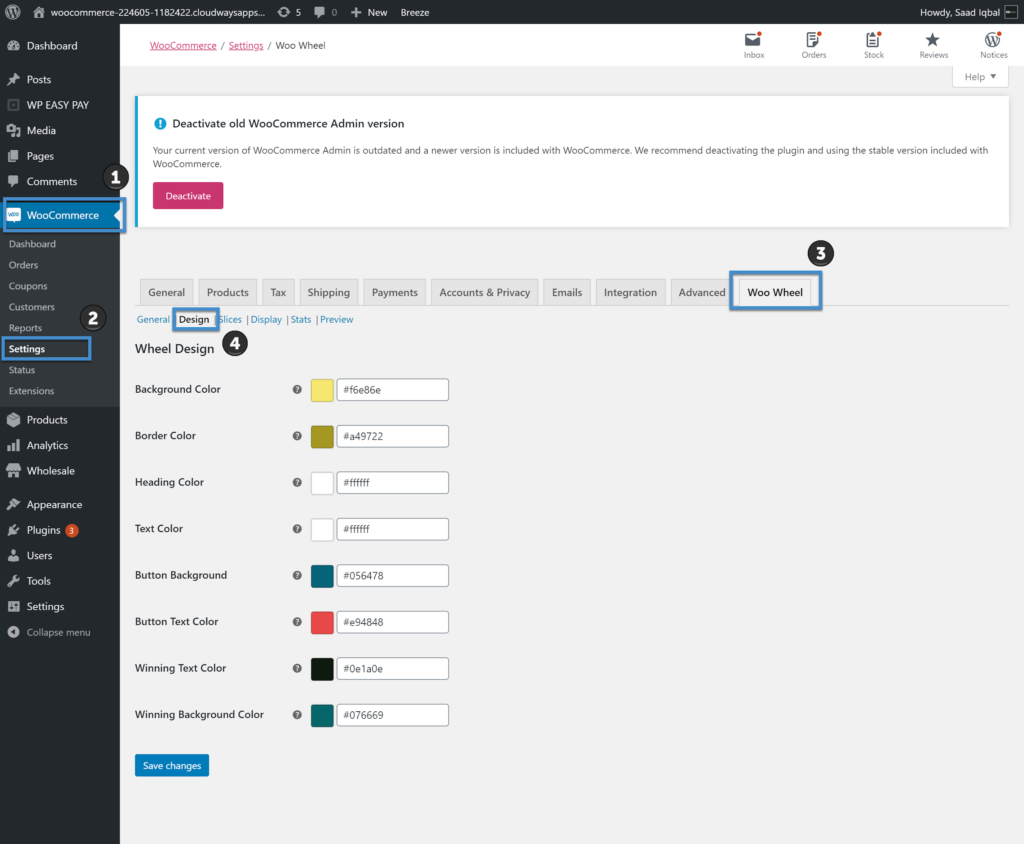
Background color: you can choose the background color of the Spin wheel as per your choice.
Border Color: You can choose border color of the Spin wheel.
Heading Color: Choose colors for heading
Text Color: You can set color of the wheel pop-up text
Button background color: you can set background color of the Spin button
Button Text Color: Set text color visible on the spin button
Winning Text Color: Set color of the winning text after winning any coupon discount.
Winning Background Color: Set the winning text background color, you can see after winning any coupon discount.
Slices tab: #
Admin would able to add different coupon discount slices on Wheel spin
And also slices have different discounts types, you can see below screenshots there are many options for discounts coupons, you can add or edit Coupon Type, Value, Text, Percentage Chance and change colors of the slices.
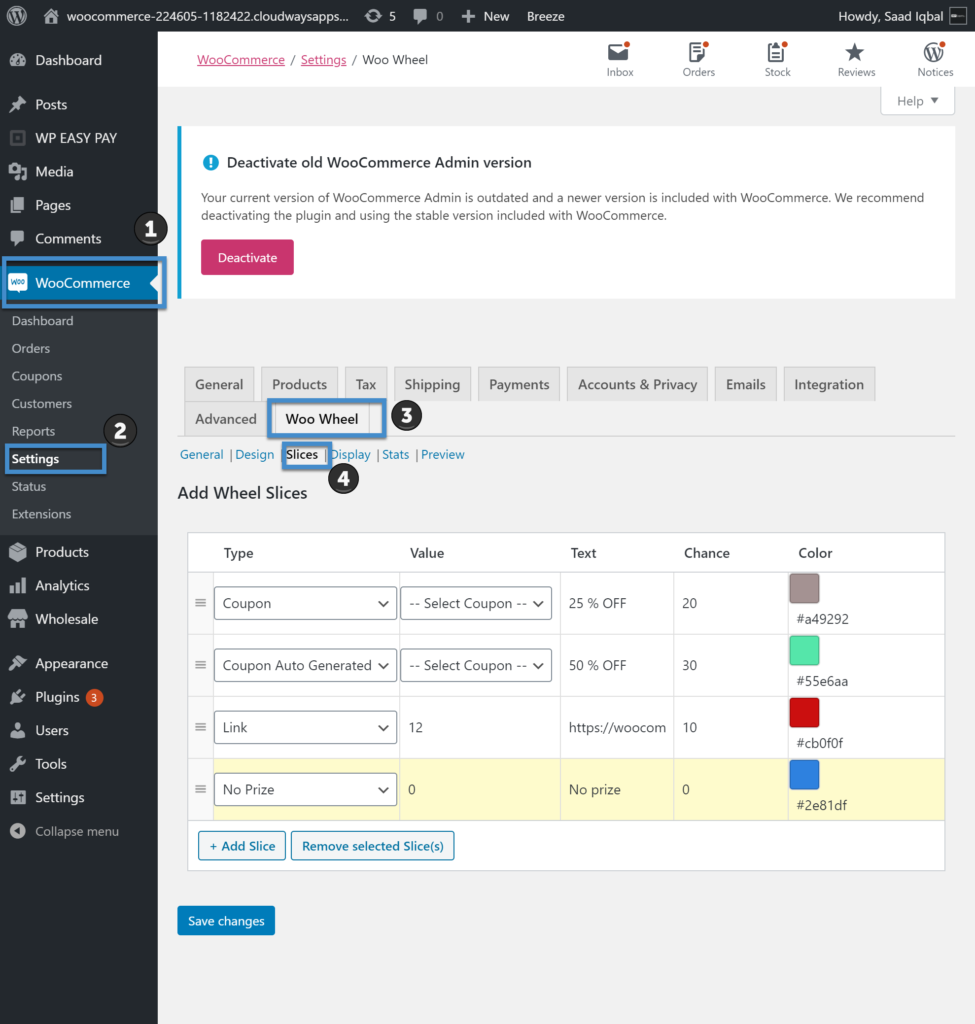
There are four types of Spin Wheel slices:
1. Fix Coupon: the admin can set a predefined value for a coupon in this slice.
2. Auto-Generated Coupon: Spin wheel will auto-generate coupons based on a set of values defined in this slice.
3. No Prize: Set values for the no prize instance of the spin wheel, no prize
4. Link: Set values for the links to be generated, link slice has to be edited.
You can remove any slices by just click on the slice and Remove Selected slices button
Checkbox for Multiselection #
- The Checkbox for Multiselection feature allows the admin to select multiple slices simultaneously in the Slices sub-tab.
Back-End Settings #
- Go to Admin Dashboard > WooCommerce > Settings.
- Navigate to the Spin Wheel tab.
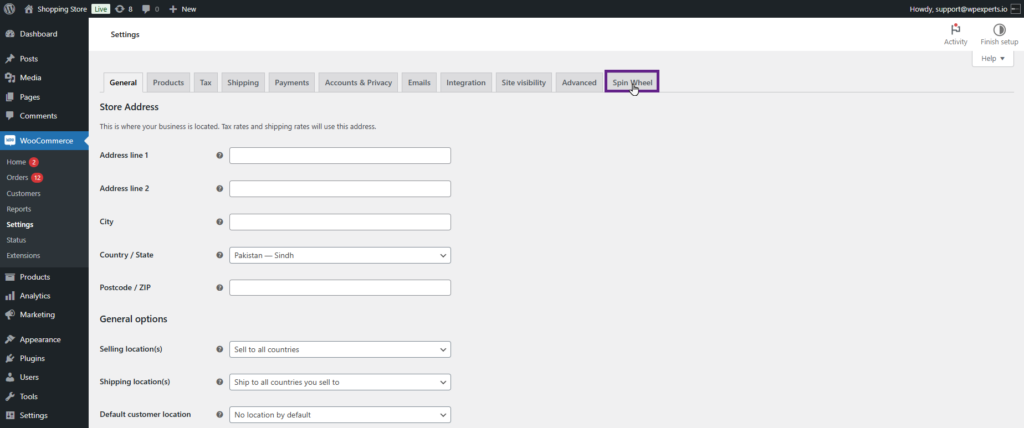
- Head to the Slices sub-tab.
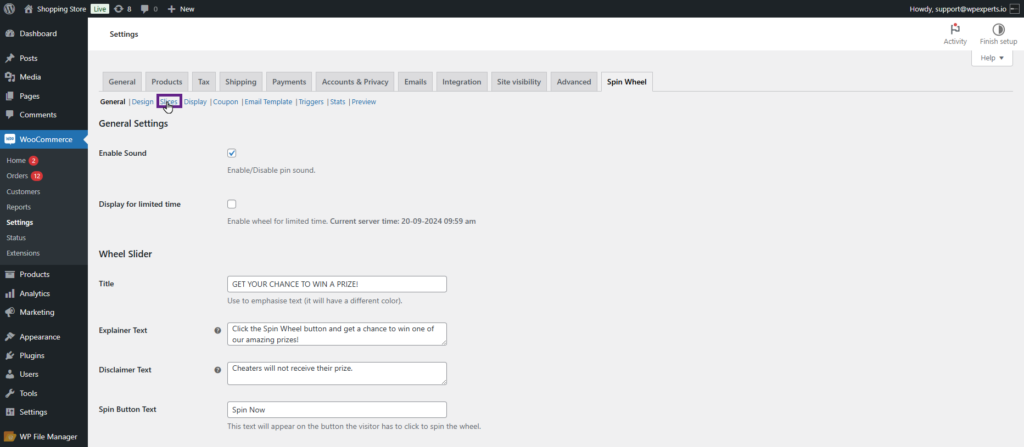
- Once done, the admin can select multiple slices simultaneously.

Display tab: #
Display tab allows the admin to set functionalities on different events that users can easily use in different events like after signup, in all pages of shop, in cart, after Checkout e.t.c.

After Sign-up: After successful sign-up when this functionality is enabled from the setting, the Spin Wheel pop-up will be shown after every registration.
After Add-to-cart event: through this functionality admin can display the pop-up spin wheel after an add to cart instance has been achieved on their website. Click the checkbox to activate.
Thank You Page(after every order complete): After every successful Order the pop-up Spin wheel will display when this functionality is enabled.
Coupon tab #
Coupon duration: #
admin can set the duration for the validity of the generated coupon, the validity can be set between hours or days, you can specify the number of hours or days in the text field and choose the validity from hours or days in the drop-down menu.
Auto Add Coupon to Cart #
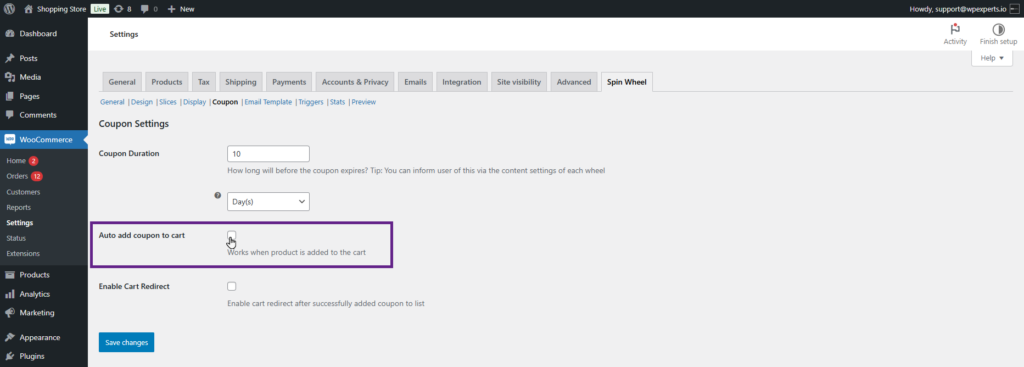
- The Auto Add Coupon to Cart feature lets the admin automatically apply the coupon won by the user to the cart. A popup alert will notify the user.
Back-End Settings #
- Go to Admin Dashboard > WooCommerce > Settings.
- Navigate to the Spin Wheel tab.
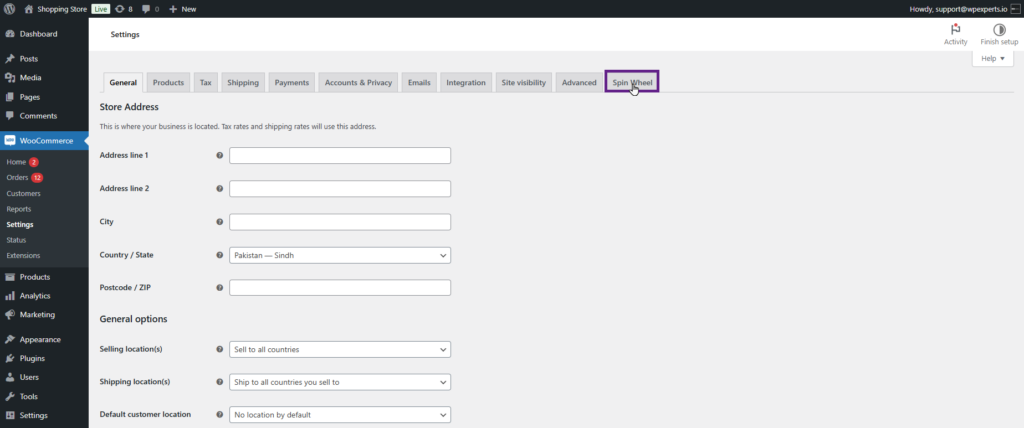
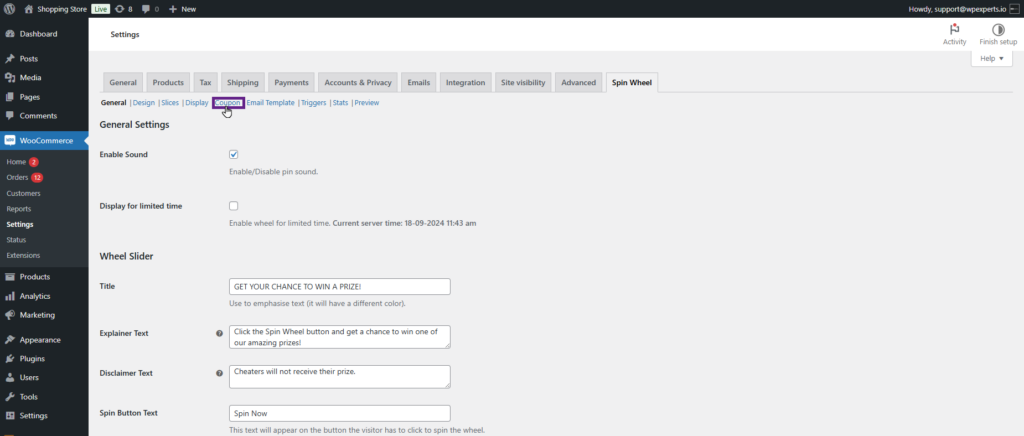
- Head to the Coupon sub-tab.
- Check the Auto add coupon to cart checkbox.
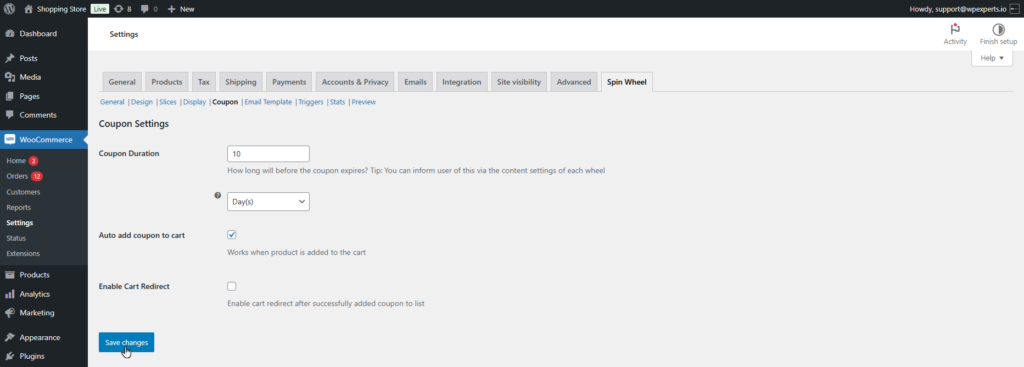
- Click the Save changes button.
Front-End Impact #
- Go to the website.
- Navigate to the Shop page.
- Once the user earns a coupon, it will be automatically added to the cart.
Enable Cart Redirect #
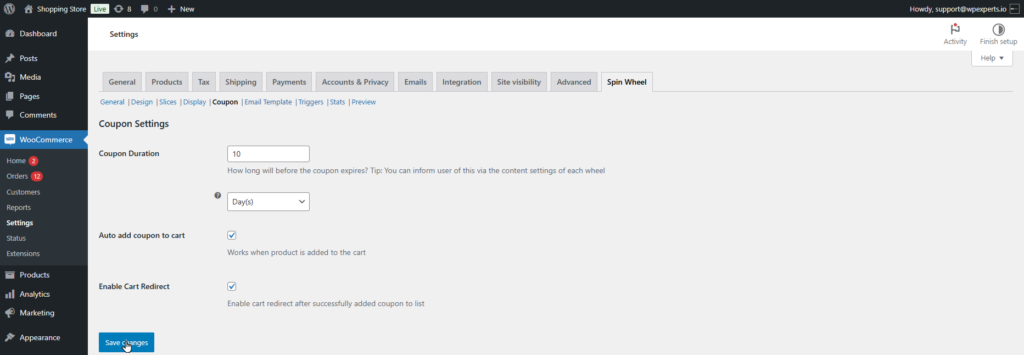
- The Enable Cart Redirect feature allows the admin to automatically direct the user to the Cart page after they win a coupon from the spin wheel.
Back-End Settings #
- Go to Admin Dashboard > WooCommerce > Settings.
- Navigate to the Spin Wheel tab.
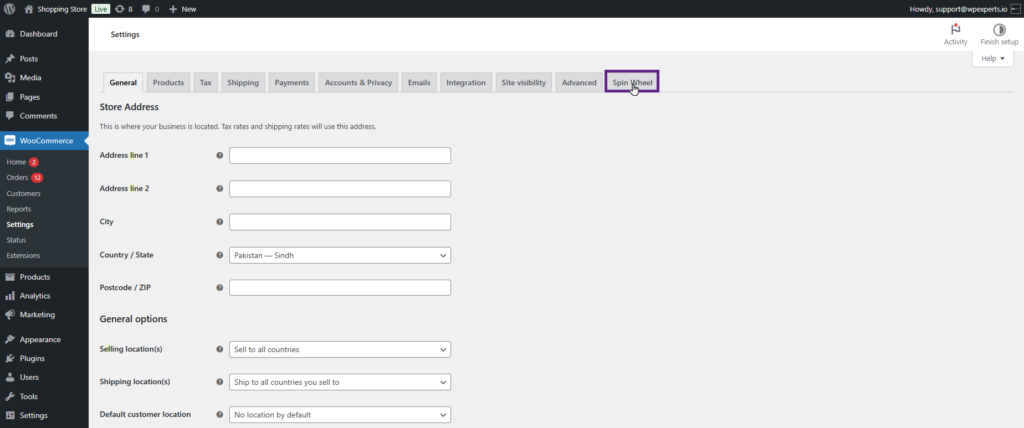
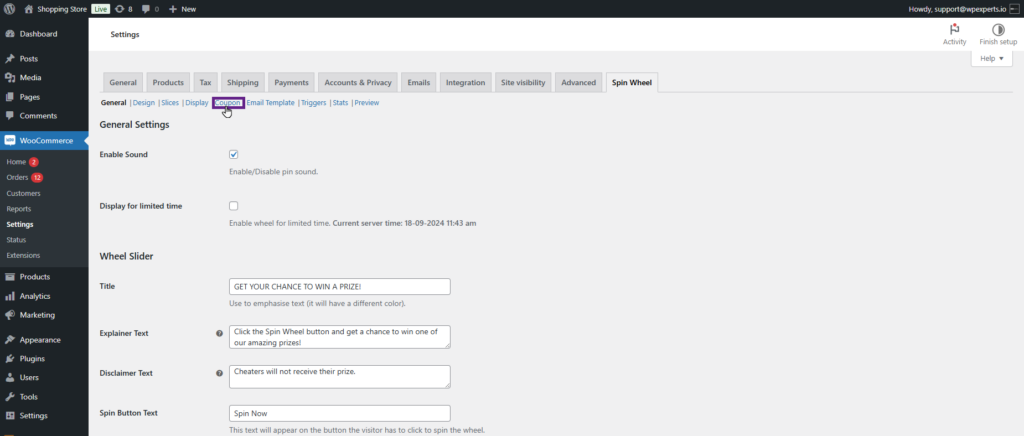
- Head to the Coupon sub-tab.
- Check the Enable Cart Redirect checkbox.
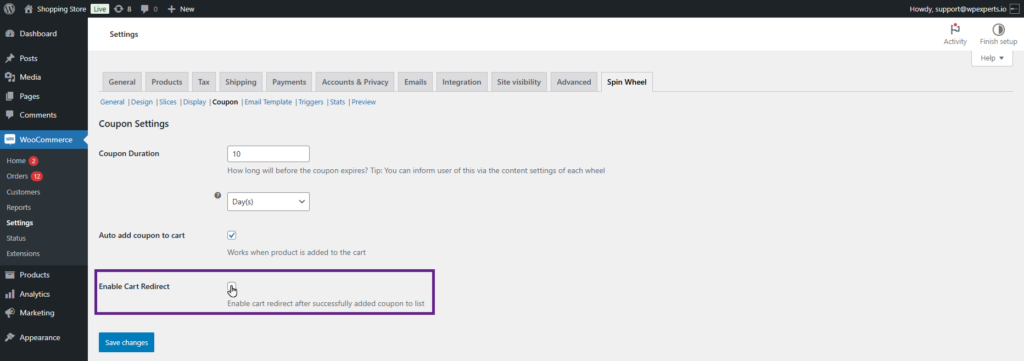
- Click the Save changes button.
Front-End Impact #
- Go to the website.
- Navigate to the Shop page.
- Once the user earns a coupon, they will automatically be directed to the Cart page.
Email Template #
- Using the Email Template feature, the admin can customize the email that the user receives when they win or lose a coupon.
Back-End Settings #
- Go to Admin Dashboard > WooCommerce > Settings.
- Navigate to the Spin Wheel tab.
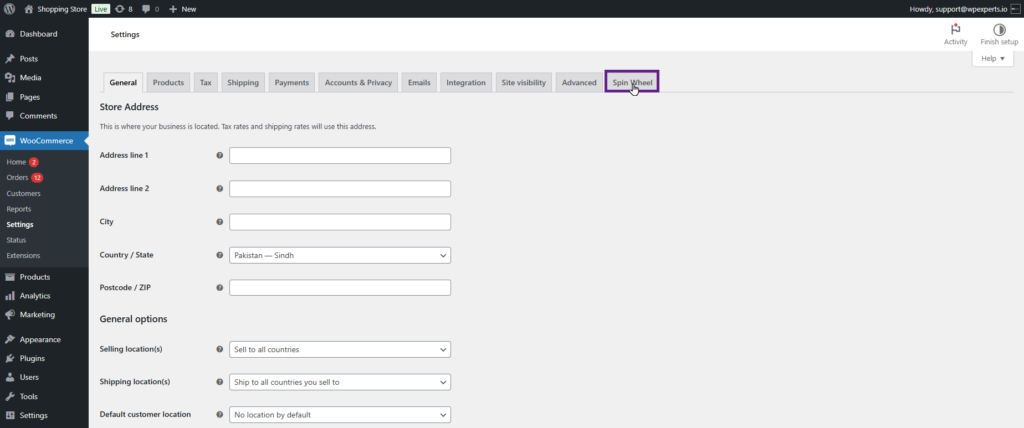
- Head to the Email Template sub-tab.
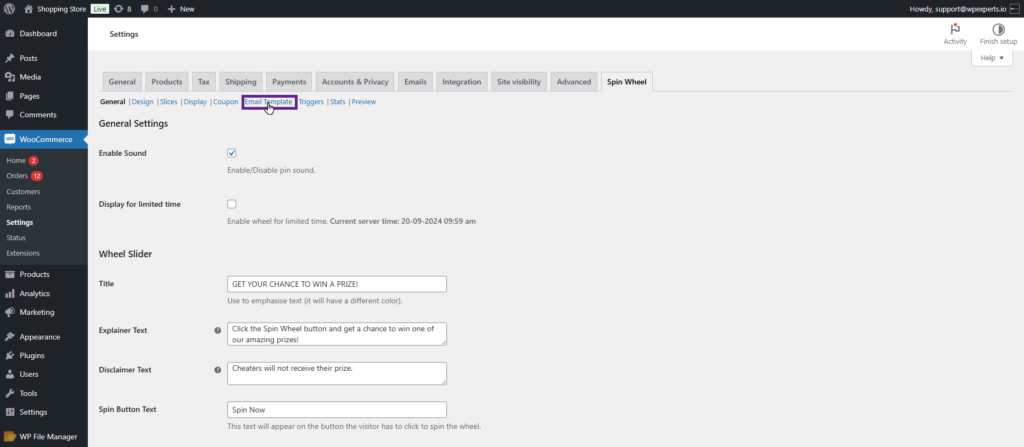
- Check the Enable Email checkbox.
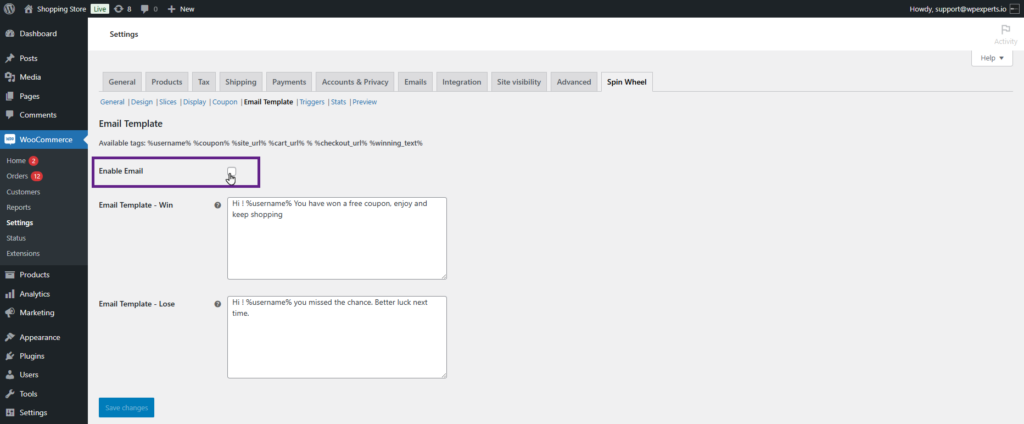
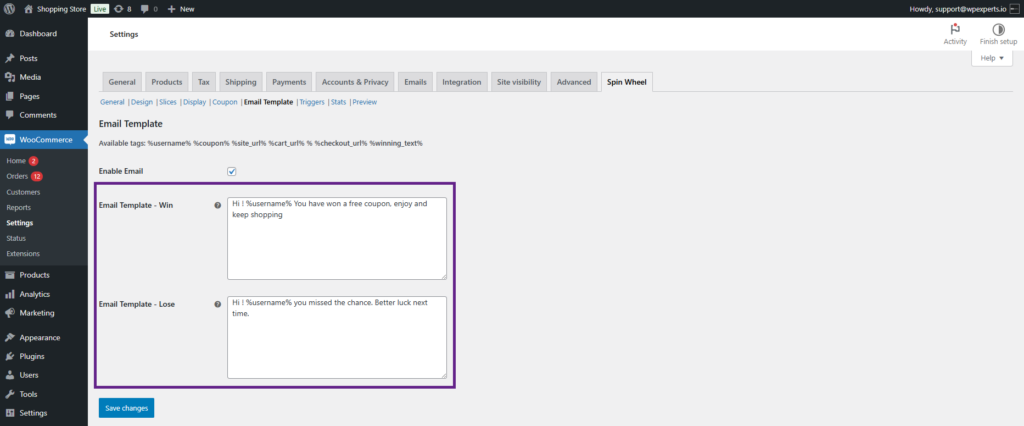
- Customize the email templates for the Win Email and Lose Email according to your preferences using the available tags.
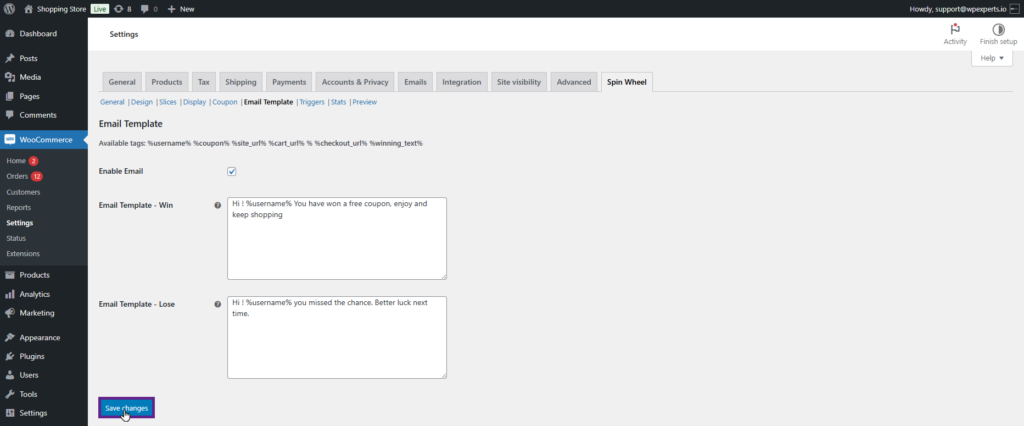
- Click the Save changes button.
Front-End Impact (Email Template – Win) #
- As you can see, the user has received a customized email.

Front-End Impact (Email Template – lose) #
- As you can see, the user has received a customized email.

Triggers #
Enable Desktop Exit Intent: #
- When you enable Desktop Exit Intent and visit your store for the first time in your browser, you’ll need to move your mouse pointer upwards. When you do, a spin wheel pop-up window will appear. This pop-up will only display on the first visit.
Back-End Settings #
- Go to Admin Dashboard > WooCommerce > Settings.
- Navigate to the Spin Wheel tab.
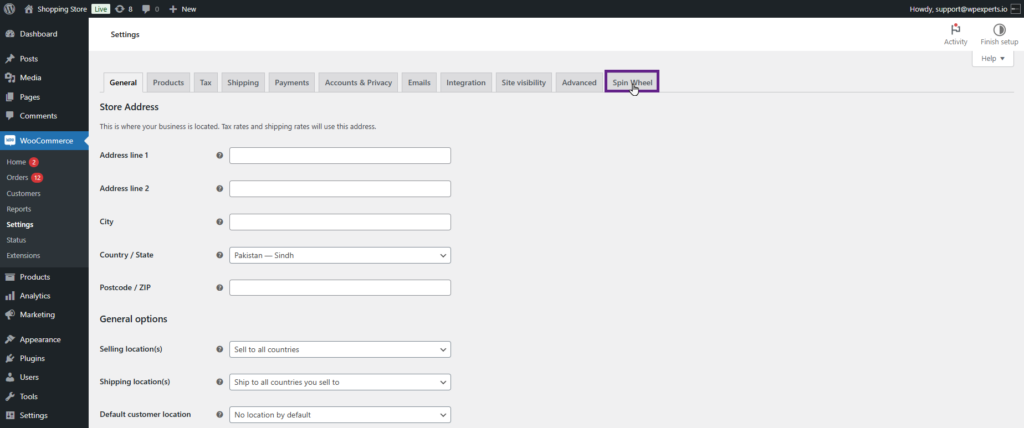
- Head to the Triggers sub-tab.
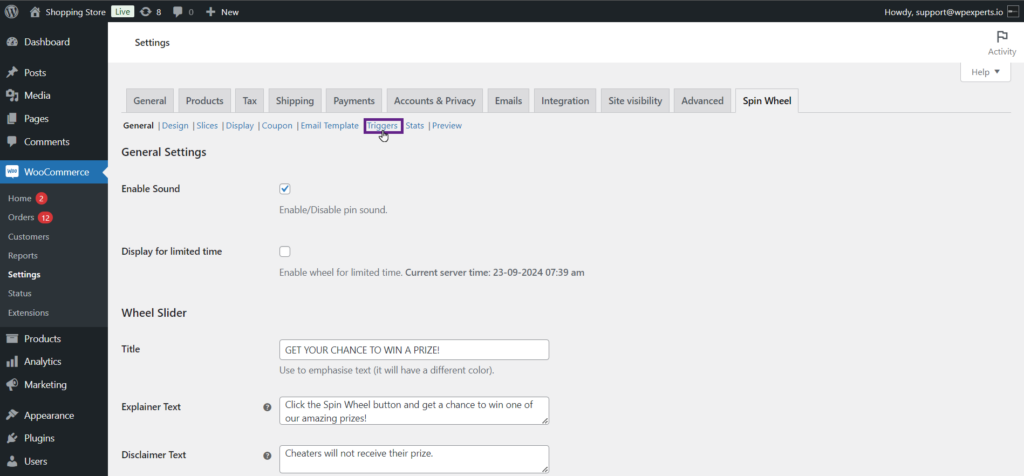
- Check the Enable Desktop Exit Intent checkbox.
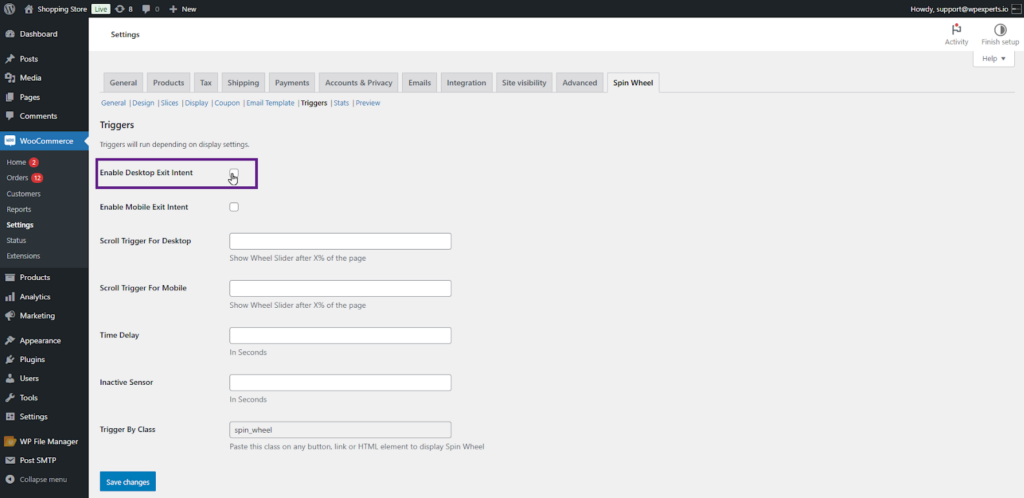
- Click the Save changes button.
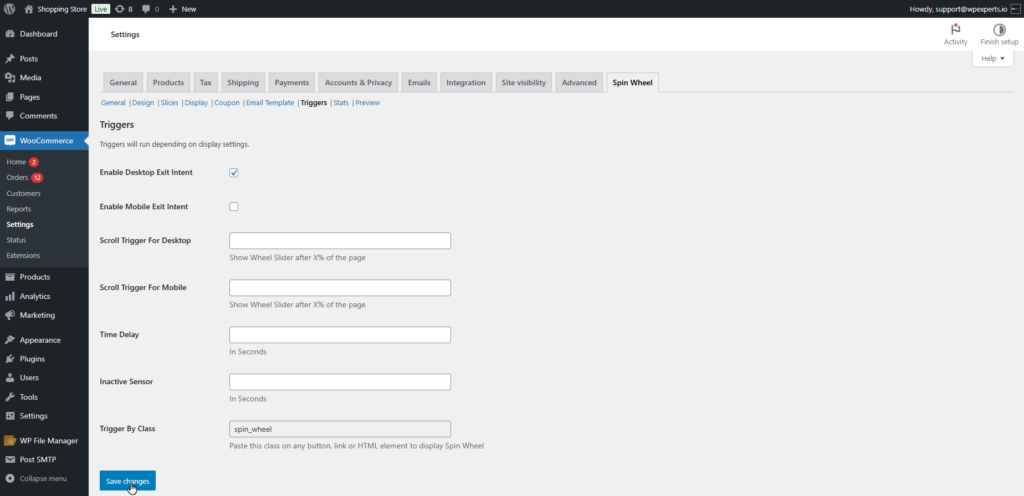
Enable Mobile Exit Intent: #
- This feature is designed for mobile users. Similar to the Desktop Exit Intent, when you open your store on a mobile device and swipe upwards on the touch screen, a spin wheel pop-up window will appear. This pop-up will only be shown on the first visit.
Back-End Settings #
- Go to Admin Dashboard > WooCommerce > Settings.
- Navigate to the Spin Wheel tab.
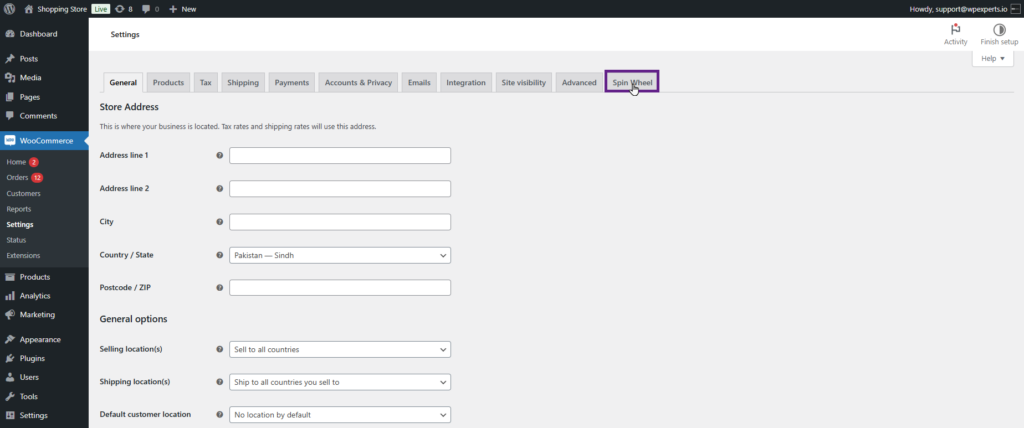
- Head to the Triggers sub-tab.
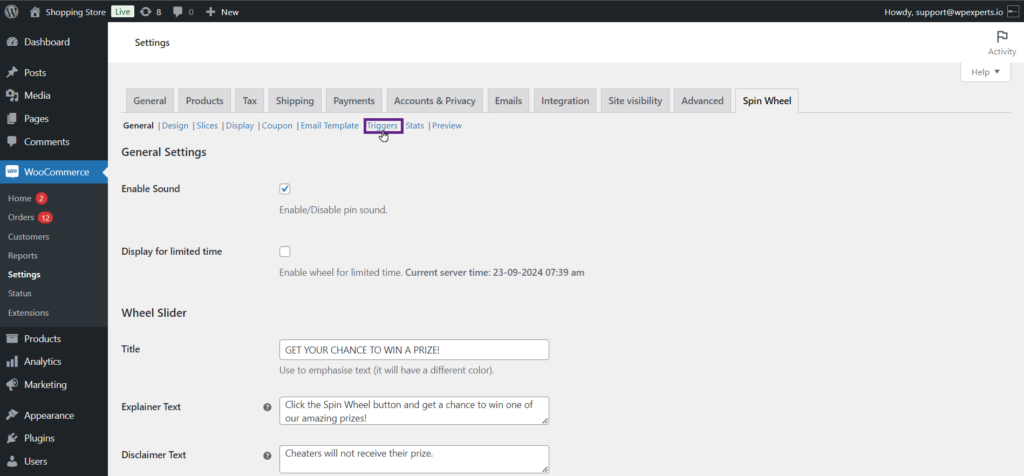
- Check the Enable Mobile Exit Intent checkbox.
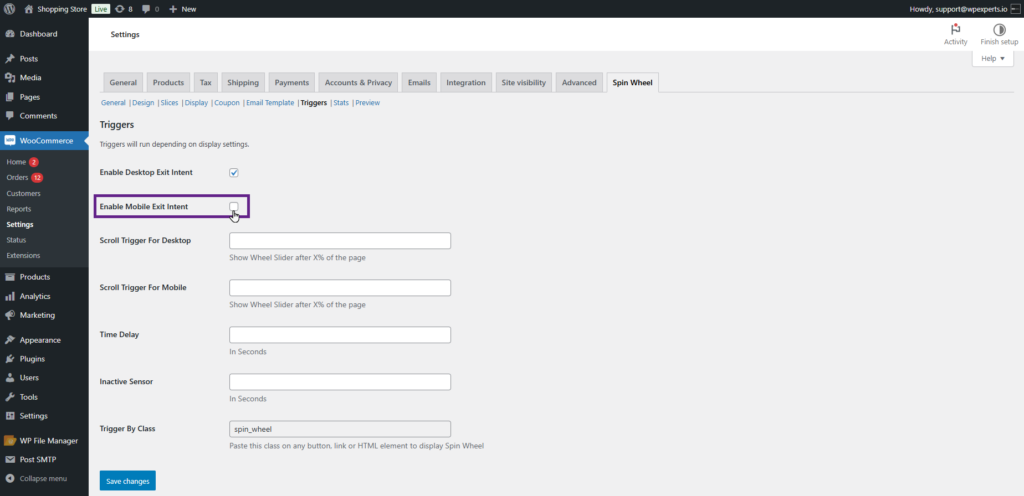
- Click the Save changes button.
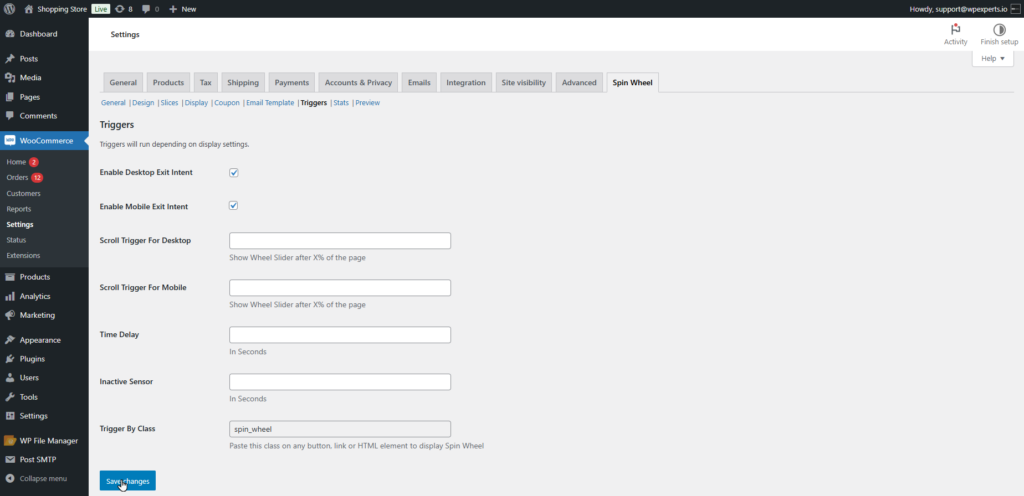
Scroll Trigger For Desktop #
- The scroll trigger for the desktop works based on the number entered in the fields. After scrolling the specified amount, the wheel will be displayed.
Back-End Settings #
- Go to Admin Dashboard > WooCommerce > Settings.
- Navigate to the Spin Wheel tab.
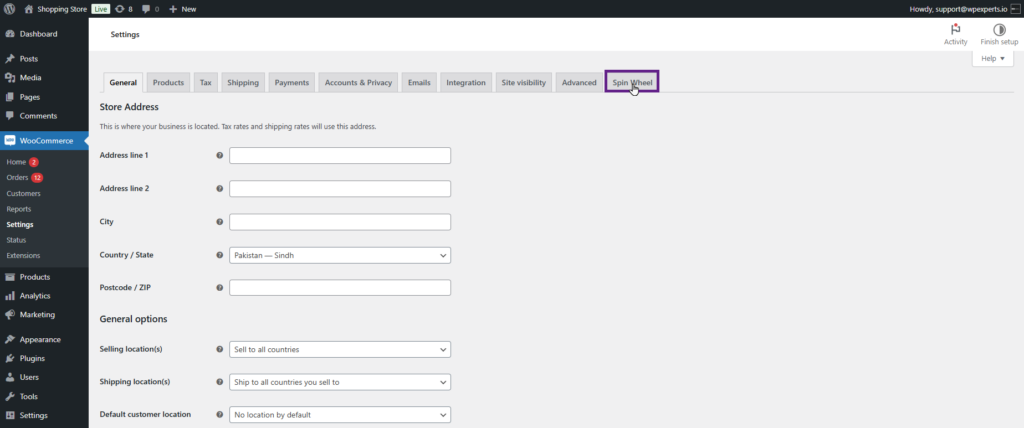
- Head to the Triggers sub-tab.
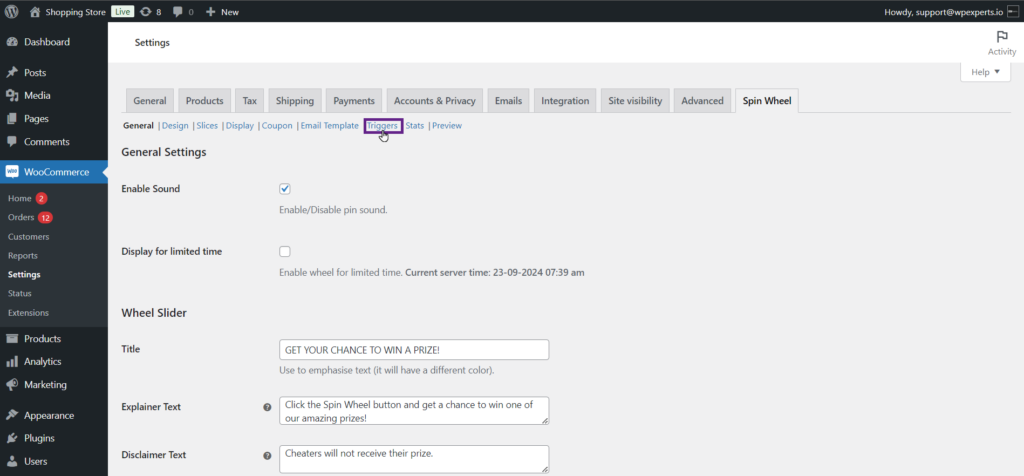
- Enter a scroll trigger value in the Scroll Trigger For Desktop field.
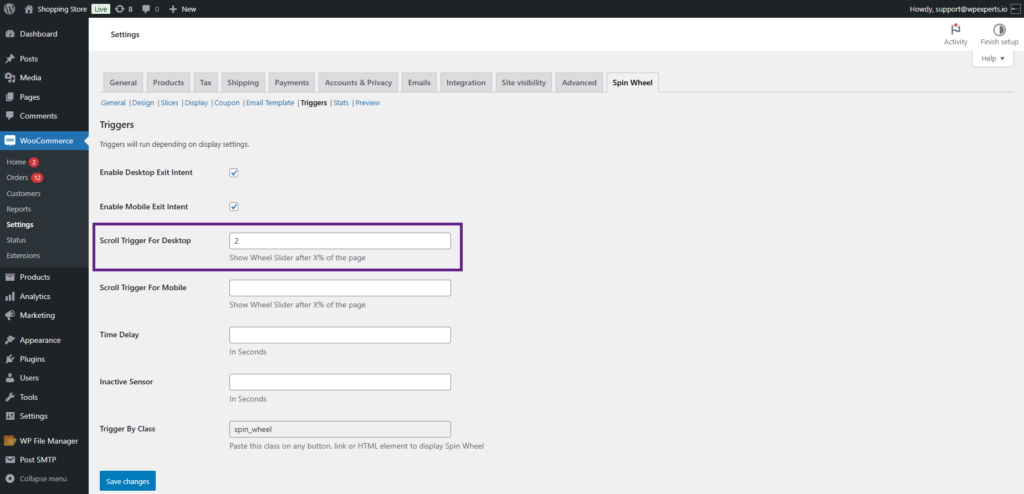
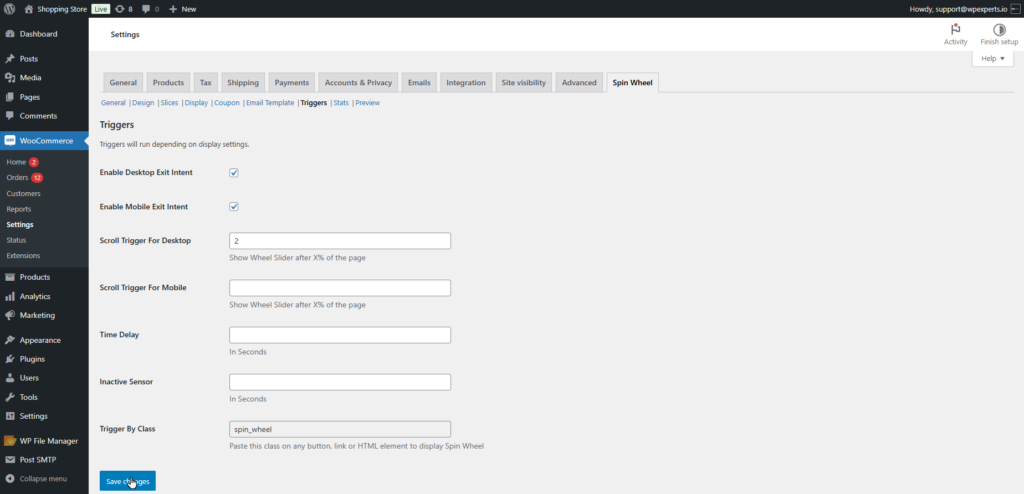
- Click the Save changes button.
Scroll Trigger For Mobile #
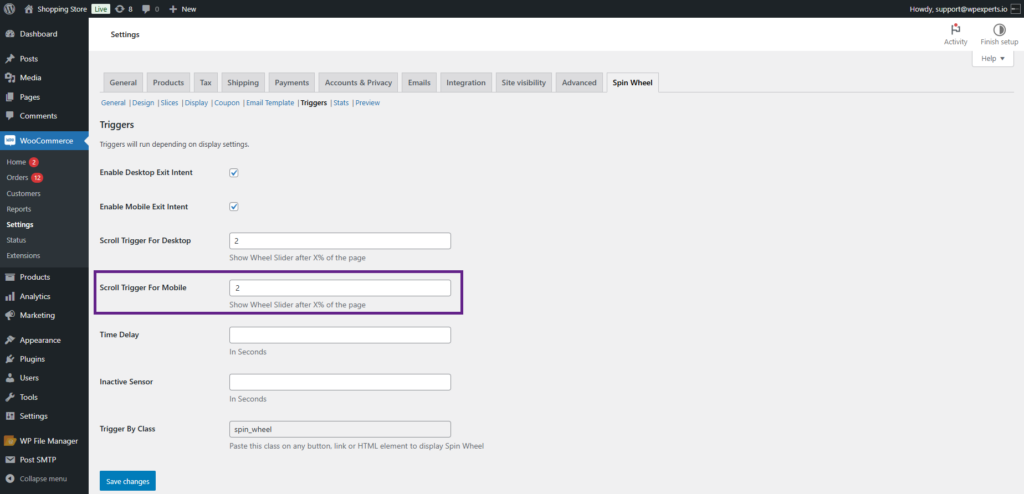
- The scroll trigger for mobile works based on the number entered in the fields. After scrolling the specified amount, the wheel will be displayed.
Back-End Settings #
- Go to Admin Dashboard > WooCommerce > Settings.
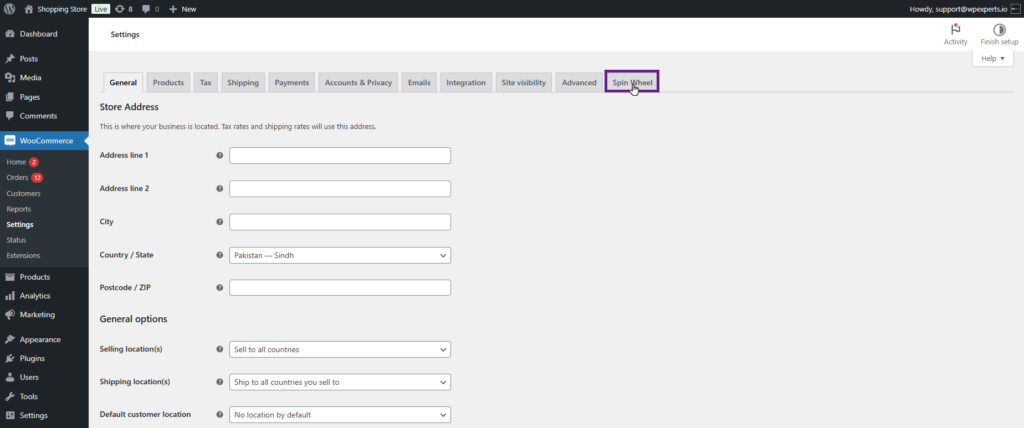
- Navigate to the Spin Wheel tab.
- Head to the Triggers sub-tab.
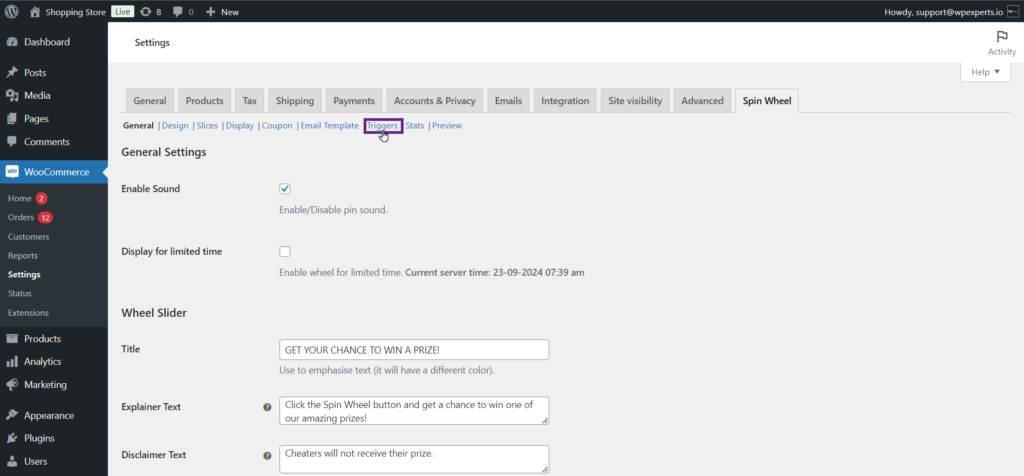
- Enter a scroll trigger value in the Scroll Trigger For Mobile field.
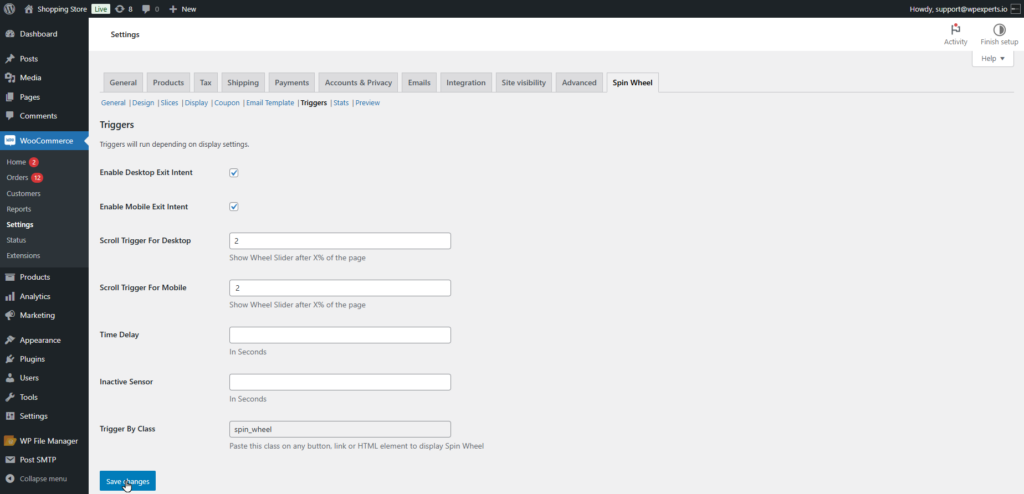
- Click the Save changes button.
Time Delay #
- The spin wheel will appear after the specified time delay set in the time delay field.
Back-End Settings #
- Go to Admin Dashboard > WooCommerce > Settings.
- Navigate to the Spin Wheel tab.
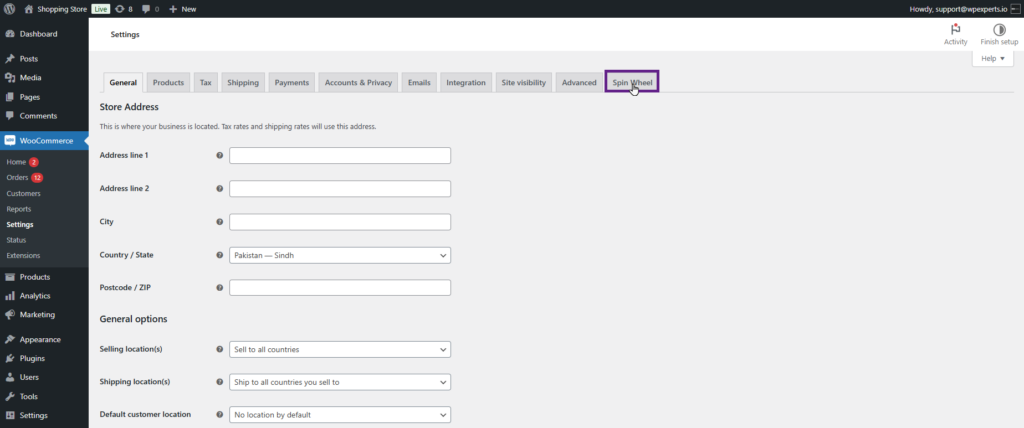
- Head to the Triggers sub-tab.
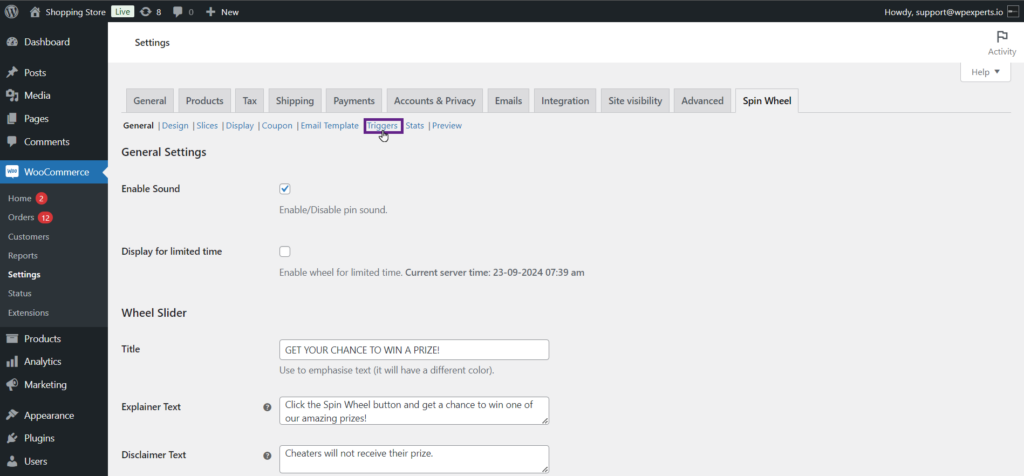
- Enter the time delay value in the Time Delay field.
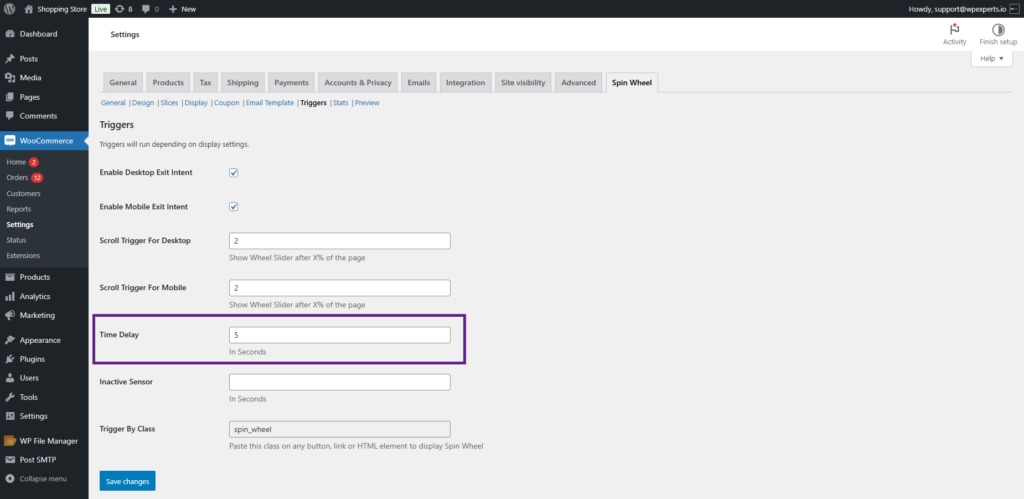
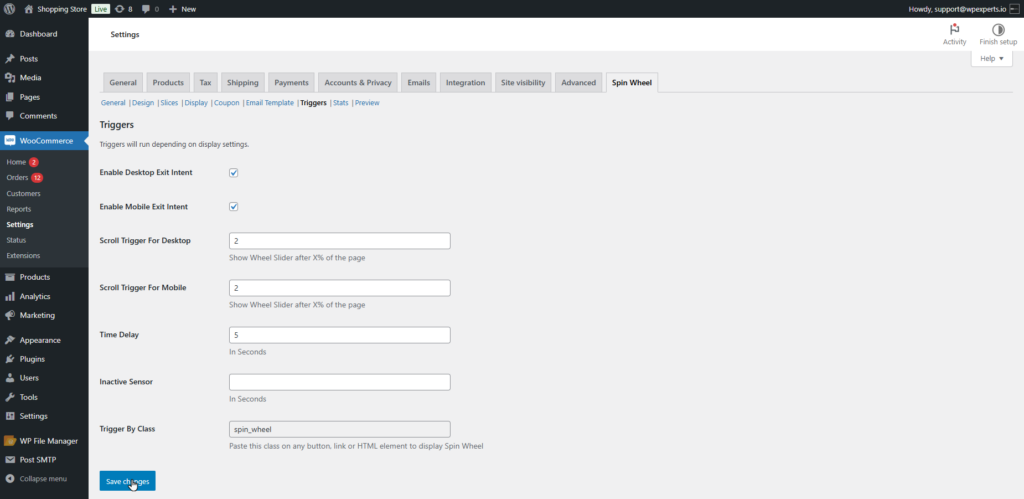
- Click the Save changes button.
Inactive Sensor #
- The purpose of the inactive feature is to display the spin wheel when a user becomes inactive on the website for the duration specified in the field.
Back-End Settings #
- Go to Admin Dashboard > WooCommerce > Settings.
- Navigate to the Spin Wheel tab.
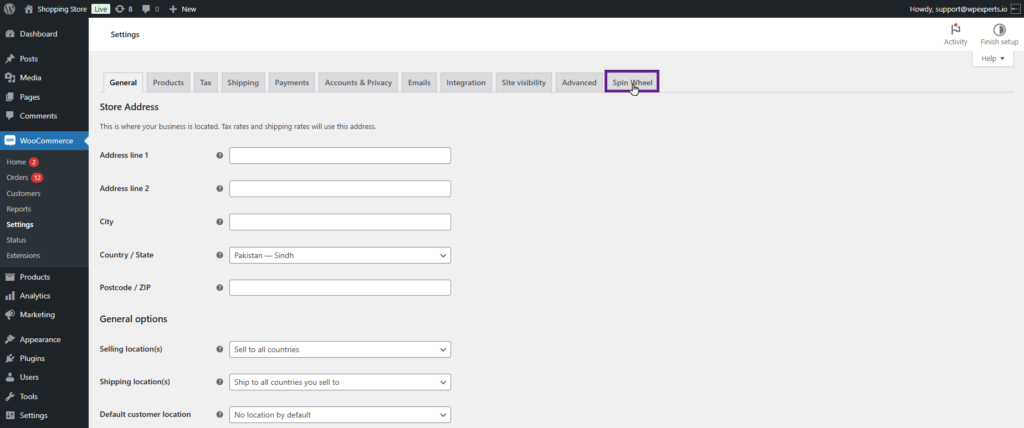
- Head to the Triggers sub-tab.
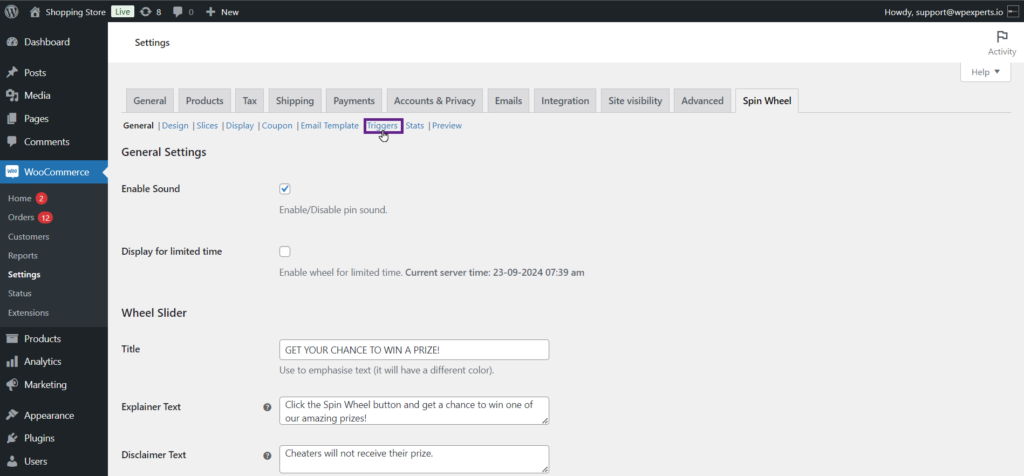
- Enter the inactive sensor value in the Inactive Sensor field.
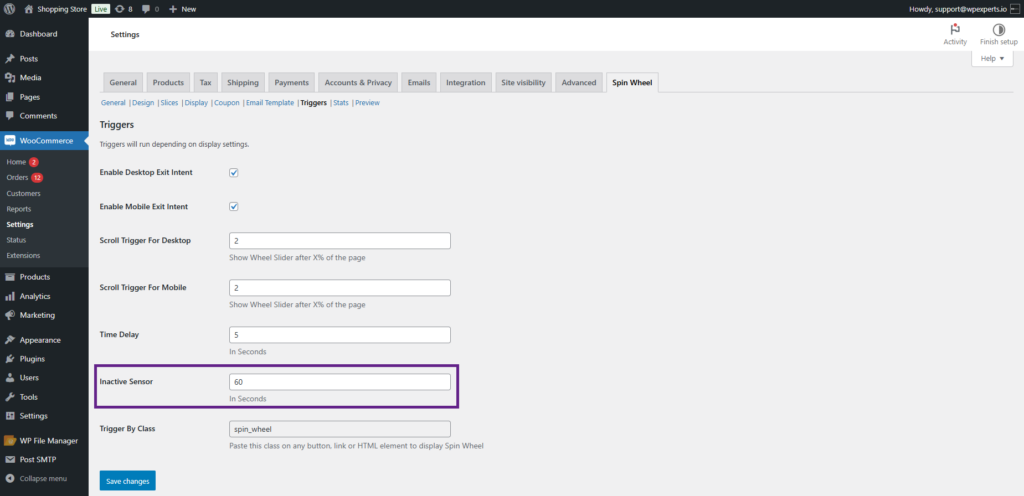
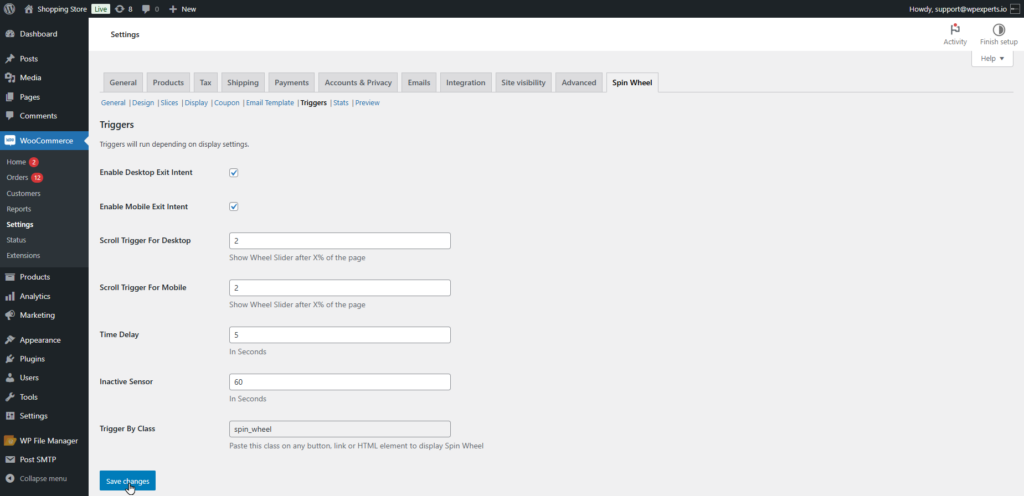
- Click the Save changes button.
Wheel on Pages: #
- All pages
- Specific pages
When checked on All pages check box Spin Wheel pop-up will display on all pages of the store.
Select Pages:
When checked on Specific pages, you can choose specific pages as per your requirements so it will display on specific pages.
Wheel on Post Types: #
When checked on the All Posts checkbox, the Spin Wheel pop-up will display on all posts of the store.
Select Post:
you can choose specific posts as per your requirements so it will display on specific posts pages.
Enable snowfall: Snowfall will display on specific pages of pop-up Spin Wheel
like an animation.
- Number of Flakes: You can set the number of flakes in numbers to display how many numbers of flakes of snow fall on spin Wheel pop-up.
- Snow falling speed: you can set Snow falling speed in numbers/seconds.
Mobile devices settings: #
Through these settings, admin can customize spin wheel popup on mobile devices, like you can choose to hide spin wheel on a mobile screen.
Hide on Mobile: When enabled Hide on Mobile checkbox Spin Wheel will not pop-up on any mobile devices.
Appearance Delay: You can set Appearance Delay of Spin Wheel pop-up,
If you set the pop-up will delay after some intervals.
To Display immediately keep it “0”
Occurrence Delay: You can set Occurrence Delay once pop-up will display it will not
Display as define Occurrence Delay, Occurrence Delay can be set in number of days
Exit Intent
Enable Desktop Exit Intent: When you Enable Desktop Exit Intend it and first time you go to your store in your browser, you have to move the mouse pointer up, when you
Move the mouse pointer up, the Pop-up window will open . It will display only for the first time.
Enable Mobile Exit Intent: This functionality is only for Mobile Customers and same as Desktop Exit Intent, when you open your store on your mobile device and scroll up using the touch screen, the Pop-up window will open. It will display only for the first time.
Statistics: #
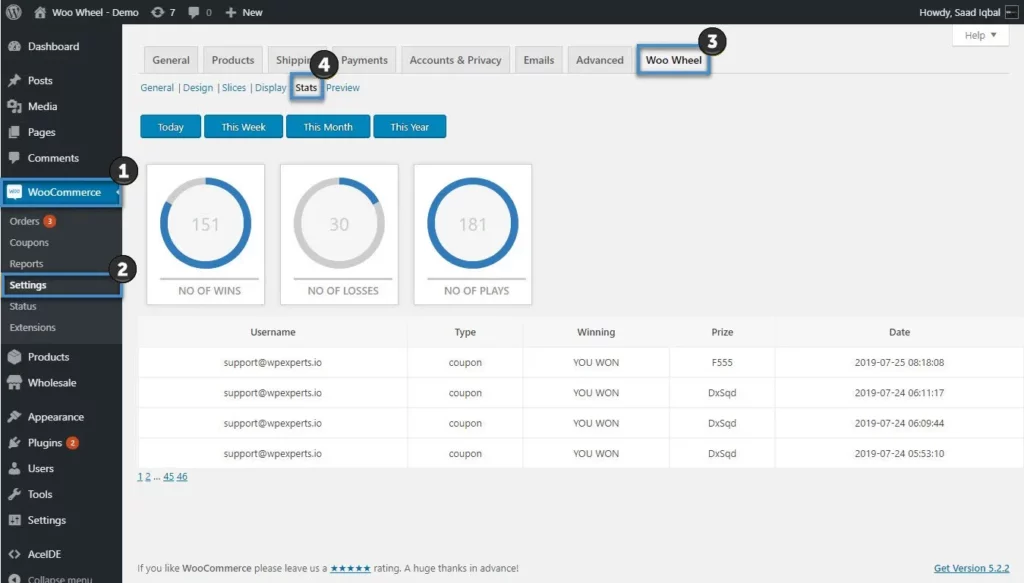
Statistics tab displays a log history of the wheel to see how many customers take advantage of the spin wheel on the website. To view how many times users have used the spin wheel can be done by clicking today, this week, this month and this year button with the winners and losers count also being fetched and mentioned in the log.
Preview: #
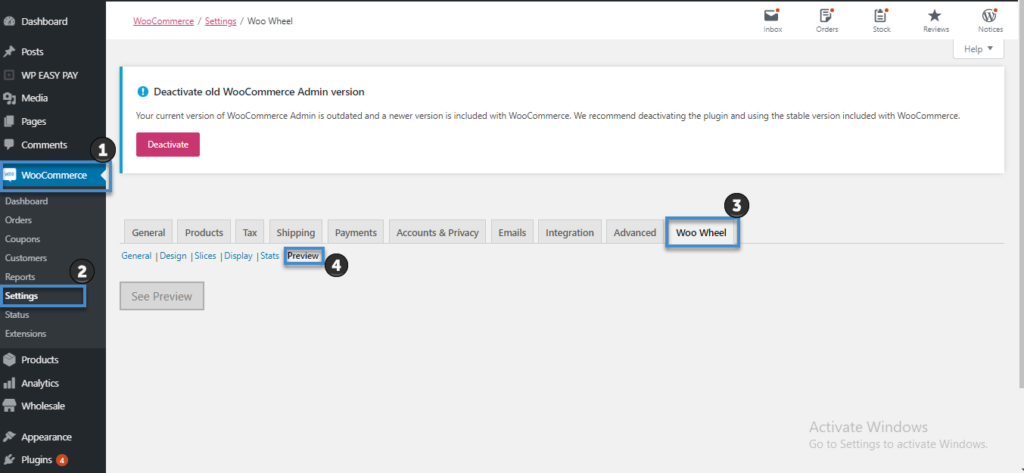
In Preview tab Admin can directly see a preview of the spin wheel by clicking on “See Preview” button.
Usage: #
You can display Wheel on following events;
- On customer registration: to make them excited for making purchase on the site with the discount they won with Wheel.
- Once customer clicks on add to cart: To make sure they complete their order using the discount coupon won by spinning the wheel
- On thank you Page: to retain your customers by giving discount coupons with spin wheel to be used next time on checkout.
For details on how to setup these triggers, refer to display tab sections of this documentation
Front View #
