Looking for an easy and hassle-free way to update WordPress plugins on your site manually? You’re in the right place—we’ve got everything you need!
Keeping your WordPress plugins up to date is essential for security, performance, and access to new features. While plugins typically update automatically or with a single click, there may be times when you need to do it manually. Whether you’re troubleshooting an issue or dealing with custom plugins, this guide will walk you through the simple steps of manually updating your WordPress plugins after installation to ensure your site runs smoothly.
How to Manually Update WordPress Plugins?
Here are the steps to manually update a Plugin on WordPress
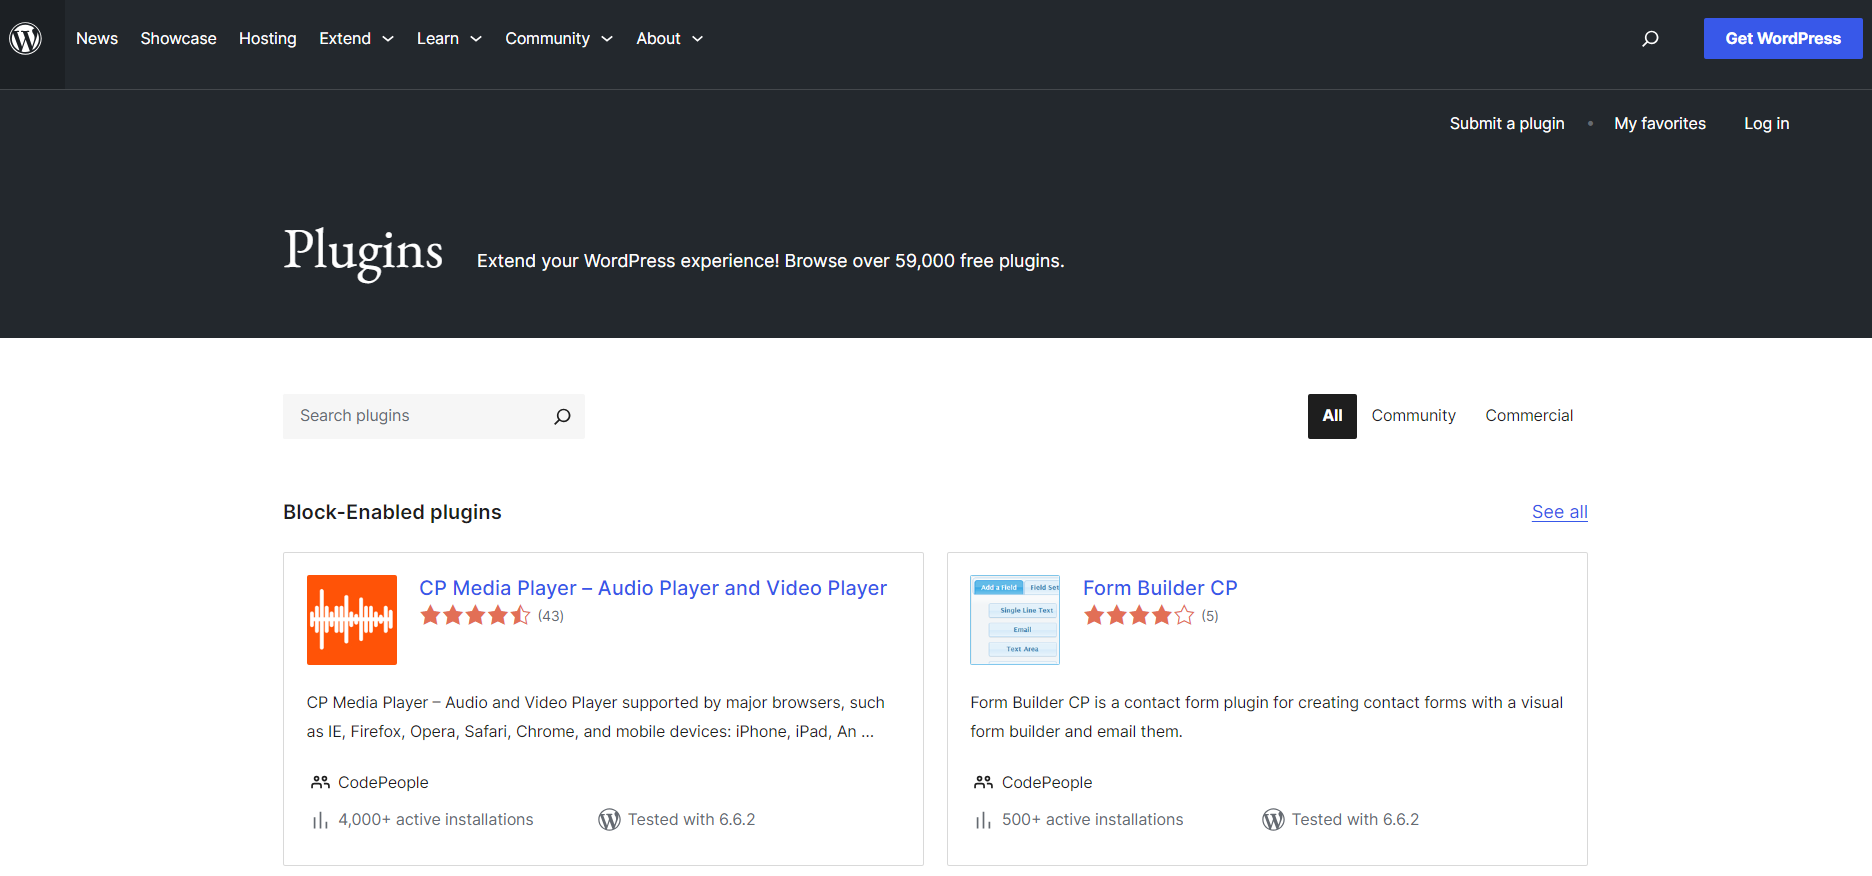
1. Download the Plugin from the WordPress.org Plugin Repository

On the WordPress.org repository, use the search bar on their site to find the plugin. On the plugin’s page, you’ll see a Download button instead of the typical installation button.
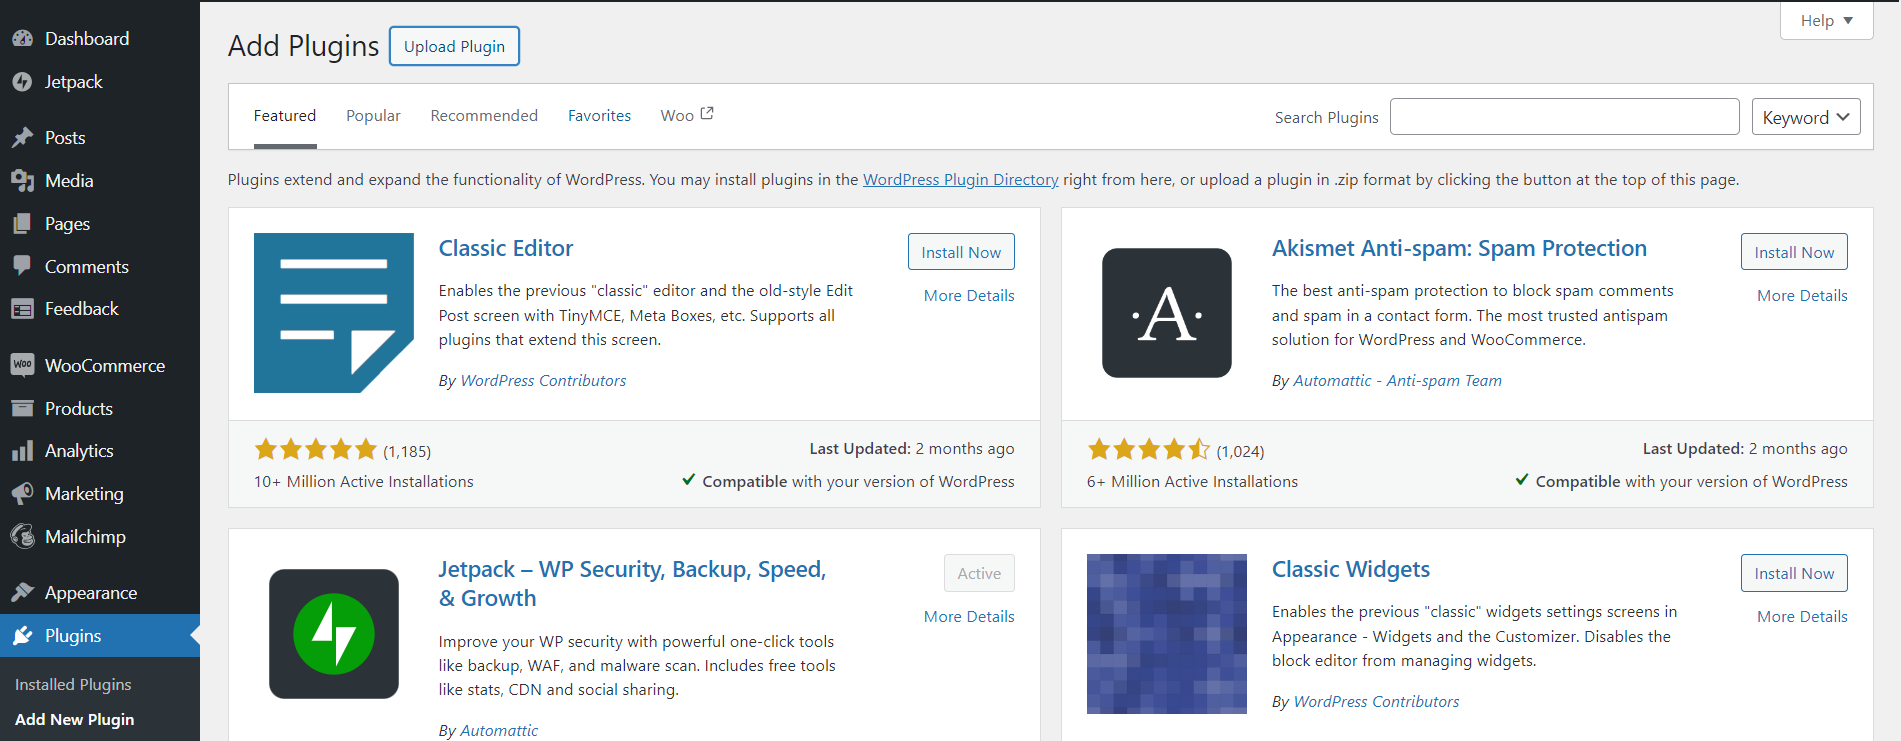
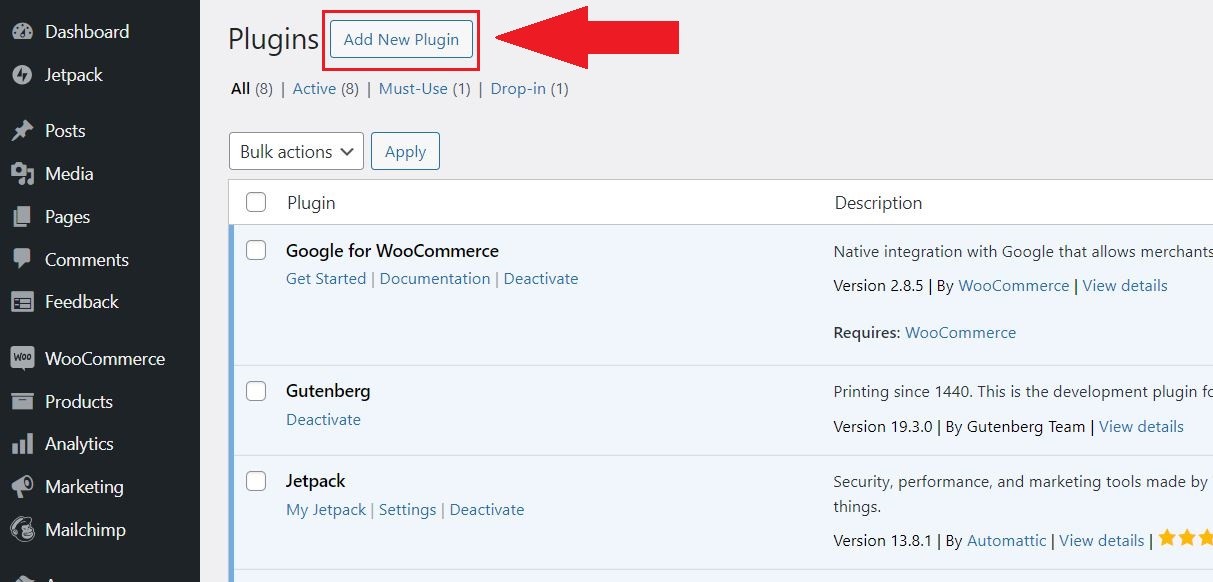
2. Navigate to the Add New Plugin Menu

Go to your WordPress dashboard, then navigate to Plugins > Add New. You’ll see a search box along with an Upload Plugin button.
3. Upload the Plugin to WordPress
Click the Upload Plugin button.

A new section will appear with a Choose File button. Click it, find the .zip file on your computer, and then click Install Now. Be sure only to click once to avoid database errors.

4. Activate the Plugin
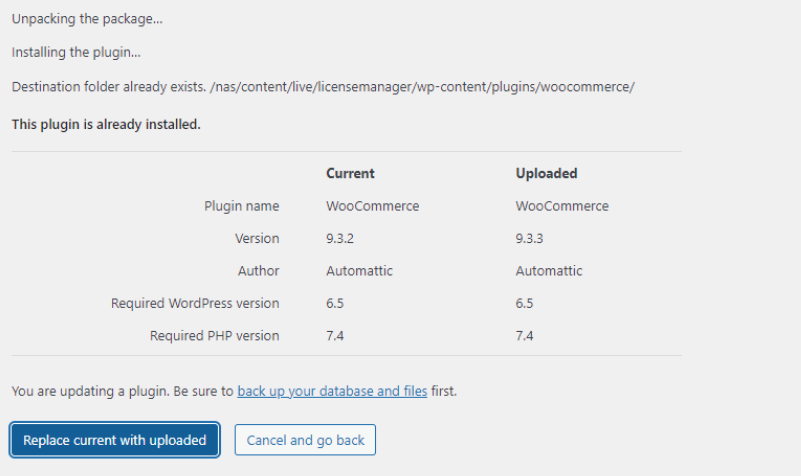
Once the plugin has been uploaded and installed, you will be prompted to Replace current with uploaded. This will update the current version of your plugin.

By following these steps, you can easily update plugins manually on your WordPress site.
Wrap Up
Manually updating plugins on WordPress may seem a bit technical at first, but with these simple steps, it becomes straightforward. Whether updating a custom plugin or a plugin downloaded from an external source, following the correct procedure ensures a smooth setup without issues. You can maintain a secure, efficient, and feature-rich WordPress site by keeping your plugins updated properly.


